
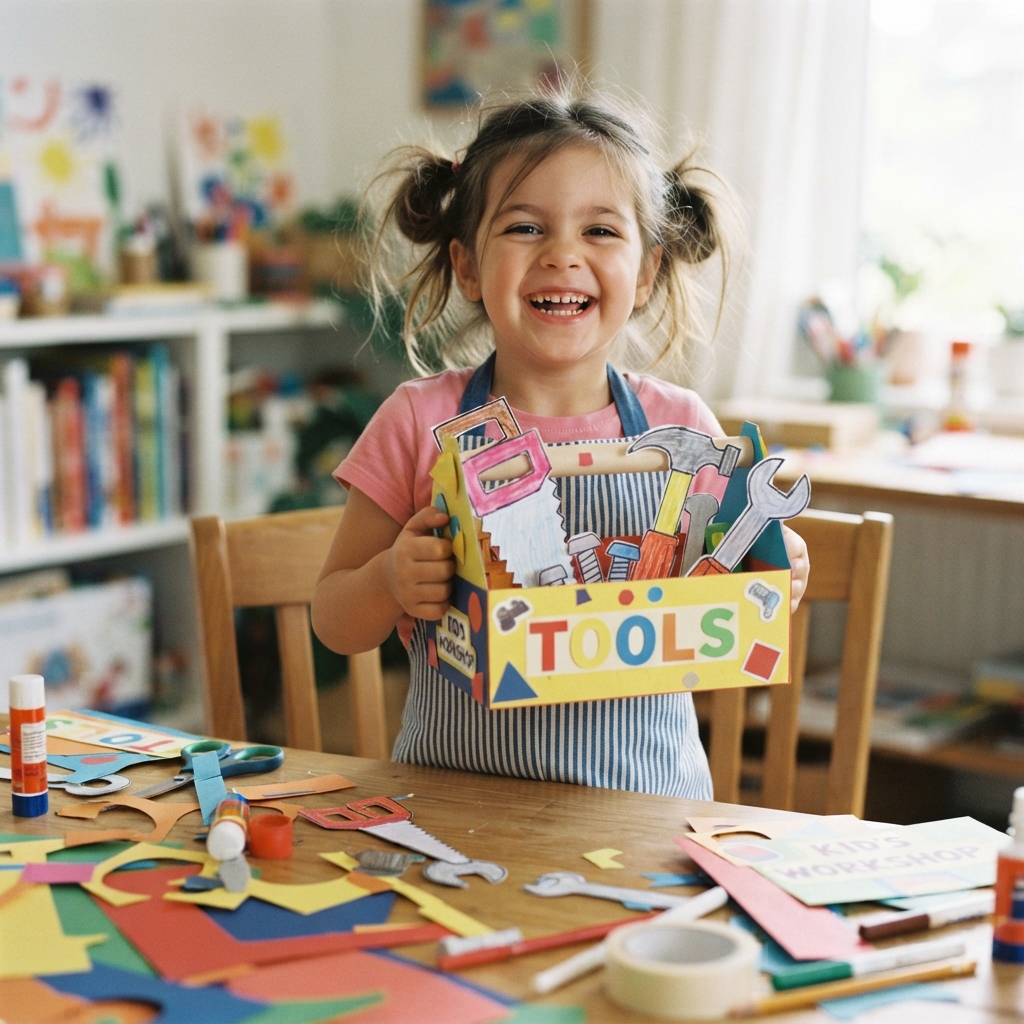
A paper toolbox is a creative and educational craft that lets children build their own pretend toolbox using simple materials like paper, cardboard, glue, and crayons. This hands-on activity encourages imagination, improves fine motor skills, and introduces children to the exciting world of tools and construction through safe, creative play.
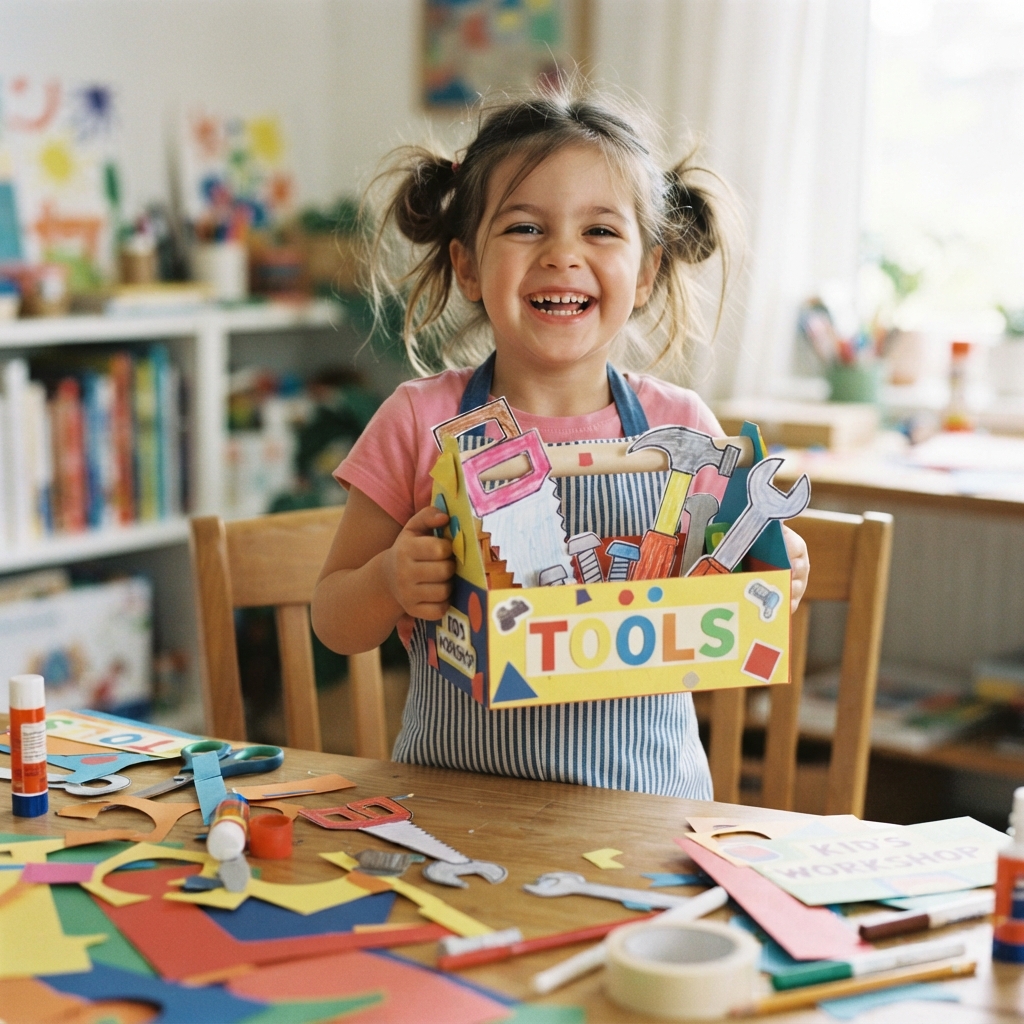
Whether you’re a parent looking for a rainy-day activity, a teacher planning a classroom project, or a camp leader organizing a craft session, this paper toolbox is an excellent choice. It’s inexpensive, easy to customize, and provides hours of imaginative fun.
In this article, you’ll learn how to make a colorful paper toolbox, discover its educational benefits, and find creative ideas to personalize the finished project.
What Is a Paper Toolbox?
A paper toolbox is a miniature toolbox made from paper or lightweight cardboard. It is designed to hold pretend tools such as paper hammers, cardboard screwdrivers, paper wrenches, rulers, and measuring tapes.
Unlike a real toolbox, this craft is lightweight, safe, and perfect for children’s imaginative play. Kids can decorate it however they like, making each toolbox unique.
Why Kids Love This Craft
Children enjoy making a paper toolbox because it is:
- Fun to build
- Easy to decorate
- Safe for pretend play
- Made from inexpensive materials
- Great for recycling cardboard
- Perfect for classroom projects
- Encourages creativity
- Inspires imaginative role-playing
Every child can create a toolbox that reflects their own personality and favorite colors.
Materials You’ll Need
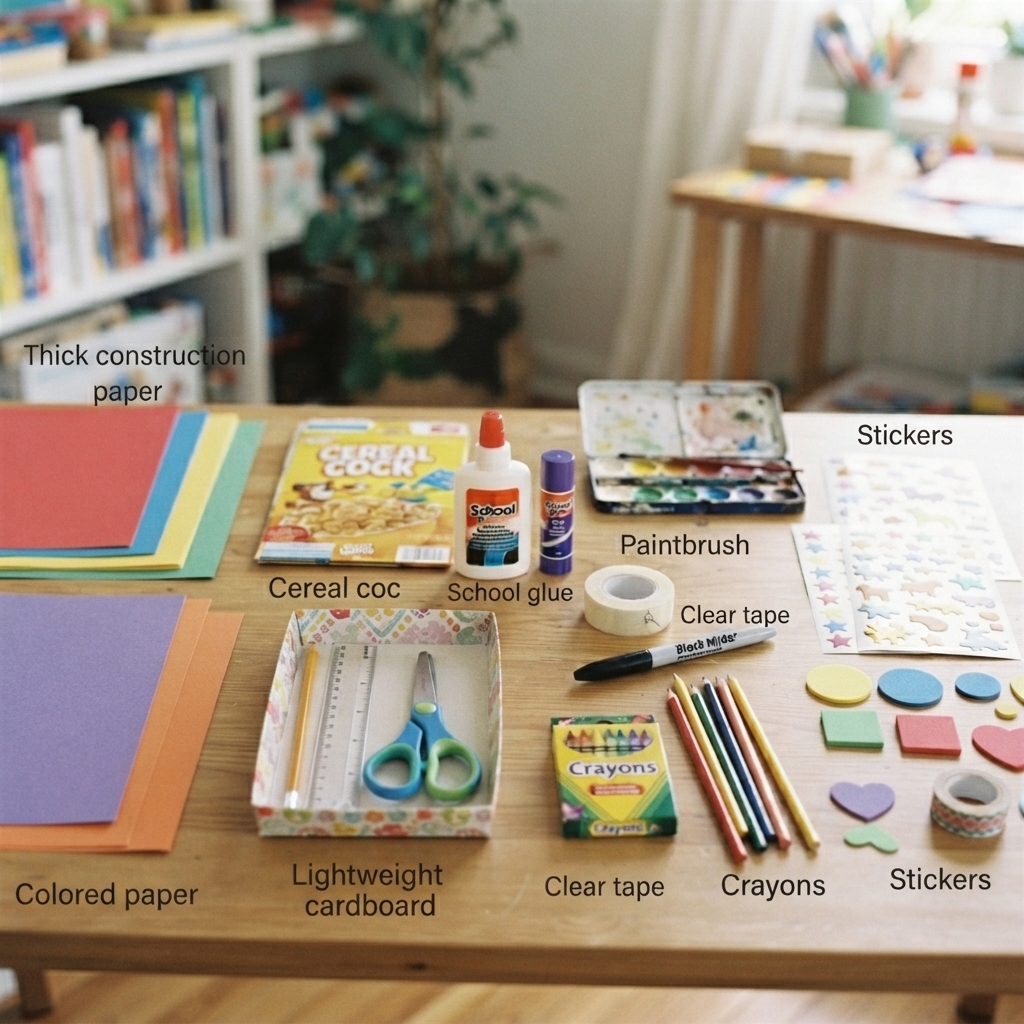
Gather these supplies before getting started:
- Thick construction paper
- Lightweight cardboard (such as a cereal box)
- Colored paper
- Pencil
- Ruler
- Child-safe scissors
- School glue
- Glue stick
- Clear tape
- Black marker
- Crayons or colored pencils
- Paint (optional)
- Paintbrush
- Stickers
- Foam shapes
- Decorative tape (optional)
These materials are inexpensive and easy to find at home or in the classroom.
Prepare Your Craft Area
Before beginning:
- Cover the table with newspaper or a craft mat.
- Organize all supplies.
- Keep glue and scissors within easy reach.
- Wear an apron if using paint.
- Have paper towels nearby for quick cleanup.
A clean and organized workspace helps children stay focused and enjoy the project.
Step 1: Draw the Toolbox Shape
Using a ruler and pencil, draw the outline of a toolbox on a piece of cardboard.
The design should include:
- A rectangular base
- Two side panels
- Two end panels
- Foldable tabs for gluing
You can also print a simple toolbox template if available.
Step 2: Cut Out the Pieces
Carefully cut along the outline using child-safe scissors.
Ask an adult for help if the cardboard is thick.
Fold along the marked lines before assembling.
Step 3: Assemble the Toolbox
Apply glue to the tabs.
Fold the sides upward to form the box.
Hold each section in place until the glue begins to dry.
For extra strength, reinforce the inside corners with small pieces of tape.
Step 4: Make the Handle
Cut a long strip of sturdy cardboard.
Curve it gently into an arch.
Glue or tape each end inside the toolbox.
The handle should be comfortable for little hands to hold.
Step 5: Cover with Colored Paper
Glue colorful paper over the outside of the toolbox.
Popular colors include:
- Red
- Blue
- Yellow
- Green
- Orange
- Purple
Children can mix colors or create rainbow designs for a cheerful look.
Step 6: Decorate the Toolbox
Now it’s time to make the toolbox unique.
Children can decorate it using:
- Stickers
- Stars
- Hearts
- Construction signs
- Smiley faces
- Glitter glue
- Foam letters
- Washi tape
- Drawn tools
- Their name
Decorating allows children to express their creativity and make the project their own.
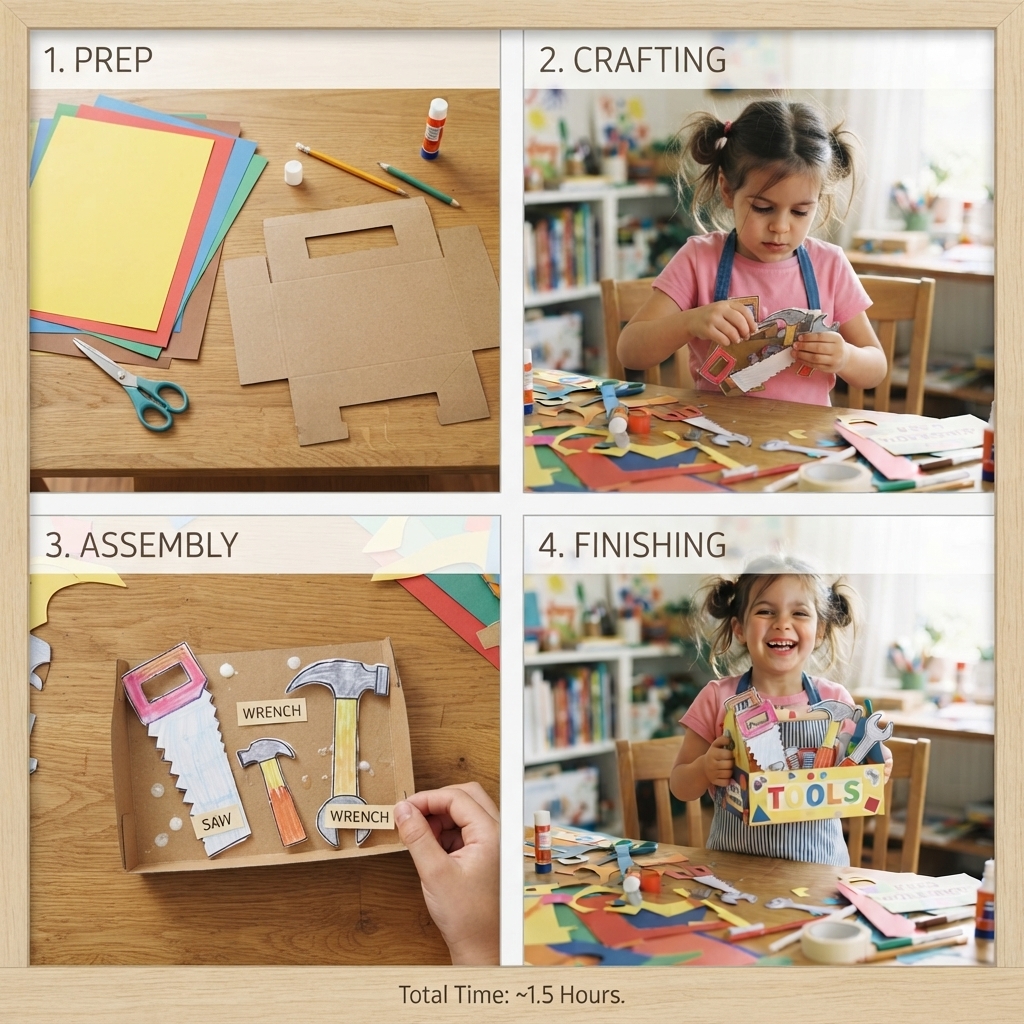
Make Paper Tools to Fill the Toolbox
A toolbox is even more exciting when it contains handmade tools.
Children can create:
- Paper hammer
- Cardboard screwdriver
- Paper wrench
- Measuring tape
- Paintbrush
- Toy saw
- Paper pliers
- Small notebook for “repair jobs”
These accessories complete the pretend builder’s toolkit.
Creative Theme Ideas
Customize the toolbox with one of these fun themes.
Builder’s Toolbox
Decorate with black and yellow caution stripes and construction symbols.
Superhero Toolbox
Add lightning bolts, stars, and a superhero logo.
Rainbow Toolbox
Cover every side with colorful rainbow patterns.
Space Toolbox
Decorate with rockets, planets, and stars.
Dinosaur Toolbox
Use green colors, dinosaur footprints, and jungle leaves.
Princess Toolbox
Choose pink and purple paper with glitter and flower stickers.
Robot Toolbox
Draw gears, buttons, and metallic designs.
Educational Benefits
This project helps children develop many valuable skills, including:
- Fine motor control
- Hand-eye coordination
- Measuring and basic geometry
- Cutting and folding techniques
- Creative thinking
- Problem-solving
- Organization
- Following instructions
- Patience
- Confidence
Hands-on crafting also strengthens concentration and encourages children to complete multi-step tasks.
Learning Through Pretend Play
After building their toolbox, children can enjoy role-playing as:
- Construction workers
- Carpenters
- Mechanics
- Engineers
- Architects
- Home repair experts
- Builders
- Inventors
Pretend play encourages storytelling, communication, and teamwork while making learning fun.
Classroom Uses
Teachers can include this craft in lessons about:
- Community helpers
- Construction
- Engineering
- Recycling
- Art
- STEM and STEAM activities
- Career exploration
- Creative writing
Students can use their toolboxes during role-playing activities or group projects.
Safety Tips
To keep the activity enjoyable:
- Always use child-safe scissors.
- Ask an adult to help with thick cardboard.
- Use non-toxic glue and paint.
- Avoid placing heavy objects inside the paper toolbox.
- Allow glue to dry completely before carrying it.
Remember that the toolbox is for pretend play only.
Extend the Project
Turn the paper toolbox into a complete construction set by adding:
- A cardboard construction helmet
- Paper safety vest
- Builder’s ID badge
- Paper blueprint
- Cardboard traffic sign
- Mini paper bricks
- Toy measuring ruler
Children can use these items together to create an imaginative construction site.
Display Finished Projects
Celebrate everyone’s hard work by:
- Creating a classroom construction corner
- Holding a pretend “Builder’s Day”
- Displaying toolboxes on shelves
- Organizing a craft exhibition
- Taking photos for a memory book
Displaying finished projects builds confidence and encourages creativity.
Tips for Success
For the best results:
- Use sturdy but lightweight cardboard.
- Reinforce the handle with extra layers if needed.
- Let glue dry before adding decorations.
- Encourage children to create original designs.
- Praise creativity rather than perfection.
The goal is to have fun while learning new skills.
Conclusion
A paper toolbox is an enjoyable and educational craft project that combines creativity, recycling, and imaginative play. With simple materials and easy-to-follow steps, children can create a colorful toolbox that stores their handmade paper tools and inspires exciting construction adventures.
Whether completed at home, in a classroom, or at a community event, this project helps children strengthen fine motor skills, practice problem-solving, and express their creativity. Best of all, every finished toolbox is unique—a handmade creation that children can proudly use during countless hours of imaginative play.
