
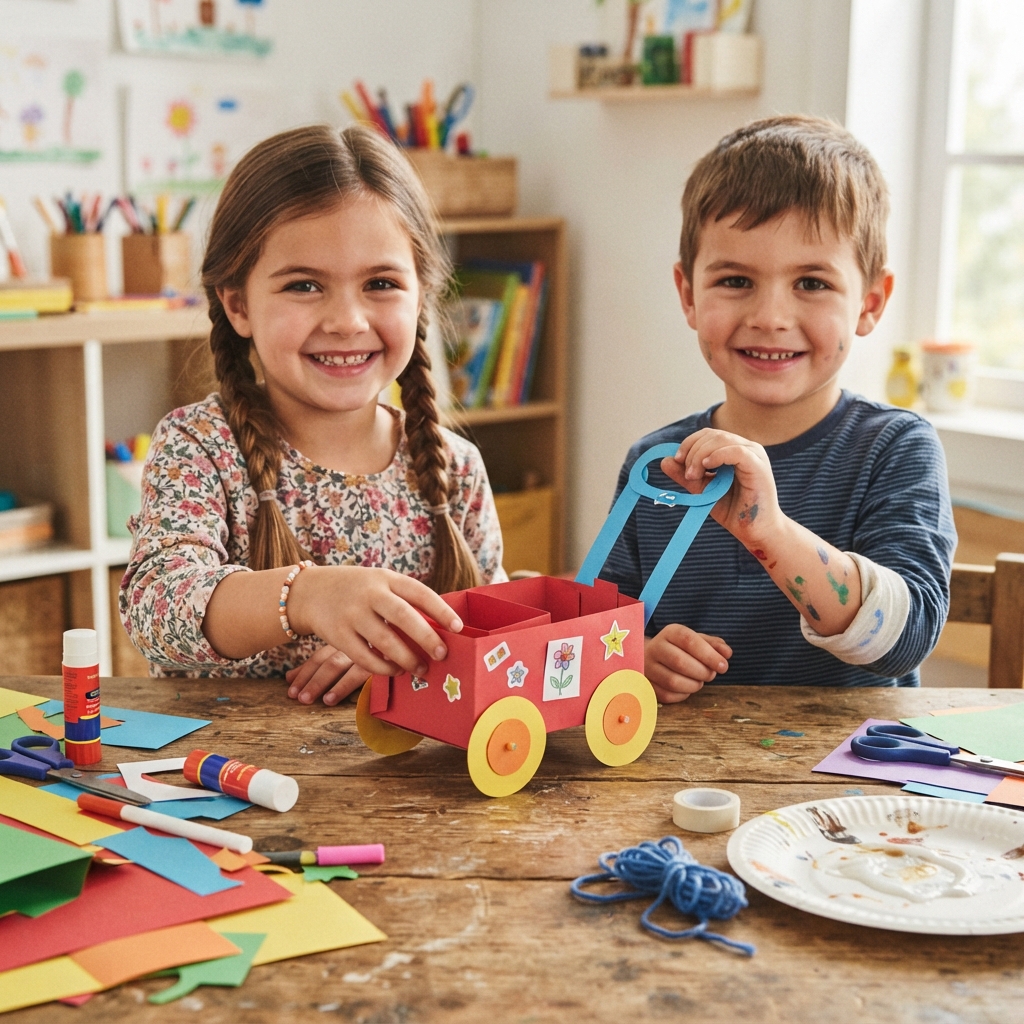
A small paper handcart project is a fun and creative craft that lets children turn simple materials into an exciting miniature vehicle. Using paper, cardboard, and a few basic craft supplies, kids can design and build their own handcart for pretend play, classroom activities, or imaginative storytelling.
This easy project encourages creativity, introduces basic construction ideas, and shows children how recycled materials can become amazing handmade toys.
Why Kids Love This Craft
Children enjoy making things they can play with afterward, and a paper handcart is perfect for carrying tiny toys, paper vegetables, stuffed animals, or miniature building blocks. Every child can decorate the cart in a unique way, making each project special.
The activity also helps children learn patience, problem-solving, and careful crafting while having lots of fun.
Materials You’ll Need
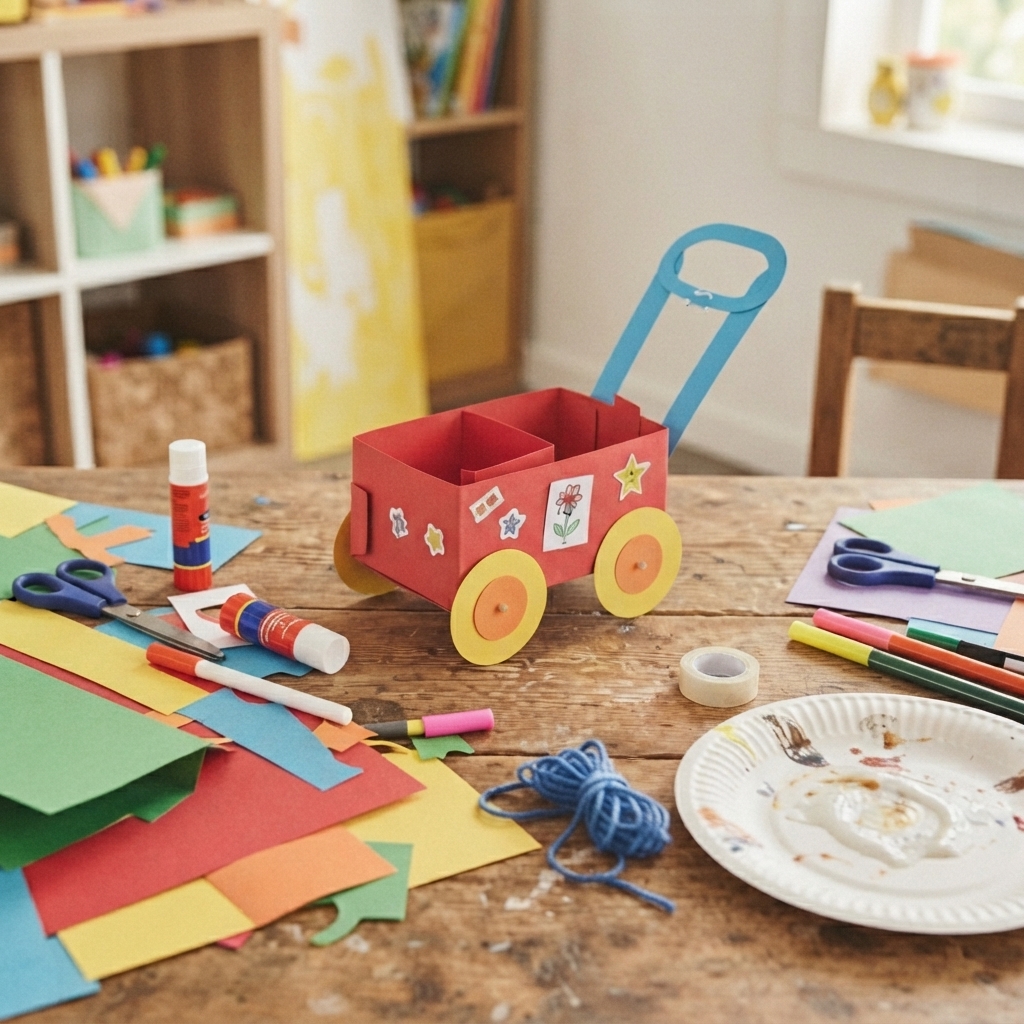
Before you begin, gather these simple supplies:
- Thick paper or lightweight cardboard
- Colored construction paper
- Child-safe scissors
- Glue or double-sided tape
- Pencil and ruler
- Markers or crayons
- Four cardboard circles for wheels
- Wooden craft sticks or paper straws
- Bottle caps or paper discs for wheel centers (optional)
- Stickers for decoration
Most of these materials are inexpensive or can be recycled from around the house.
Step 1: Create the Cart Body
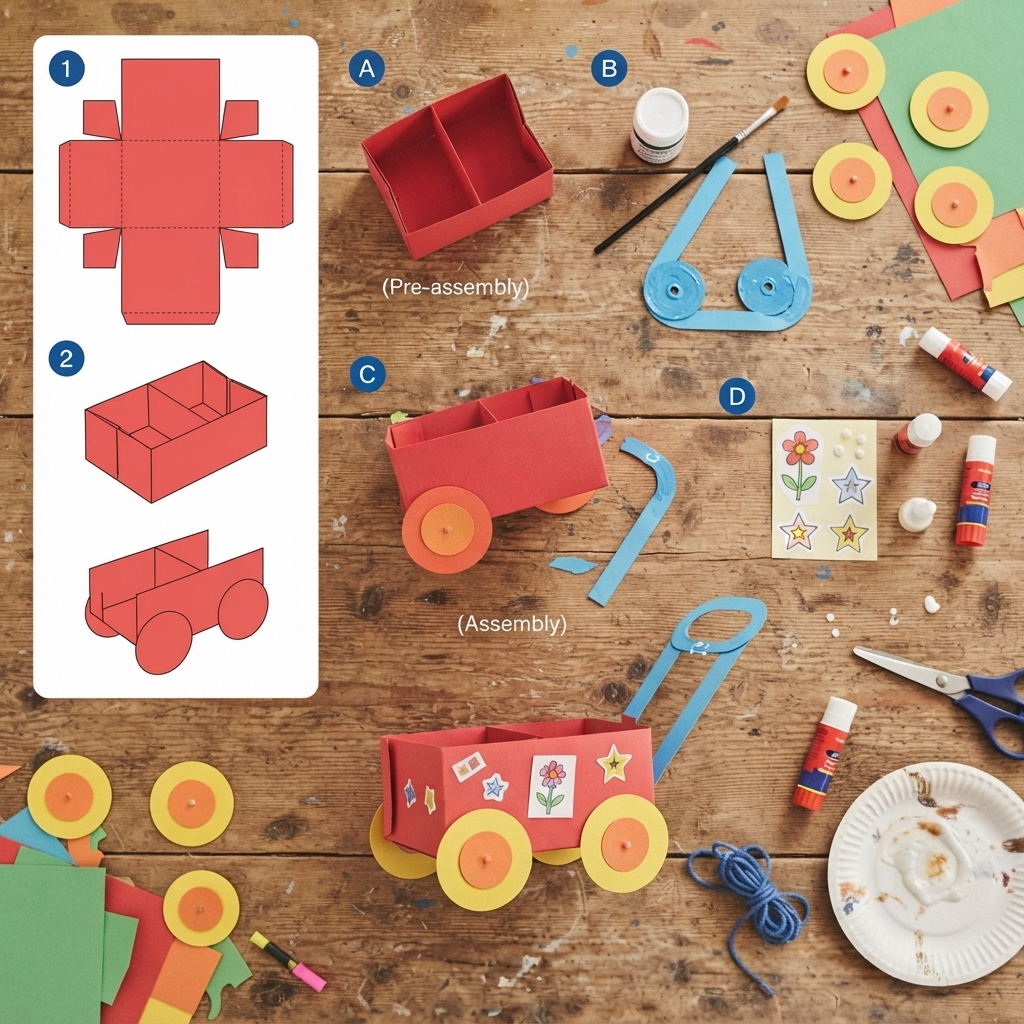
Cut a rectangle from cardboard for the bottom of the handcart.
Next, cut four smaller rectangles to form the sides. Glue them around the base to create a small open box that will hold lightweight objects.
Allow the glue to dry before moving to the next step.
Step 2: Make the Wheels
Cut four circles from sturdy cardboard.
Decorate the wheels with markers by drawing spokes or colorful patterns. If you like, glue small paper circles or bottle caps in the center to make them look more realistic.
Step 3: Attach the Wheels
Use paper straws or wooden craft sticks as simple axles.
Carefully attach the wheels so they can turn, or glue them firmly in place if you prefer a decorative model.
Ask an adult to help if the wheels need small holes.
Step 4: Add the Handle
Roll a strip of paper into a sturdy tube or use a paper straw.
Glue one end securely to the front of the cart to create a handle for pulling the handcart during pretend play.
Step 5: Decorate Your Handcart
Now it’s time to make your handcart unique!
Children can decorate it with:
- Bright paint
- Colorful paper
- Stickers
- Flowers
- Stars
- Stripes
- Animal faces
- Construction-themed designs
- Rainbow colors
- Personalized name signs
Every handcart becomes a one-of-a-kind creation.
Fun Ideas for Using the Handcart
Once the project is finished, children can use their handcart to:
- Carry toy animals
- Transport paper fruits and vegetables
- Move tiny building blocks
- Deliver pretend mail
- Help toy construction workers
- Collect paper flowers
- Carry miniature gifts
- Create a farm or market scene
The possibilities are endless!
Skills Children Develop
Making a paper handcart helps children improve many valuable skills, including:
- Creativity
- Fine motor skills
- Hand-eye coordination
- Measuring and cutting
- Problem-solving
- Patience
- Concentration
- Imaginative play
- Basic engineering concepts
- Recycling awareness
Turn It into a STEM Activity
Add simple challenges to make the project even more educational:
- Can your handcart carry five toy blocks?
- Which wheel design rolls the best?
- Can you build a stronger handle?
- How much weight can your cart hold before it tips over?
- Can you make the cart roll farther by changing the wheels?
These activities encourage children to observe, test, and improve their designs.
Classroom Extension Ideas
Teachers can expand the project by inviting students to:
- Measure the length and width of their handcart.
- Count the number of materials used.
- Compare different wheel sizes.
- Write a short story about what their cart is carrying.
- Work in teams to build matching carts for a pretend village.
This combines art, math, science, and language skills in one enjoyable activity.
Safety Tips
Keep crafting safe by following these simple rules:
- Always use child-safe scissors.
- Ask an adult for help with thick cardboard.
- Work on a clean, flat surface.
- Allow glue to dry completely before playing with the cart.
Make It Even More Creative
Children can build an entire miniature world around their paper handcart by creating:
- Tiny houses
- Paper trees
- A small farm
- Market stalls
- Construction sites
- Roads and bridges
- Toy animals
- Paper people
- Gardens
- Parks
These additions make imaginative play even more exciting.
Conclusion
A small paper handcart project is a simple, affordable, and enjoyable craft that transforms everyday paper and recycled materials into a fun handmade toy. As children build, decorate, and play with their creations, they strengthen important creative and practical skills while discovering the joy of making something with their own hands. Best of all, every paper handcart is unique, encouraging young builders to keep exploring, designing, and creating new adventures.
