
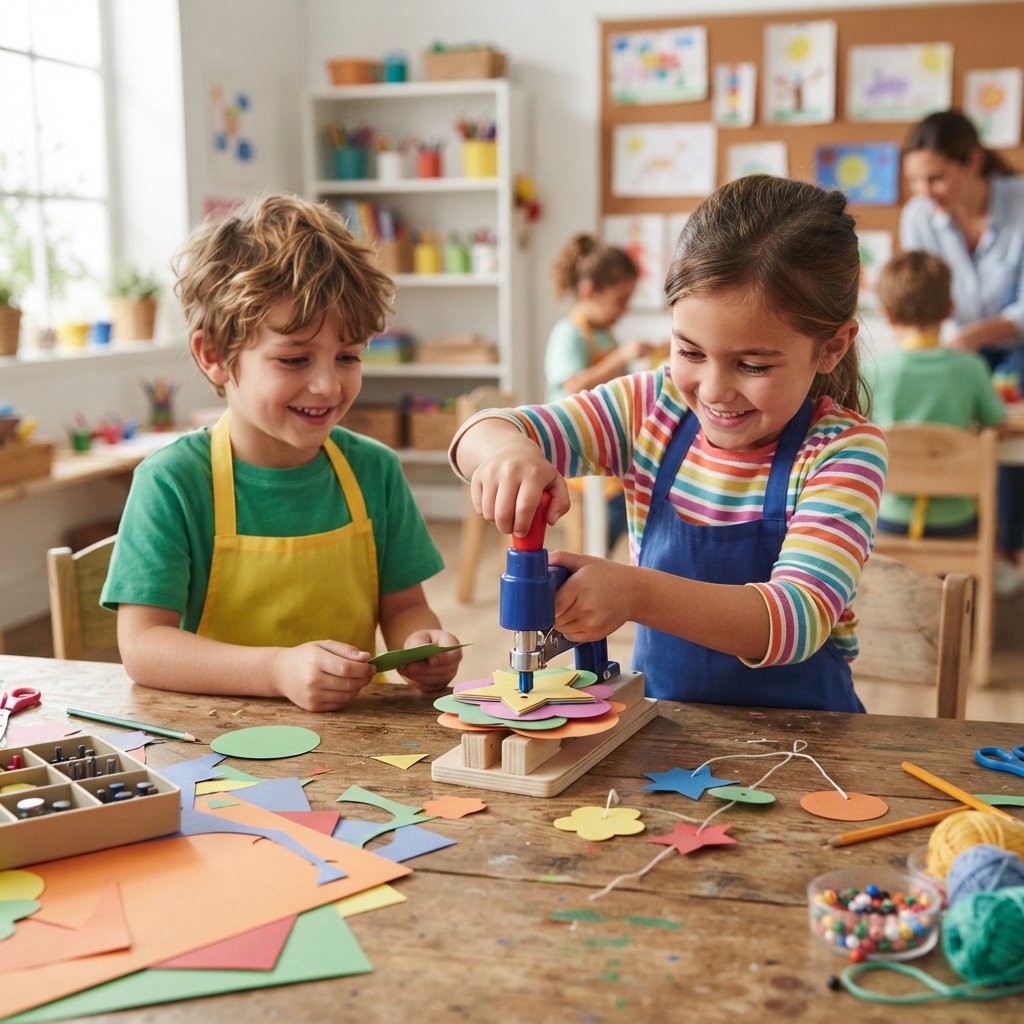
Discover the Art of Paper Carving!
A paper carving project is a wonderful way for children to explore creativity while learning how to cut, shape, and decorate paper. With just a few simple craft supplies, kids can transform ordinary sheets of paper into beautiful works of art filled with fun patterns, shapes, and designs.
This hands-on activity is perfect for classrooms, art lessons, homeschool projects, or family craft time. It encourages imagination, patience, and careful hand movements while introducing children to a unique form of paper art.
Why Kids Love Paper Carving
Children enjoy paper carving because every design is different. They can create flowers, animals, stars, hearts, trees, butterflies, or even their favorite cartoon characters. As they carefully cut out shapes and patterns, they discover how a simple piece of paper can become something amazing.
The project also gives children a sense of accomplishment as they watch their artwork come to life with every cut.
Materials You’ll Need
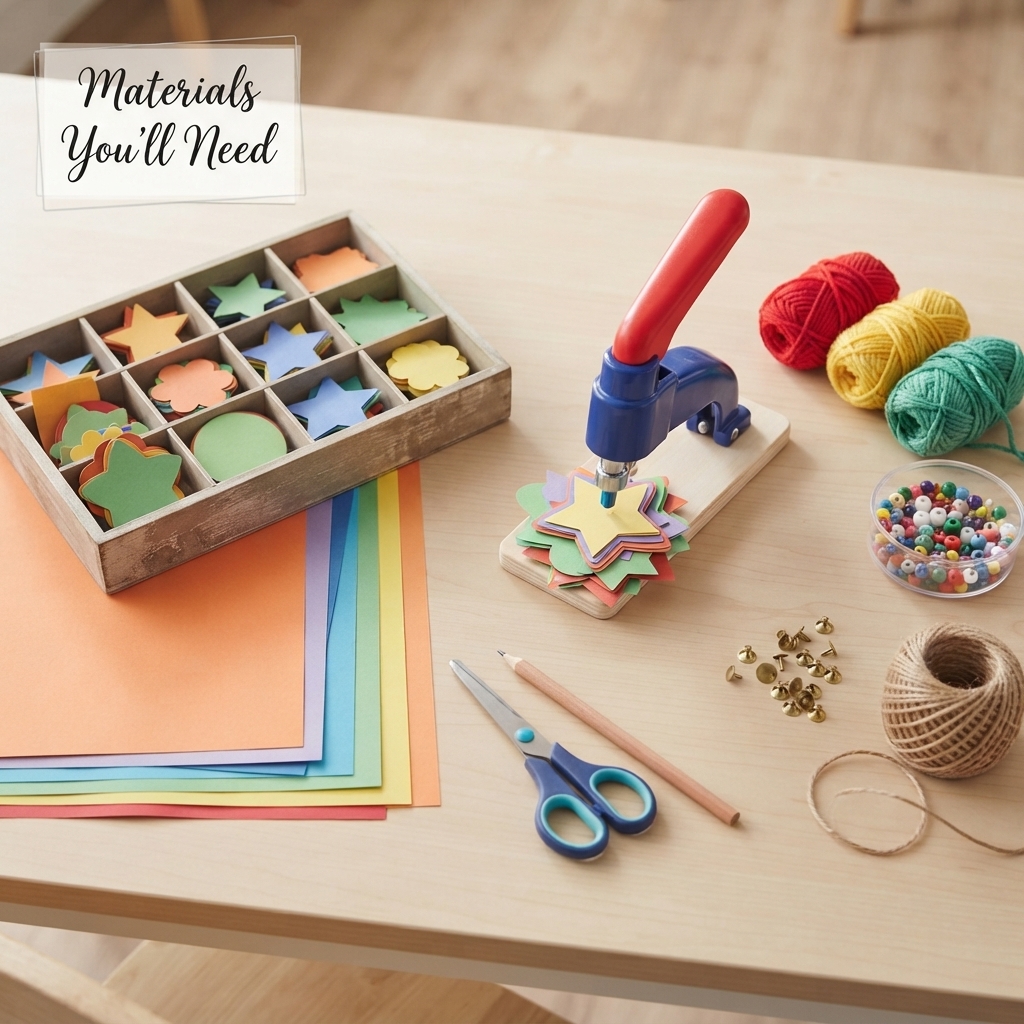
Gather these easy-to-find supplies before you begin:
- Colored paper or cardstock
- White paper for practice
- Child-safe scissors
- Pencil
- Eraser
- Ruler
- Craft glue
- Markers or colored pencils
- Construction paper for a background
- Stickers or glitter (optional)
For younger children, simple scissors work best. Older children can ask an adult for help with more detailed cutting if needed.
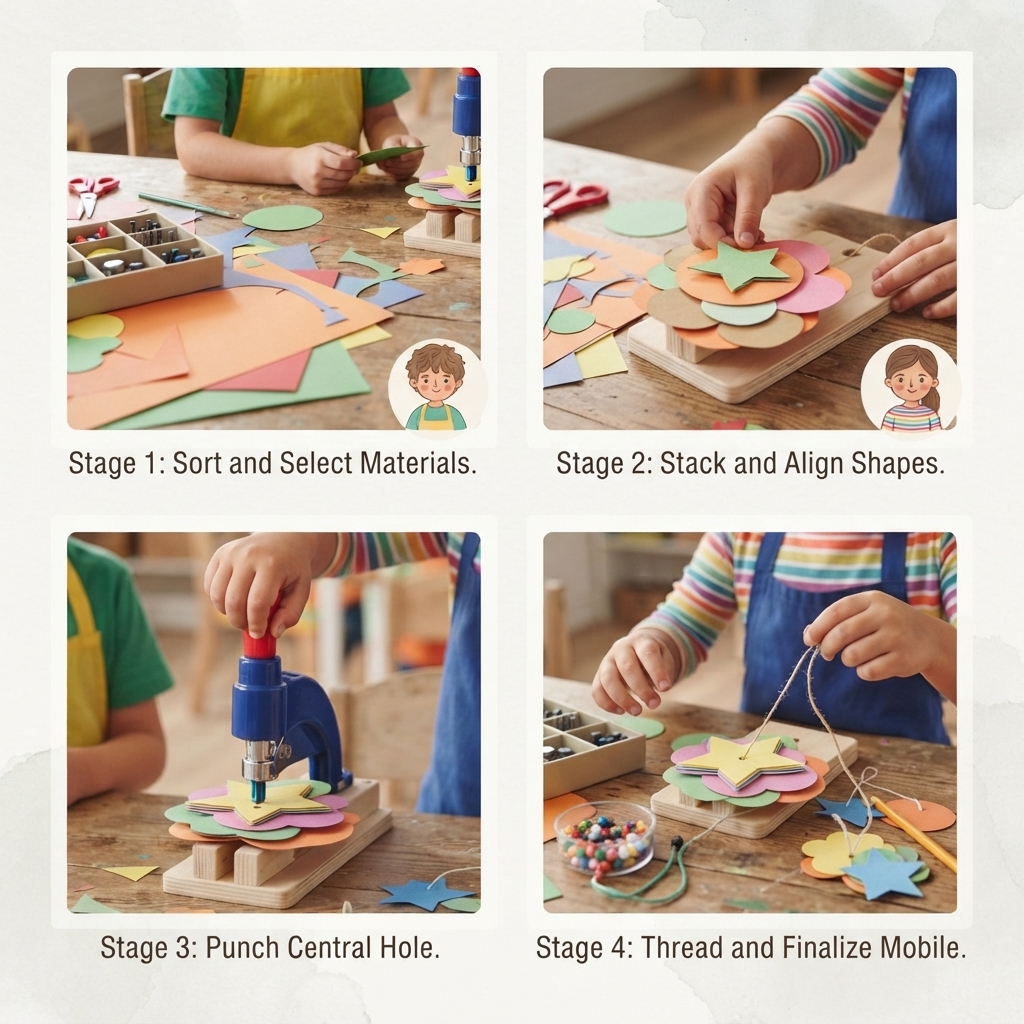
Step 1: Choose a Simple Design
Begin by selecting an easy shape to cut.
Good beginner ideas include:
- Stars
- Hearts
- Flowers
- Leaves
- Fish
- Butterflies
- Clouds
- Balloons
- Trees
- Smiley faces
Simple designs help children build confidence before trying more detailed patterns.
Step 2: Draw the Outline
Use a pencil to lightly sketch the design onto the paper.
Large, clear lines make cutting easier, especially for younger children.
Step 3: Carefully Cut the Design
Using child-safe scissors, slowly cut along the pencil lines.
Take your time and make small, careful cuts. Children learn that moving slowly often gives the best results.
Step 4: Add Decorative Details
After cutting the main shape, create interesting details by cutting small openings or patterns.
For example, children can add:
- Flower petals
- Butterfly wing patterns
- Window shapes
- Leaf veins
- Star cutouts
- Decorative borders
These tiny details make each artwork more beautiful.
Step 5: Decorate Your Artwork
Once the carving is complete, decorate it using:
- Bright markers
- Colored pencils
- Glitter
- Stickers
- Paint
- Tissue paper
- Foam shapes
- Ribbon
Glue the finished design onto colorful construction paper to create a beautiful display.
Fun Paper Carving Ideas
Children can make many exciting projects, including:
- Greeting cards
- Window decorations
- Animal pictures
- Holiday ornaments
- Paper crowns
- Nature scenes
- Underwater adventures
- Fairy tale castles
- Jungle animals
- Space-themed artwork
Every project encourages creativity and storytelling.
Skills Children Develop
Paper carving helps children build many valuable skills, such as:
- Fine motor skills
- Hand-eye coordination
- Creativity
- Concentration
- Patience
- Artistic expression
- Problem-solving
- Scissor control
- Shape recognition
- Confidence
Turn It into an Art Challenge
Make the activity even more exciting with creative challenges:
- Can you carve five different flowers?
- Can you create an animal using only circles and triangles?
- Can you make a picture with repeating patterns?
- Can you design a beautiful paper border?
- Can you create a seasonal decoration?
These challenges encourage children to experiment and think creatively.
Classroom Activity Ideas
Teachers can extend the project by asking students to:
- Display their finished artwork in a classroom gallery.
- Describe the shapes they used.
- Count the patterns they created.
- Write a short story about their picture.
- Work together on a large paper mural.
This combines art, language, and creative thinking in one enjoyable lesson.
Safety Tips
Keep crafting safe with these simple reminders:
- Always use child-safe scissors.
- Cut slowly and carefully.
- Ask an adult for help with detailed designs.
- Keep the work area clean and organized.
- Store scissors safely after use.
Display Your Finished Artwork
Children can proudly display their paper carvings by turning them into:
- Wall decorations
- Bookmarks
- Greeting cards
- Window art
- Classroom displays
- Gift decorations
- Scrapbook pages
- Door signs
- Picture frames
- Seasonal decorations
Sharing their artwork helps build confidence and celebrates their creativity.
Conclusion
A paper carving project is a fun, creative, and educational craft that allows children to transform ordinary paper into beautiful handmade artwork. As they draw, cut, and decorate their designs, they develop fine motor skills, artistic confidence, and patience while expressing their imagination. Best of all, every paper carving is unique, inspiring young artists to keep creating, exploring, and enjoying the wonderful world of paper crafts.
