
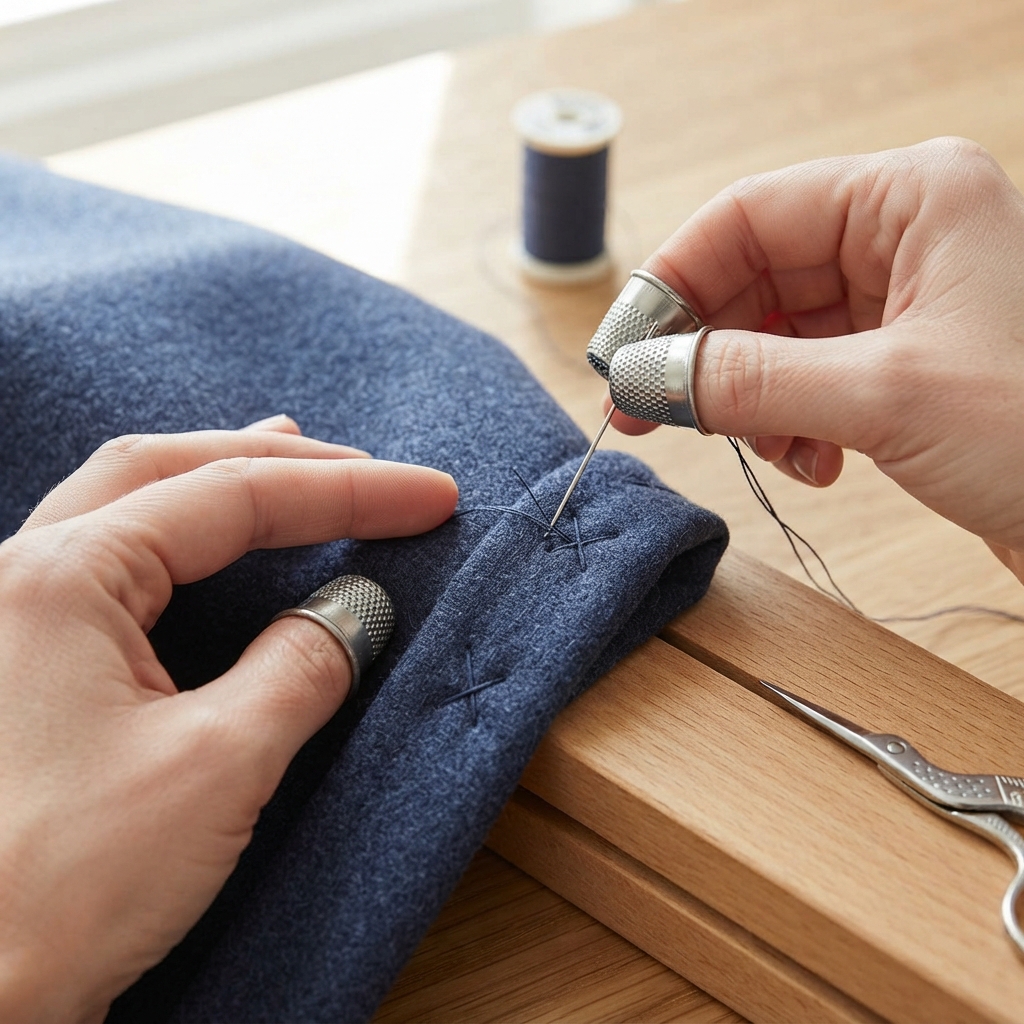
Learning how to make a hem by hand is one of the most useful sewing skills for beginners. A neat hem gives clothing a clean finished edge, prevents fabric from fraying, and can help adjust the length of trousers, skirts, dresses, sleeves, and other garments.
You do not need a sewing machine to make a simple hem. With a needle, thread, scissors, an iron, and a little patience, you can create a strong and tidy finish by hand.
This step-by-step guide explains how to measure, fold, pin, and sew a basic hem on a garment.
What Is a Hem?
A hem is a finished edge created by folding fabric inward and securing it with stitches.
Hems are commonly found on:
- Trousers
- Skirts
- Dresses
- Sleeves
- Shirts
- Jackets
- Shorts
- Curtains and other fabric items
A good hem should be secure, comfortable, and neat.
Materials You Will Need
Gather these simple sewing supplies:
- The garment you want to hem
- Hand-sewing needle
- Matching sewing thread
- Fabric scissors
- Measuring tape
- Ruler
- Straight pins or sewing clips
- Iron and ironing board
- Fabric chalk or washable marker
- Optional thimble
- Optional seam ripper
Choose a thread color that closely matches the garment if you want the stitches to be less visible.
Choosing the Right Hem
Different garments require different types of hems.
A simple double-fold hem is a good choice for many woven fabrics.
A narrow rolled hem can work well for lightweight fabrics.
A deeper hem may be useful when shortening trousers, skirts, or dresses.
For your first project, start with a simple double-fold hem.
Step 1: Decide the Finished Length
Put the garment on or place it on a flat surface.
If you are adjusting clothing, determine where you want the finished edge to sit.
For trousers or skirts, try the garment on while wearing the shoes you normally use with it.
Mark the desired finished length with pins or washable fabric chalk.
Take your time at this stage because accurate measuring makes the finished garment look much better.
Step 2: Measure the Hem Allowance
Decide how much fabric you want to fold upward.
For a simple hem, approximately 2–4 centimeters can work well, depending on the garment and fabric.
Use a ruler or measuring tape to measure the same distance around the entire edge.
Mark the measurement with fabric chalk.
Try to keep the line even.
Step 3: Trim Excess Fabric if Necessary
If you are significantly shortening the garment, you may have excess fabric below the desired hemline.
Mark a cutting line below the finished length, leaving enough fabric for the hem allowance.
Cut carefully with fabric scissors.
Do not cut directly on the finished-length line because you need extra fabric to create the hem.
Step 4: Fold the Raw Edge
Fold the raw fabric edge inward by approximately 1 centimeter.
Press the fold with an iron.
This first fold helps hide the raw edge.
Then fold the fabric inward again to create the final hem.
Press the second fold flat.
Ironing is important because it helps keep the hem in place while you sew.
Step 5: Secure the Fold
Use pins or sewing clips to hold the hem.
Place the pins perpendicular to the edge or use clips at regular intervals.
Check the garment all the way around.
Make sure the hem is even and that there are no unwanted folds or puckers.
Step 6: Thread the Needle
Cut approximately 40–50 centimeters of matching thread.
Thread your needle.
Tie a small knot at the end.
Avoid using an extremely long thread because it can become tangled while you sew.
Step 7: Choose a Hand Stitch
Several stitches can be used for a hand-sewn hem.
Slip Stitch
Slip stitch is excellent when you want the stitches to be nearly invisible from the outside.
Blind Hem Stitch
A blind hem stitch creates a discreet finish and is useful for many garments.
Running Stitch
Running stitch is simple and quick, although the stitches may be more visible.
Catch Stitch
Catch stitch creates a flexible hem and can work well on some garments.
For a neat beginner project, slip stitch is a great option.
Step 8: Start Sewing
Begin at a side seam or another less noticeable location.
Take a tiny stitch through the folded hem.
Then take a very small stitch from the garment fabric just above the folded edge.
Continue alternating between the hem and the garment.
Keep the stitches small and relatively evenly spaced.
Avoid pulling the thread too tightly.
Step 9: Continue Around the Garment
Work your way around the entire hem.
Pause occasionally to check that the fabric remains smooth.
If you notice puckering, loosen the thread slightly.
Keep the hem width consistent.
For curved areas, such as the bottom of a skirt, make sure the fabric lies flat as you sew.
Step 10: Finish the Stitching
When you reach the point where you started, make two or three small securing stitches.
Tie a knot close to the fabric.
Trim the excess thread.
If possible, hide the knot inside the folded hem.
Step 11: Press the Finished Hem
After sewing, gently press the hem with an iron.
Use a temperature appropriate for the fabric.
Press rather than dragging the iron across the garment.
This helps the hem look crisp and professional.
How to Make a Hem on Trousers
Hand sewing is particularly useful for shortening trousers.
First, put on the trousers and mark the desired length.
Remove the trousers and measure the same amount around both legs.
Cut away the excess fabric if necessary, leaving enough material for the hem.
Fold and press the raw edge.
Secure the fold with pins.
Use a discreet slip stitch or blind hem stitch to attach the hem.
Make sure both trouser legs are exactly the same length before finishing.
How to Hem a Skirt or Dress
For skirts and dresses, the process is similar.
Mark the desired length.
Measure evenly around the entire garment.
Fold the raw edge inward.
Press the fold.
Secure it with pins.
Sew the hem using a suitable hand stitch.
For curved hems, take your time and use smaller stitches where necessary.
How to Hem Sleeves
Sleeves often require a smaller hem.
Turn the sleeve inside out if possible.
Mark the desired sleeve length.
Fold the raw edge inward and press it.
Use small stitches to secure the fold.
Be careful not to accidentally sew the front and back of the sleeve together.
Tips for a Neat Hand-Sewn Hem
Measure carefully before cutting.
Press every fold before sewing.
Use thread that matches the garment.
Keep your stitches small.
Do not pull the thread too tightly.
Use a thimble if the fabric is difficult to sew.
Work slowly around curves.
Check the garment’s length before completing the hem.
Common Beginner Mistakes
Cutting Too Much Fabric
Always leave enough fabric for the hem allowance.
Making an Uneven Hem
Measure carefully at several points around the garment.
Pulling the Thread Too Tightly
Tight stitches can cause puckering.
Making the Stitches Too Large
Large stitches can become visible and may not hold the hem securely.
Skipping the Iron
Pressing the folds makes the sewing process much easier and creates a cleaner finish.
Forgetting to Check the Length
Always try the garment on or measure carefully before permanently sewing the hem.
How to Make the Hem Nearly Invisible
If you want a professional-looking finish, use matching thread and a slip stitch or blind hem stitch.
Take only tiny bites of the visible garment fabric with your needle.
Most of the stitching should remain inside the folded hem.
This allows the garment to look neatly finished from the outside.
A Simple Practice Project
If you are new to hand sewing, practice making a hem on a scrap piece of fabric first.
Cut a rectangle of cotton.
Fold one edge inward.
Press it.
Fold it again.
Then practice slip stitch, running stitch, and blind hem stitch.
This gives you a chance to learn how much thread tension to use before working on an actual garment.
Final Thoughts
Learning how to make a hem by hand is an essential skill for beginners. It allows you to repair clothing, adjust garment lengths, and give handmade projects a clean and professional finish.
Start with a simple double-fold hem and practice on scrap fabric. Measure carefully, press the folds, use small stitches, and avoid pulling the thread too tightly.
With regular practice, you will become more comfortable hemming trousers, skirts, dresses, sleeves, and many other garments entirely by hand.
