
Table of Contents
Making Colored Crystals for Kids: 3 Colorful Recipes
Have you ever watched a child’s face light up like a fireworks show? That is exactly what happens when you grow your own sparkling crystals at home. Making Colored Crystals for Kids: A Fun Science Experiment is part magic trick, part real chemistry, and 100 percent awesome.
Here is a funny story. The first time I tried this with my niece, she checked the jar every seven minutes for two straight days. On day three, she screamed so loud when she saw the first tiny crystal that the dog hid under the couch for an hour. We still laugh about that. The crystals grew beautifully. The dog eventually forgave us.
What makes this recipe special is how simple it really is. You do not need a fancy lab or expensive supplies. Just sugar or borax, water, food coloring, and a little patience. It is so family-friendly that a four-year-old can measure the sugar while a grandparent helps with the hot water.
If you enjoyed our Rainbow Baking Soda Volcano experiment, you are going to love this even more. Volcanoes are exciting for five minutes. Crystals keep surprising you for a whole week.

So grab some jars and clear off the kitchen counter. You are about to become your child’s favorite scientist.
What is Making Colored Crystals for Kids: A Fun Science Experiment?
Have you ever wondered where this name even came from? Did a tired parent shout it after knocking over a jar of purple sugar water? Probably not, but it is fun to imagine. Making Colored Crystals for Kids: A Fun Science Experiment sounds official and fancy, but really it just means growing sparkly things in your kitchen without burning anything down.
There is an old saying: The way to a man’s heart is through his stomach. Well, the way to a kid’s heart is through their curiosity. And nothing makes a child more curious than watching a plain piece of string turn into a rainbow jewel overnight. The name stuck because it tells you exactly what you are getting. Colors. Crystals. Kids. Science. And yes, a little bit of happy chaos.
So stop overthinking it. Put on your imaginary lab coat and give this a try. Your kitchen counters might get sticky. Your kids might cheer. And you might just feel like a genius.
Why Will You Love This Colour Crystal Making for Kids: A Fun Science Experiment?
Let me count the ways. Actually, let me give you the top three reasons you will fall head over heels for this activity.
The main benefit is pure, unfiltered wonder. Screens are everywhere. Video games, tablets, YouTube. But crystals? Crystals are real. They grow slowly, silently, and beautifully right in front of your child’s eyes. That feeling of checking the jar each morning and seeing actual progress? Nothing digital can replace that. Your child learns patience without even trying. They learn that good things take time. And they get a sparkling trophy at the end.
The money-saving benefits are huge. A store-bought crystal growing kit costs fifteen to thirty dollars. It comes with a tiny packet of powder and a plastic container. You use it once and throw it away. This homemade version costs about two dollars per batch. Two dollars. You probably already have sugar, jars, and food coloring in your cupboard right now. Compare that to our Glow-in-the-Dark Slime recipe, which costs about five dollars per batch. Crystals are even cheaper and last much longer.
The ingredients are beautifully simple. White sugar that feels soft and fine between your fingers. Borax powder that looks like sparkling snow. Food coloring in little squeeze bottles that stain your hands in the happiest way. Hot water that steams and fogs up your glasses. And ordinary jars that turn into treasure chests. Every ingredient is safe, cheap, and already waiting in your kitchen.
Unlike complicated baking recipes that require special flours or tools, this one asks for almost nothing. You probably have everything right now. So why not start tonight?
How to Make Colorful Crystals for Kids: A Fun Science Experiment
Quick Overview
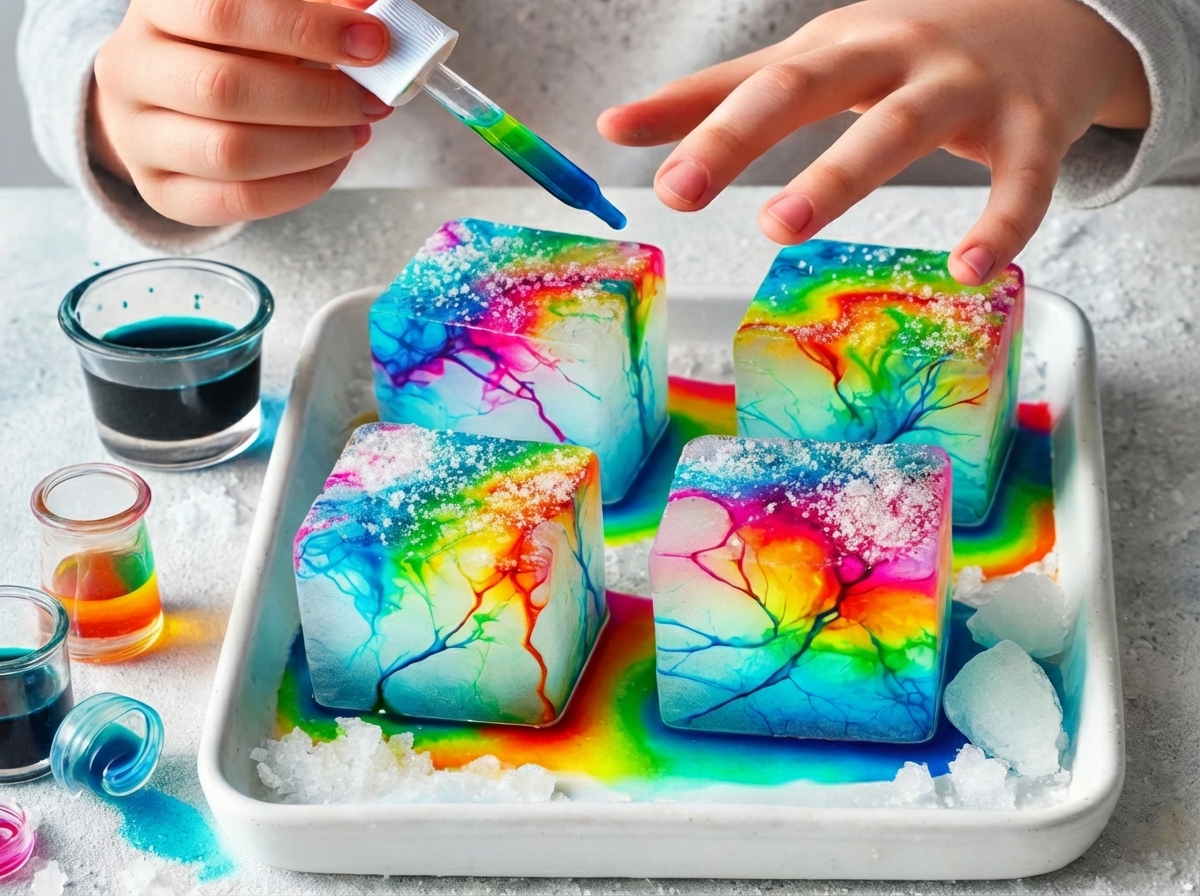
Here is the best part. Making Colorful Crystals for Kids: A Fun Science Experiment is almost embarrassingly easy. You boil water. You stir in sugar or borax until it disappears. You add a few drops of color. You hang a string or a pipe cleaner inside. Then you wait. That is it.
What makes this so satisfying is the surprise factor. Every batch turns out a little different. Sometimes you get giant chunky crystals like rock candy. Sometimes you get delicate, frosty branches that look like winter magic. Either way, it is beautiful.
Preparation time: 15 minutes of active work
Waiting time: 12 hours to 7 days depending on the recipe
Total time from start to finish: One hour of fun spread across one week of wonder
This is not a fast-food project. This is a slow-cooked, watch-it-grow, check-it-every-morning kind of adventure. And that is exactly why kids love it.
Main Ingredients for Making Colorful Crystals for Kids: A Fun Science Experiment
Here is everything you need to gather before you start. I have separated the ingredients by recipe so you can pick your favorite.
For All Recipes (Basic Supplies):
- 4 clean glass jars (pint-sized or mason jars work perfectly)
- 4 wooden skewers or craft sticks
- 4 pieces of cotton string or fishing line (each about 6 inches long)
- 4 pencils or butter knives to hang the string from
- Food coloring (gel or liquid – both work great)
- Measuring cups and spoons
- A small saucepan
- Adult supervision for handling hot water
For Recipe 1 – Rainbow Sugar Crystal Sticks:
- 4 cups of white granulated sugar
- 2 cups of water
- 10-15 drops of food coloring per jar
For Recipe 2 – Sparkly Borax Snowflakes:
- 9 tablespoons of borax powder (find this in the laundry aisle)
- 3 cups of water
- 10 pipe cleaners (any color – they will get covered anyway)
- 10-15 drops of food coloring per jar
For Recipe 3 – Edible Crystal Geodes:
- 4 cups of white granulated sugar
- 2 cups of water
- 4 clean, empty eggshell halves (boiled to sterilize)
- 1 teaspoon of flavored extract (cherry, lemon, or mint)
- 10-15 drops of food coloring
Step-by-Step Instructions
Step 1: Prepare Your Jars and Workspace
Wash your glass jars with hot soapy water. Rinse them completely. Any leftover soap residue can mess up your crystals. Set them on a towel to dry. Clear a spot on your kitchen counter where the jars will not be bumped. Remember the dog story from earlier? Keep the jars away from pets and running children.
Step 2: Boil Your Water
Fill your saucepan with the amount of water your chosen recipe needs. Bring it to a full rolling boil. You want big, angry bubbles. Not just little simmering ones. This is important because hot water holds more dissolved solid than warm water.
Step 3: Dissolve Your Solid (Sugar or Borax)
For sugar crystals: Remove the boiling water from heat. Slowly add your sugar one cup at a time. Stir constantly until the liquid looks clear like plain water. If you see any graininess, keep stirring. Undissolved sugar will make cloudy, gritty crystals.
For borax crystals: Remove the boiling water from heat. Add your borax powder and stir. Unlike sugar, borax will not fully dissolve. You will see a little powder sitting at the bottom. That is perfectly fine.
Step 4: Add Your Color and Flavor
Add 10 to 15 drops of food coloring to each jar before you pour the liquid. For edible geodes, add your flavored extract now too. Stir gently. Watch the color swirl and blend. This is the part where kids usually gasp.
Step 5: Prepare Your Crystal Base
For sugar sticks: Dip your wooden skewer into the liquid. Roll it in a little dry sugar. This gives the crystals a rough surface to grab onto.
For borax snowflakes: Shape your pipe cleaners into snowflakes, stars, or hearts. Twist the arms tightly so they hold their shape.
For edible geodes: Place your clean, dry eggshell halves into a shallow bowl with the open side facing down.
Step 6: Hang Your Base in the Liquid
Tie your string to the middle of a pencil. Tie the other end to your skewer or pipe cleaner. Lower it into the jar. The pencil rests across the top of the jar. Your crystal base should hang straight down without touching the bottom or the sides. If it touches, trim the string shorter.
Step 7: Wait Patiently (The Hardest Part)
Place your jars somewhere still and quiet. A top shelf in a closet is perfect. A kitchen counter near the fridge is not. Every time the fridge kicks on, it vibrates. Vibrations disturb crystal growth.
For sugar crystals: Wait 3 to 7 days. Check them each morning with a magnifying glass.
For borax snowflakes: Wait 12 to 24 hours. You will see fuzzy growth after half a day and full crystals the next morning.
For edible geodes: Wait 5 to 7 days. These grow slower because sugar takes longer than borax.
Step 8: Remove and Dry Your Crystals
When your crystals look thick and beautiful, carefully lift them out of the liquid. Place them on a paper towel. Do not rinse them. Let them air dry for a few hours. For borax snowflakes, they will dry in about an hour. For sugar sticks, give them a full day.
What to Serve With Your Crystal Creations
Crystals are not exactly a snack food, except for the edible geodes. So let me give you some fun pairing ideas that turn this science experiment into a full activity day.
For a science-themed playdate: Serve the crystals alongside a batch of our Fizzy Lemon Volcanoes. The volcanoes are loud and messy. The crystals are quiet and patient. Together they show two different sides of chemistry.
For a birthday party favor: Wrap each sugar crystal stick in clear cellophane. Tie it with a ribbon. Hand them out as party favors. Kids will think they are magical wands.
For a rainy afternoon: Display your borax snowflakes on a windowsill. Serve hot chocolate with marshmallows. Read a book about rocks and minerals. The crystals become your decor.
For the edible geodes: These actually taste like sugary candy. Serve them on a small plate with fresh berries. The tart berries balance the sweet crystals perfectly. Or crumble them over vanilla ice cream for a crunchy, sparkly topping.
Top Tips for Mastering Making Colorful Crystals for Kids – A Fun Science Experiment
After dozens of batches and a few hilarious failures, here is what I have learned.
Tip 1: Use distilled water if your tap water is hard. Hard water has minerals that compete with your sugar or borax. Distilled water gives you purer, clearer crystals. It costs about a dollar at any grocery store.
Tip 2: Heat your sugar solution longer than you think you need to. Most beginners stop stirring too soon. Keep stirring over low heat until the liquid looks like thin syrup. If you see sugar swirling at the bottom, keep going.
Tip 3: Do not skip the string prep. For sugar sticks, rolling the skewer in dry sugar makes a huge difference. Those tiny sugar grains give the big crystals something to grab onto. Without them, you might end up with a bare string and crystals only at the bottom of the jar.
Tip 4: Keep the jars completely still. I learned this the hard way. I placed my jars on top of the refrigerator. Every time the fridge motor ran, the crystals grew crooked and lumpy. Find a spot where no one walks, no doors slam, and no pets roam.
Tip 5: Be patient with sugar, but quick with borax. Sugar takes 5 to 7 days to grow big crystals. Borax grows overnight. If you check borax after 24 hours and see nothing, you probably did not use enough borax powder. The water should look slightly cloudy even after stirring.
Tip 6: Avoid common color mistakes. Adding too much food coloring can actually slow down crystal growth. Ten to fifteen drops per cup of water is plenty. Also, do not mix colors in the same jar unless you want brown. Red and blue make purple crystals, but only if you mix them before pouring. If you pour red and then blue separately, you get red crystals on one side and blue on the other.
How to Store Your Crystal Creations
You worked hard. Your child is proud. Now you want these crystals to last.
For sugar crystals (rainbow sticks and edible geodes): Sugar absorbs moisture from the air. On a humid day, your beautiful crystals can turn sticky or even melt slightly. Store them in an airtight container. Add a small silica gel packet if you have one. Those are the little do-not-eat packets that come with new shoes. They absorb extra moisture. Do not put sugar crystals in the refrigerator. The fridge is very humid. Your crystals will turn into a sticky puddle within days. At room temperature in a sealed container, sugar crystals last 2 to 4 weeks.
For borax snowflakes: Borax does not absorb moisture like sugar does. These are much tougher. Store them in a cardboard box or a zipper bag. They last for years. I have borax snowflakes from three years ago that still look perfect. Keep them out of direct sunlight, because sunlight will fade the food coloring over time. A closet or a drawer is ideal.
For display purposes: If you want to show off your crystals on a shelf, spray them lightly with clear acrylic sealer. This is the same spray that artists use to protect paintings. It creates a thin, invisible shield against humidity. Test it on one small crystal first to make sure you like the finish.
Do not wash your crystals. If they get dusty, use a soft paintbrush or a can of compressed air. Water will dissolve sugar crystals immediately. Even borax crystals can soften if you get them wet.
Final Thoughts
You did it. You turned sugar water into sparkling jewels. You turned a boring Tuesday afternoon into a week of excitement. And you showed your child that science is not just something in a textbook. It is something you can hold in your hand.
Making Colored Crystals for Kids: A Fun Science Experiment is more than a recipe. It is a memory maker. It is a patience builder. It is a kitchen counter conversation starter.
So go ahead. Pick a recipe. Gather your jars. Boil that water. And watch the magic happen. Your crystals are waiting.
https://www.ideaaschool.com/imple-science-experiments-for-children-at-home
https://www.ideaaschool.com/how-to-make-a-homemade-volcano-for-children
https://www.ideaaschool.com/simple-science-experiments-for-kids-at-home-7-cool-ideas