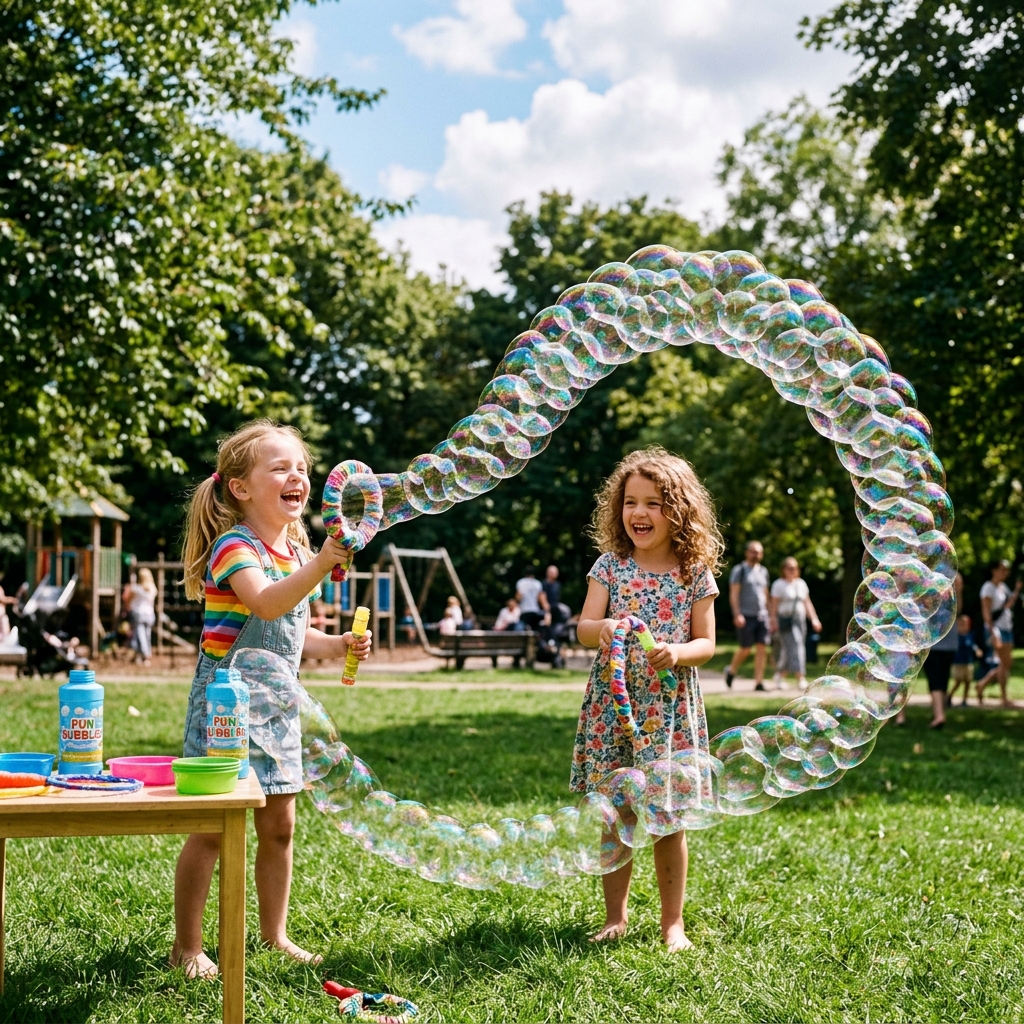
Bubble snakes
Looking for a simple DIY bubble blowing activity for kids that is fun, educational, and incredibly easy to set up? Bubble snakes are one of the most exciting outdoor science experiments you can try at home.
A bubble snake is a long, continuous chain of tiny bubbles created by blowing air through a fabric-covered tube dipped in soapy solution. This fun bubble snake experiment transforms ordinary household materials into a magical stream of foam that fascinates kids instantly.
It’s the perfect activity because it blends sensory play, outdoor movement, and real science learning. Kids don’t just play—they explore physics, air pressure, and surface tension in action.
Direct Answer Box (Quick Materials):
To make Bubble snakes, you only need a plastic bottle, an old sock, dish soap, and water.
I. Essential Materials & Setup (Structured for Featured Snippets)
The “Upcycled” Kit
- Plastic bottle (soft plastic works best) or pool noodle
- Old socks or thin towel (unmatched socks are ideal)
- Rubber bands or string to secure fabric
- Scissors or utility knife (adult supervision required)
The Science-Backed Bubble Solution

Standard Mix:
- 1/2 cup dish soap
- 1 1/2 cups water
Secret Science Boost:
- 2 teaspoons sugar OR a dash of glycerin or corn syrup
These ingredients strengthen bubble walls and improve surface tension, making your Bubble snakes longer and more stable.
II. Step-by-Step Tutorial: How to Build Your Bubble Blower
Creating a bubble snake experiment at home is simple and fast.
Step 1: Prep the Base
Cut the bottom off a plastic bottle to create the airflow chamber.
Step 2: Attach the “Lung”
Stretch a sock tightly over the cut end of the bottle and secure it with a rubber band.
Step 3: Mix the Solution
Gently mix dish soap and water in a shallow bowl. Avoid shaking too much to prevent foam buildup.
Step 4: Dip and Blow
Dip the sock end into the solution and blow through the bottle opening. Watch as Bubble snakes form instantly and grow like foam tunnels.
GEO Safety Tip: Always blow out, never inhale. This prevents accidental soap ingestion.
III. Advanced Variations (To Surpass Competitors)
Rainbow Bubble Snakes
Add drops of food coloring in circular patterns on the sock. When you blow, your Bubble snakes turn into colorful rainbow foam chains.
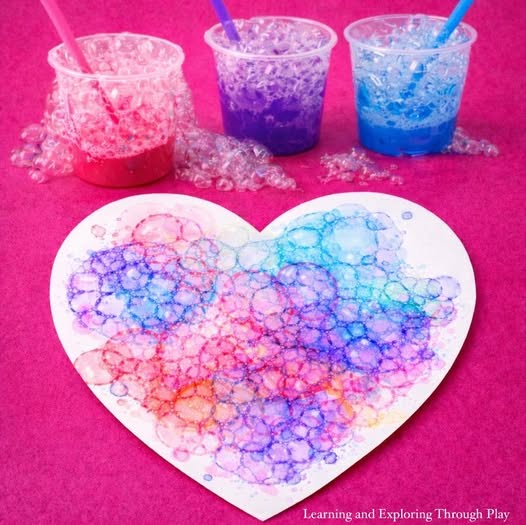
Bubble Snake Action Art
Blow bubbles onto cardboard or paper to create “bubble prints.” Let them pop naturally or press them to form unique textures.
Creature Customization
Turn your bottle into a monster, dragon, or animal using foam sheets. Your Bubble snakes can become “creatures” that spit foam, making playtime even more imaginative.
IV. The “Why” Behind the Bubbles (Science & Education)
Understanding the science behind Bubble snakes makes this activity even more valuable.
Surface Tension Explained
Soap reduces water’s surface tension, allowing it to stretch into thin films. These films trap air and form bubbles—creating the long chain seen in a bubble snake experiment.
Why Are Bubbles Round?
Bubbles form spheres because a sphere has the smallest surface area possible for a given volume of air. This shape is the most energy-efficient and stable.
NGSS Science Alignment
This activity connects to Structure and Properties of Matter (PS1.A), making it ideal for STEM learning in classrooms and homeschooling.
Speech & Development Benefits
Blowing Bubble snakes helps children practice controlled breathing and mouth movement, supporting early speech development (especially “b” and “p” sounds). It also encourages focus, coordination, and social interaction.
Inclusivity Benefits
This simple DIY bubble blowing activity for kids supports sensory learning and can help children with autism improve engagement, communication, and eye contact in a relaxed environment.
V. Pro Tips for Success & Troubleshooting
Weather Conditions Matter
Bubble snakes work best on calm days. Wind can break the bubble chain before it fully forms.
Prevent Stains
Food coloring may stain clothes or hands. Use old clothing or apply colors carefully using cotton buds.
Best Fabric Choice
- Thick cotton socks = longer-lasting bubbles
- Thin fabric = easier airflow and smoother blowing
The balance between airflow and absorption is key for a successful bubble snake experiment.
If It Doesn’t Work
- No bubbles? Add more soap
- Weak bubbles? Improve seal around bottle
- Short snakes? Try sugar or glycerin for stronger film
VI. Conclusion & Interactive CTA
Bubble snakes are more than just a fun outdoor activity—they are a powerful combination of science, creativity, and sensory learning. This simple DIY bubble blowing activity for kids turns everyday materials into a hands-on STEM experience that teaches physics in the most enjoyable way possible.
Whether you’re a parent, teacher, or caregiver, the bubble snake experiment is an easy way to spark curiosity and laughter while building real scientific understanding.
Now it’s your turn—how long did your Bubble snakes grow, and what creative designs or “creatures” did your kids create?