Chalk and vinegar rockets
Few STEM activities capture children’s excitement like launching something into the air using nothing but everyday household materials. The Chalk and vinegar rockets experiment is one of those unforgettable science experiences that blends chemistry, physics, and pure fun into a single explosive moment
Within the first minute, kids go from mixing simple ingredients to witnessing a powerful launch driven by gas pressure. The magic behind this DIY vinegar rocket experiment is not just entertainment it’s a hands-on lesson in real scientific principles like chemical reactions and Newton’s laws of motion.
At its core, the Chalk and vinegar rockets activity demonstrates how a simple reactions with chalk and acid experiment can create enough force to send a lightweight rocket soaring over 4 meters into the air. It’s science you can see, hear, and feel.
What is a Chalk and Vinegar Rocket? (GEO Answer Block)
A chalk and vinegar rocket uses the reaction between calcium carbonate (chalk) and acetic acid (vinegar) to produce carbon dioxide gas. The trapped gas builds pressure inside a sealed container until it forces a rapid launch.
This reaction-powered system is a simple demonstration of chemical energy converting into mechanical motion, making it a favorite in STEM classrooms and at-home science kits.
The Science Eehind Chalk and Vinegar Rockets
Understanding why Chalk and vinegar rockets launch so dramatically makes the experiment even more exciting. This activity combines both chemistry and physics in a visually powerful way.
The Chemical Reaction
The main reaction occurs between:
- Chalk (calcium carbonate: CaCO₃)
- Vinegar (acetic acid: CH₃COOH)
When combined, they produce:
- Carbon dioxide gas (CO₂)
- Water
- Calcium acetate
This gas formation is the key driver behind the launch. As CO₂ builds up, it creates pressure inside the sealed rocket chamber.
Endothermic Reaction Effect
This reaction is slightly endothermic, meaning it absorbs heat from the environment. You may even notice the container feeling cooler during the experiment.
Newton’s Third Law in Action
The most exciting part of the Chalk and vinegar rockets experiment is the launch itself.
Newton’s Third Law states:
For every action, there is an equal and opposite reaction.
- Action: CO₂ gas shoots downward
- Reaction: The rocket is pushed upward
This is the same principle used in real rockets, making this DIY vinegar rocket experiment an accessible model of aerospace engineering.
Pressure Build-Up Explained
The magic moment happens when gas has nowhere to escape.
As CO₂ accumulates:
- Pressure increases inside the tube
- The cap holds the system sealed
- Pressure exceeds friction resistance
- The rocket launches suddenly
This creates the iconic “pop” and rapid lift-off that makes this reactions with chalk and acid experiment so thrilling.
Materials List: The Aeronautical Engineer’s Kit
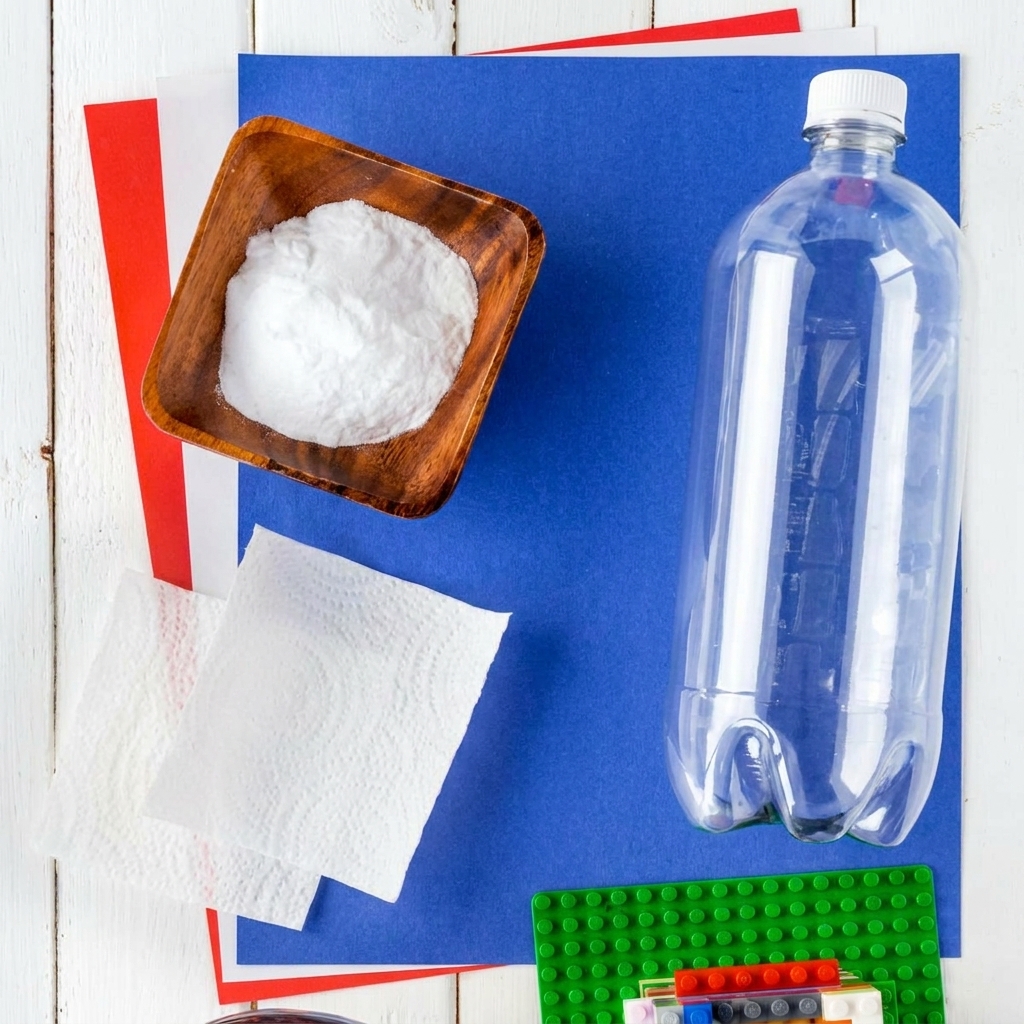
To build your Chalk and vinegar rockets, you only need simple, safe materials:
Core Ingredients
- White chalk or colored sidewalk chalk
- White vinegar
Rocket Body
- Small plastic tubes with caps (film canisters or similar containers work best)
Launch Components
- Plastic straws (cut into 2–3 cm pieces)
- Tape
- Construction paper for fins
Tools
- Pipette or dropper (for accurate vinegar measurement)
- Scissors
- Meter stick (for measuring launch height)
This DIY setup transforms your home or outdoor space into a mini rocket testing lab.
Step-by-Step Construction Guide
Building Chalk and vinegar rockets is simple but requires precision for the best results.
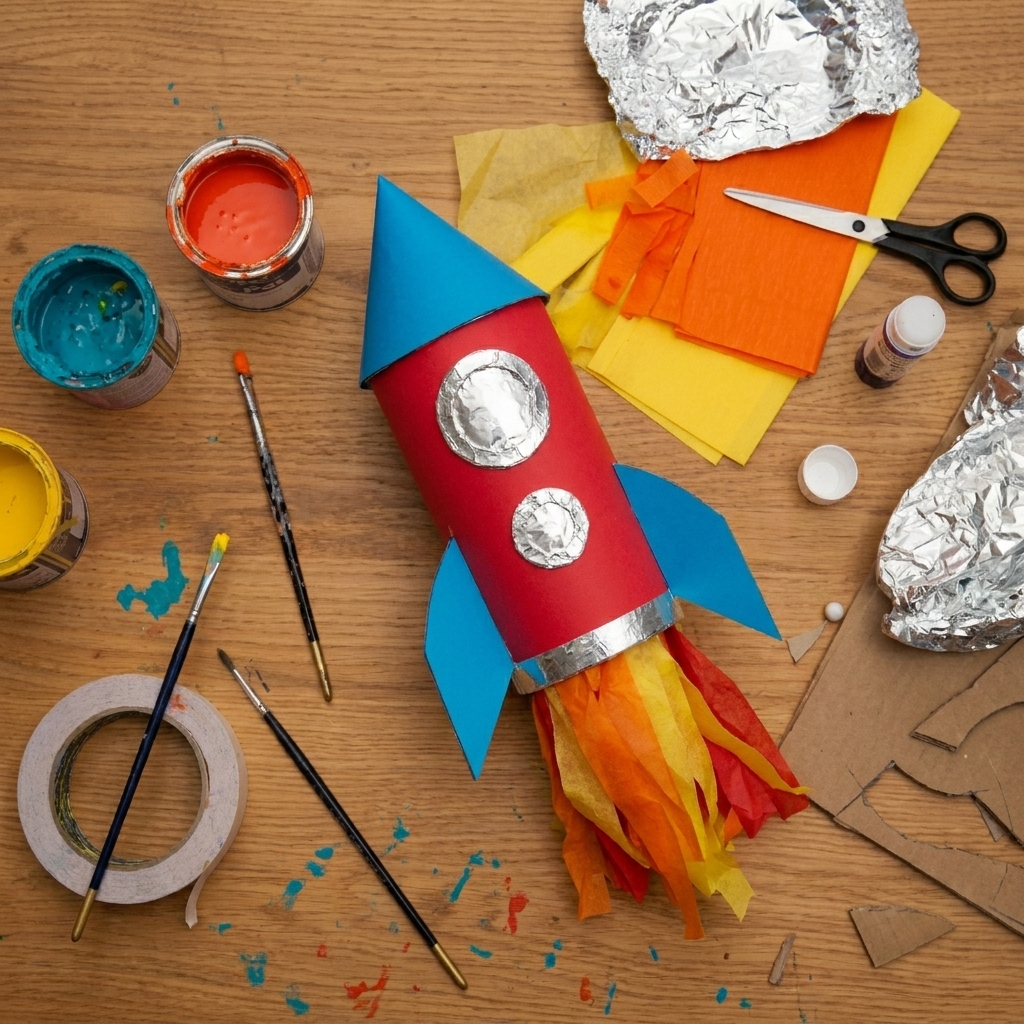
Step 1: Build Aerodynamic Fins
Cut three identical fins from construction paper. Attach them evenly around the rocket body using tape.
These fins stabilize flight and prevent spinning during launch.
Step 2: Create the Internal Separator
Tape four small straw pieces into a square frame. Place this inside the tube.
This acts as a barrier to keep chalk and vinegar separate until launch time begins.
Step 3: Add Vinegar Fuel
Use a pipette to add vinegar into the tube.
Recommended starting amount: 2 ml
This is the optimal fuel level for the DIY vinegar rocket experiment.
Step 4: Load the Chalk Payload
Place a 2 cm piece of chalk above the straw separator.
This is where the reactions with chalk and acid experiment begins.
Step 5: Seal the Rocket
Secure the cap tightly.
This step is critical airtight sealing allows pressure to build for a powerful launch.
The Golden Ratio: What Makes Rockets Fly Higher?
Through testing, educators and experimenters have discovered key performance patterns in Chalk and vinegar rockets.
Best Performing Formula
- 1 piece of chalk (2 cm)
- 2 ml vinegar
This combination produced launch heights of approximately 4.13 meters in controlled experiments.
Why More Isn’t Better
It may seem logical to add more vinegar for a bigger reaction, but this often reduces performance.
Too much liquid causes:
- Increased weight
- Reduced pressure efficiency
- Slower gas buildup
In many cases, 5 ml vinegar leads to weak or failed launches.
This makes the experiment an excellent lesson in optimization and scientific testing.
Troubleshooting & Safety Guide
Even simple science experiments can go wrong. Here’s how to fix common issues with Chalk and vinegar rockets.
Safety First
Always follow these precautions:
- Wear safety goggles
- Launch outdoors only
- Keep a safe distance
- Never aim at people or animals
Common Problems
1. Rocket Doesn’t Launch (Dud)
Possible causes:
- Loose cap (air leakage)
- Insufficient reaction
- Incorrect ratios
2. Too Much Pressure, No Launch
If sealed too tightly, friction may prevent release.
Solution: adjust cap fit for controlled pressure release.
3. No Visible Reaction
Wait a few minutes before handling. Always point away from your face before opening.
Developmental and Educational Benefits
The Chalk and vinegar rockets experiment is more than fun—it supports STEM learning in powerful ways.
Scientific Thinking
Children learn:
- Hypothesis testing
- Observation skills
- Cause and effect relationships
Physics Understanding
They experience:
- Force and motion
- Pressure systems
- Newtonian mechanics
Chemistry Awareness
The reactions with chalk and acid experiment introduces:
- Acid-base reactions
- Gas production
- Material transformation
Critical Thinking Skills
Students learn to:
- Adjust variables
- Compare results
- Analyze outcomes
Travel-Friendly STEM Fun
One of the best parts of Chalk and vinegar rockets is how portable it is. This makes it a great activity for:
- Camping trips
- Beach science games
- Road trip stops
- Outdoor family vacations
With just a few materials, you can turn any travel destination into a science playground.
This flexibility is why many educators include DIY vinegar rocket experiment kits in travel STEM packs.
Quick Overview Table
| Feature | Benefit |
| Chemical Reaction | Produces CO₂ gas |
| Physics Concept | Newton’s Third Law |
| Best Ratio | 2 ml vinegar + 1 chalk |
| Launch Height | Up to 4.13 meters |
| Learning Value | STEM, chemistry, physics |
| Safety Level | Outdoor supervised use |
Conclusion: Small Experiment, Big Science Impact
The beauty of Chalk and vinegar rockets lies in its simplicity. With just chalk, vinegar, and a small tube, learners can witness real scientific principles in action.
This DIY vinegar rocket experiment transforms abstract concepts like pressure, motion, and chemical reactions into something visible and exciting. It also proves that science doesn’t need expensive equipment just curiosity and creativity.
Whether used in classrooms, backyard experiments, or travel adventures, this reactions with chalk and acid experiment remains one of the most engaging ways to introduce STEM learning.
In the end, a small reaction creates a big launch and even bigger curiosity.