
Introduction
Have you ever looked at an old lamp and wondered if it could become something truly beautiful? Many people replace outdated lamps when a simple makeover could completely transform them. The good news is that you don’t need expensive materials or professional decorating skills to create a stunning piece of home décor.
The most beautiful idea for decorating lamps looks surprisingly nice because it combines creativity, simplicity, and affordability. With a few basic supplies and a little imagination, you can turn an ordinary lamp into an eye-catching centerpiece that enhances any room. Whether you love modern, rustic, bohemian, or farmhouse styles, this DIY project can be customized to fit your personal taste.
Decorative lamps do much more than provide light. They create atmosphere, add personality, and serve as statement pieces in your living room, bedroom, office, or reading corner. A well-decorated lamp can instantly elevate the appearance of your space without requiring a complete room makeover.
In this detailed guide, you’ll learn exactly how to create the most beautiful idea for decorating lamps looks surprisingly nice in just five easy steps. We’ll also explore design tips, material suggestions, common mistakes to avoid, and creative variations that will inspire your next DIY project.
Let’s get started.
Quick Overview Table
| Feature | Details |
| Project Type | DIY Lamp Decoration |
| Difficulty Level | Easy |
| Time Required | 1–3 Hours |
| Cost | Budget-Friendly |
| Best For | Living Rooms, Bedrooms, Offices |
| Materials Needed | Lamp, Paint, Glue, Decorative Elements |
| Skill Level | Beginner-Friendly |
| Style Options | Modern, Rustic, Farmhouse, Boho |
| Main Benefit | Transforms Old Lamps Beautifully |
| Steps Required | 5 Simple Steps |
Why Decorative Lamps Are Trending
Homeowners and DIY enthusiasts are constantly searching for creative ways to personalize their living spaces. Decorative lamps have become increasingly popular because they offer a unique opportunity to combine functionality with artistic expression.
Unlike large furniture projects, lamp makeovers are inexpensive and manageable. Even beginners can achieve professional-looking results with minimal effort.
Some reasons decorative lamps are trending include:
- Affordable home upgrades
- Easy customization
- Sustainable upcycling
- Endless design possibilities
- Perfect for small spaces
- Great weekend DIY projects
The most beautiful idea for decorating lamps looks surprisingly nice because it takes something ordinary and turns it into a conversation piece.
Materials You’ll Need
Before starting your project, gather all necessary supplies.
Basic Materials
- Old or plain lamp
- Cleaning cloth
- Mild soap
- Sandpaper (optional)
- Paint primer
- Acrylic paint
- Paintbrushes
- Strong craft glue
- Protective newspaper
Decorative Materials
Choose decorations based on your preferred style:
- Jute rope
- Lace
- Wooden beads
- Artificial flowers
- Rhinestones
- Seashells
- Fabric scraps
- Ribbon
- Twine
- Decorative stickers
Optional Supplies
- Spray paint
- Hot glue gun
- Metallic paint
- LED fairy lights
- Stencils
- Protective sealant
Step 1: Clean and Prepare the Lamp
Preparation is one of the most important parts of any DIY project.
A dirty surface prevents paint and decorations from adhering properly. Begin by unplugging the lamp and removing the lampshade if possible.
Cleaning Process
- Wipe away dust.
- Wash with mild soap and water.
- Dry thoroughly.
- Remove loose paint.
- Lightly sand glossy surfaces.
Proper preparation creates a smooth foundation for decorating.
Why This Step Matters
Skipping preparation often results in:
- Peeling paint
- Uneven finishes
- Weak glue adhesion
- Shorter project lifespan
Taking time to prepare the lamp ensures beautiful long-lasting results.
Step 2: Choose Your Design Theme
The most beautiful idea for decorating lamps looks surprisingly nice because it can be customized for any interior design style.
Modern Style
Features:
- Neutral colors
- Clean lines
- Metallic accents
- Minimal decorations
Popular colors:
- White
- Black
- Gray
- Gold
- Silver
Rustic Style
Features:
- Natural textures
- Wood accents
- Jute rope
- Earth tones
Popular colors:
- Brown
- Beige
- Olive green
- Cream
Bohemian Style
Features:
- Bright colors
- Beads
- Tassels
- Artistic patterns
Popular colors:
- Turquoise
- Orange
- Purple
- Pink
Farmhouse Style
Features:
- Distressed paint
- Neutral shades
- Natural materials
- Vintage charm
Popular colors:
- White
- Cream
- Soft gray
Selecting a theme before decorating helps maintain a cohesive design.
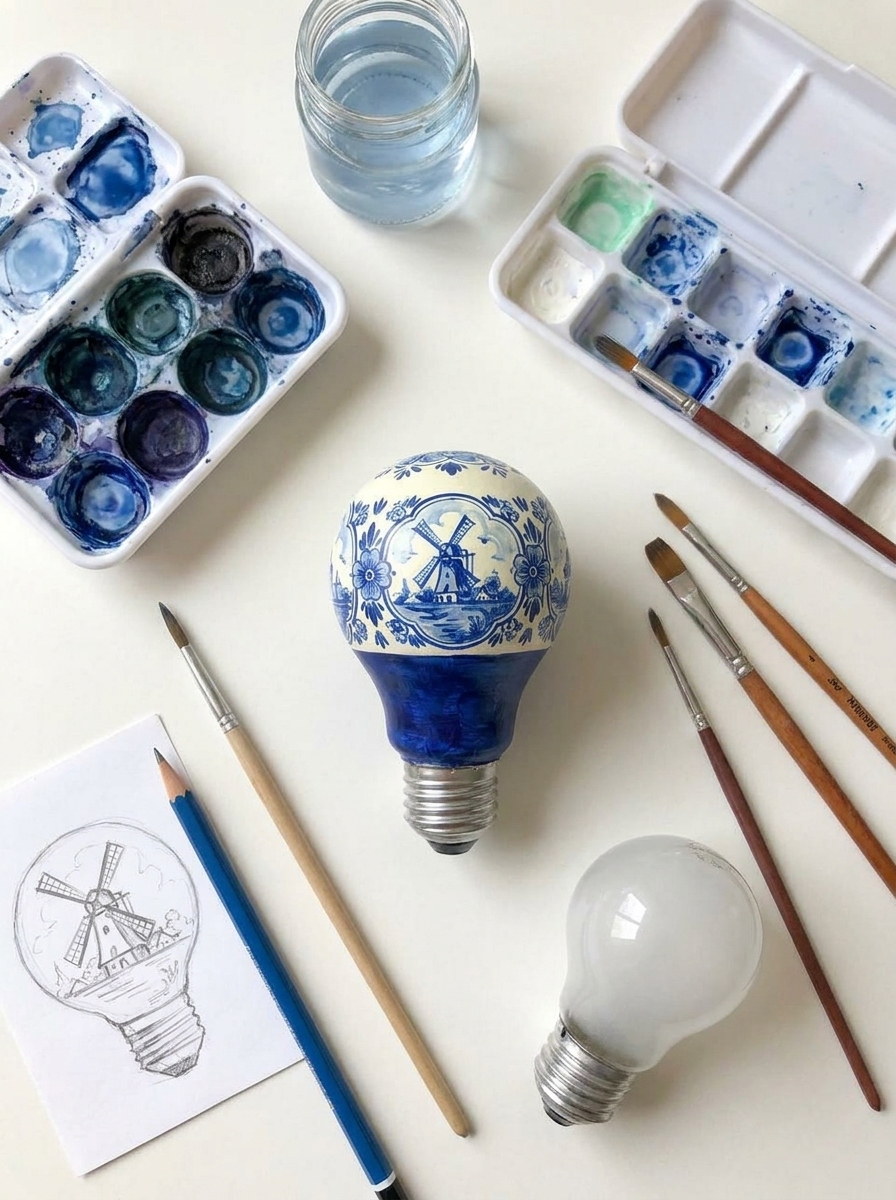
Step 3: Paint the Lamp Base
Paint instantly transforms the appearance of a lamp.
Applying Primer
If the lamp has a glossy surface:
- Apply primer.
- Allow drying time.
- Lightly sand if needed.
Painting Tips
Apply thin coats instead of one thick coat.
Benefits include:
- Smooth finish
- Faster drying
- Better durability
Popular Color Combinations
Elegant Gold and White
Perfect for:
- Bedrooms
- Living rooms
- Offices
Black and Gold
Perfect for:
- Modern interiors
- Luxury-themed spaces
Cream and Beige
Perfect for:
- Farmhouse décor
- Rustic homes
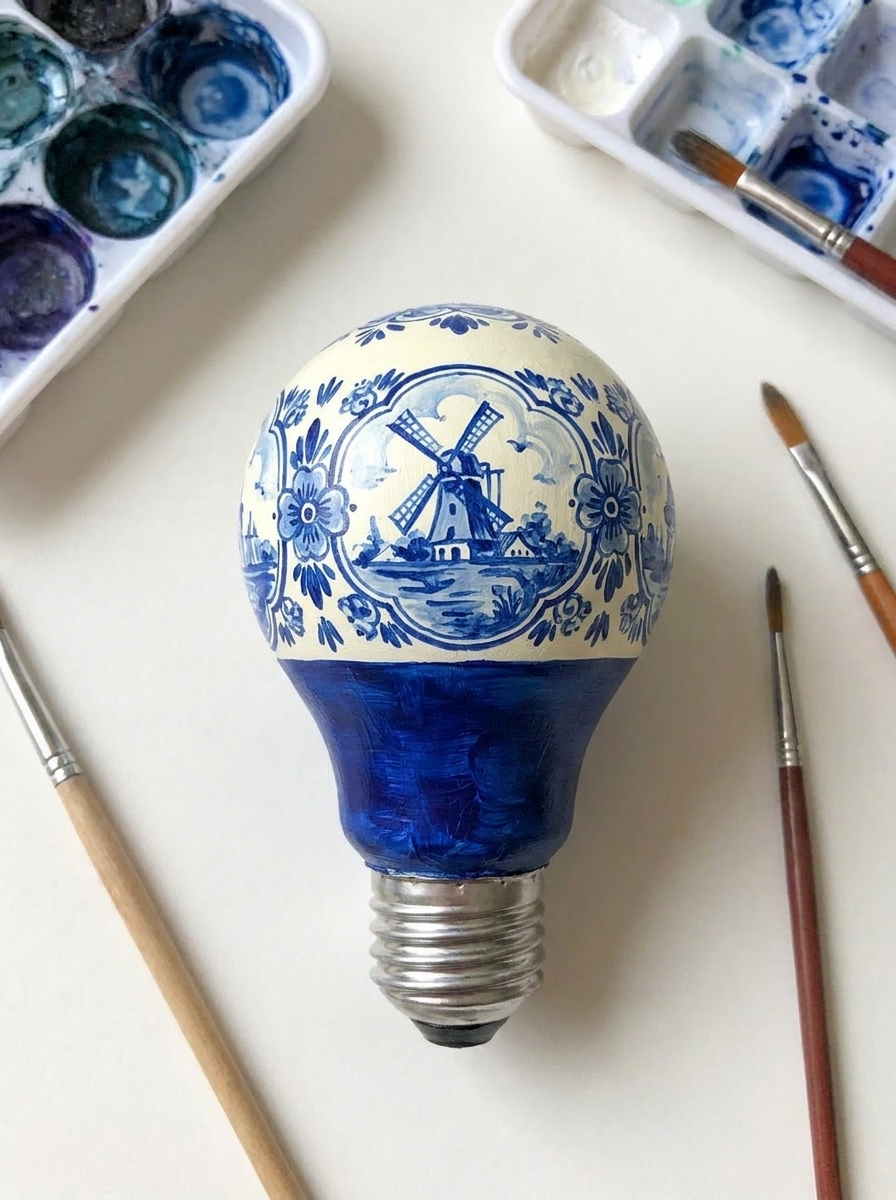
Blue and White
Perfect for:
- Coastal-inspired rooms
Allow paint to dry completely before moving to the next step.
Step 4: Add Decorative Elements
This is where creativity shines.
The most beautiful idea for decorating lamps looks surprisingly nice when decorative details complement the painted base.
Option 1: Rope Wrap Design
Wrap jute rope around sections of the lamp.
Benefits:
- Rustic appearance
- Affordable materials
- Easy application
Option 2: Floral Decoration
Attach artificial flowers around the base.
Benefits:
- Romantic style
- Colorful design
- Perfect for bedrooms
Option 3: Wooden Beads
Glue decorative beads in patterns.
Benefits:
- Natural look
- Modern boho style
Option 4: Rhinestone Accents
Add sparkling rhinestones.
Benefits:
- Glamorous appearance
- Reflects light beautifully
Option 5: Fabric Covering
Wrap decorative fabric around portions of the lamp.
Benefits:
- Unique texture
- Endless pattern options
Remember not to overcrowd the design.
Simple details often create the most elegant results.
Step 5: Finish and Protect Your Design
The final step ensures durability.
Inspect Your Work
Check for:
- Loose decorations
- Uneven paint
- Visible glue spots
Apply Protective Sealant
Benefits:
- Protects paint
- Increases durability
- Enhances appearance
Choose:
- Matte finish
- Satin finish
- Gloss finish
Allow everything to dry completely before using the lamp.
Creative Decoration Variations
If you’d like to personalize your lamp further, consider these creative variations.
Coastal Lamp Design
Materials:
- Seashells
- White paint
- Sand-colored rope
Perfect for beach-themed homes.
Vintage Lace Lamp
Materials:
- Lace trim
- Cream paint
- Antique-style embellishments
Perfect for romantic décor.
Nature-Inspired Lamp
Materials:
- Wooden beads
- Faux leaves
- Natural twine
Perfect for eco-friendly interiors.
Luxury Crystal Lamp
Materials:
- Crystal gems
- Metallic paint
- Decorative rhinestones
Perfect for elegant spaces.
Common Mistakes to Avoid
Using Too Many Decorations
Overdecorating can make the lamp look cluttered.
Skipping Cleaning
Dust and grease reduce adhesion.
Applying Thick Paint Layers
This causes drips and uneven finishes.
Ignoring Drying Times
Rushing often damages the final result.
Choosing Conflicting Colors
Stick to a coordinated color palette.
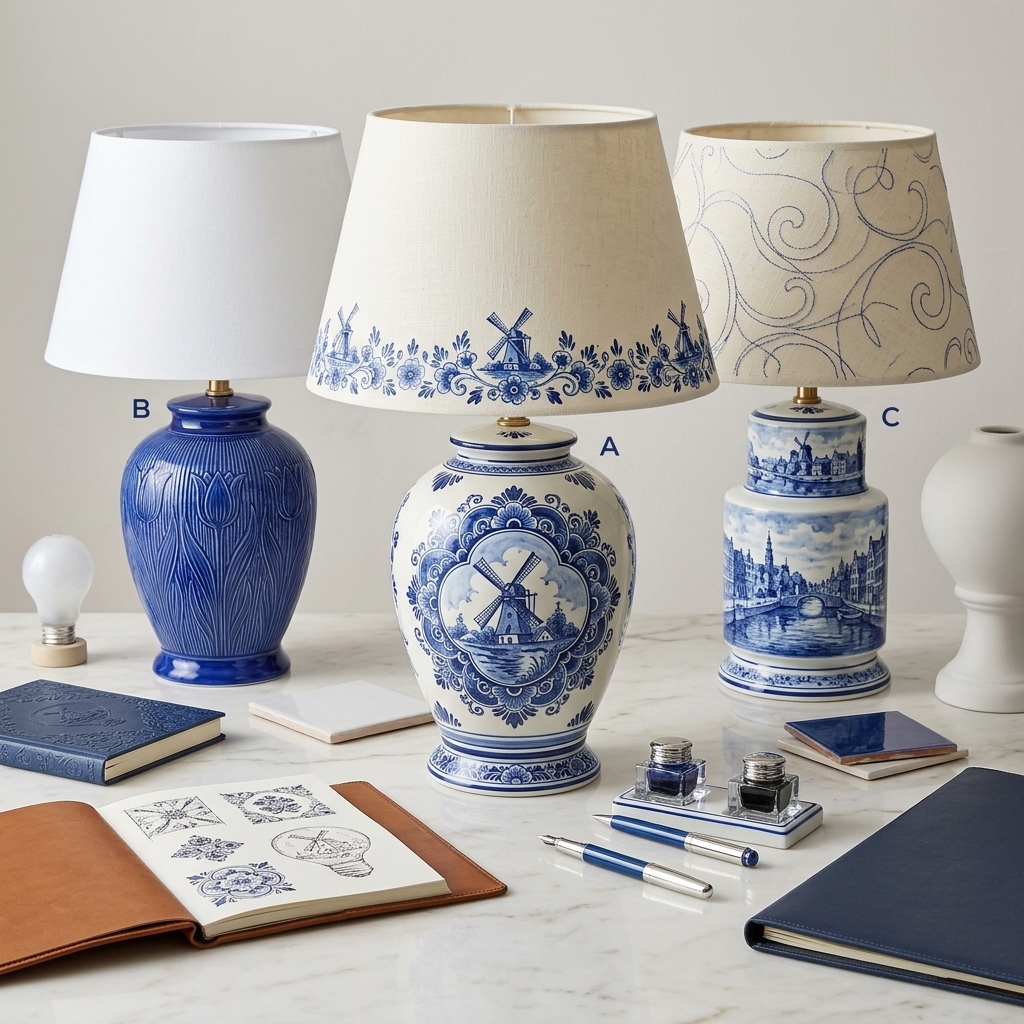
Best Places to Display Your Decorated Lamp
Once your masterpiece is complete, place it where it can shine.
Living Room
Creates a stylish focal point.
Bedroom
Adds warmth and personality.
Home Office
Enhances productivity and aesthetics.
Reading Corner
Provides cozy ambient lighting.
Entryway Table
Makes a memorable first impression.
Budget-Friendly Decorating Tips
You don’t need expensive materials to achieve beautiful results.
Reuse Existing Materials
Look around your home for:
- Leftover fabric
- Old jewelry
- Buttons
- Ribbon
Shop at Craft Stores
Many affordable decorative supplies are available.
Upcycle Household Items
Consider using:
- Mason jars
- Twine
- Wooden sticks
- Decorative paper
Creativity matters more than budget.
Benefits of DIY Lamp Decoration
The most beautiful idea for decorating lamps looks surprisingly nice while offering several benefits.
Saves Money
Decorating an old lamp costs far less than buying a new designer piece.
Encourages Creativity
DIY projects allow personal expression.
Supports Sustainability
Upcycling reduces waste.
Creates Unique Décor
No two handmade lamps are exactly alike.
Provides Personal Satisfaction
Completing a project yourself feels rewarding.
Frequently Asked Questions
Can beginners complete this project?
Yes. The project is beginner-friendly and requires only basic crafting skills.
What type of paint works best?
Acrylic paint is typically the easiest and most versatile option.
How long does the project take?
Most lamp makeovers can be completed within one to three hours, excluding drying time.
Can I decorate the lampshade too?
Absolutely. Fabric, ribbon, paint, and trim can enhance the lampshade.
Is sealing necessary?
While optional, a protective sealant greatly improves durability.
Final Thoughts
The most beautiful idea for decorating lamps looks surprisingly nice because it combines creativity, affordability, and personal style into one simple DIY project. Instead of discarding an old lamp, you can transform it into a beautiful decorative feature that reflects your personality and complements your home’s design.
By following these five simple steps—preparing the lamp, choosing a theme, painting the base, adding decorative details, and protecting the finished design—you can achieve impressive results without spending a fortune.
Whether you prefer modern elegance, rustic charm, farmhouse simplicity, or bohemian creativity, this project offers endless possibilities. With a little effort and imagination, an ordinary lamp can become one of the most beautiful decorative pieces in your home.
Now gather your materials, unleash your creativity, and start creating a lamp that truly looks surprisingly beautiful.