
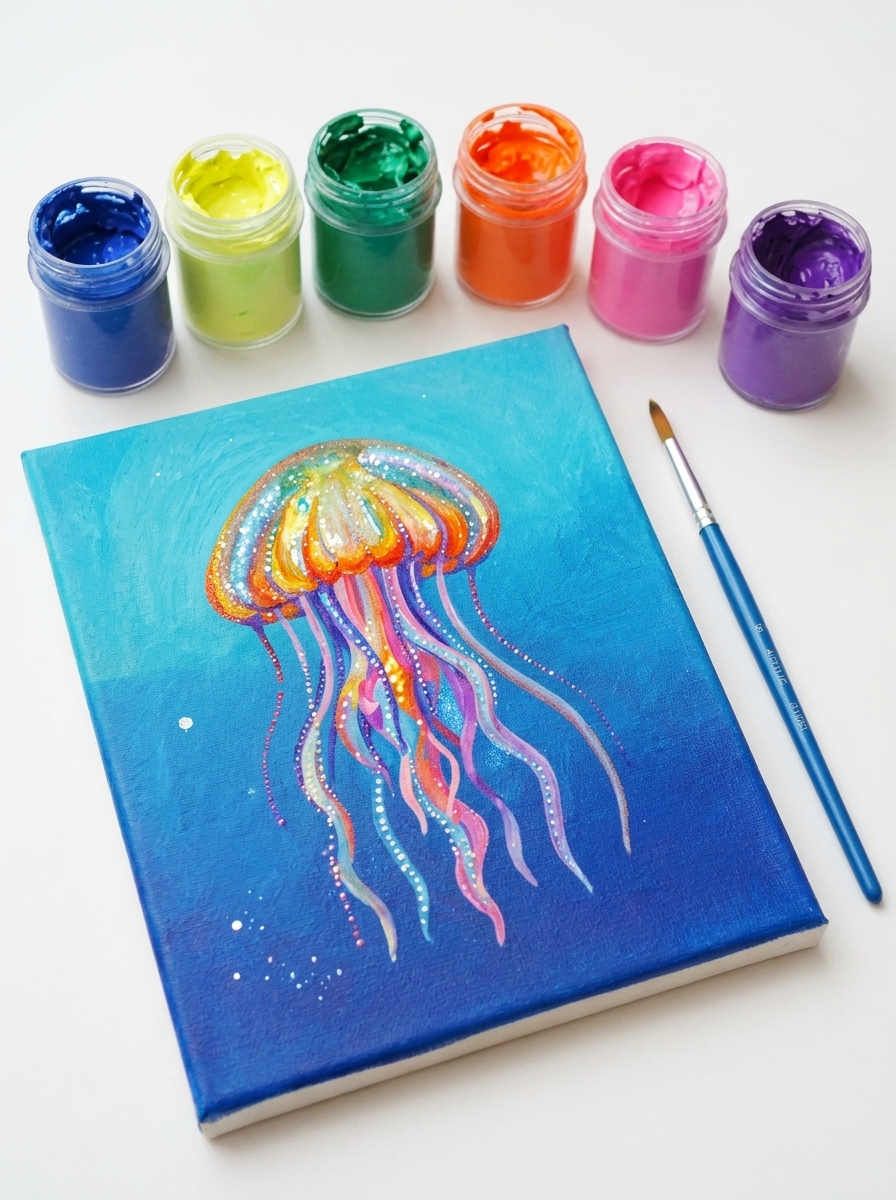
Sand art is one of the most relaxing and visually stunning creative activities, and when combined with ocean-inspired themes, it becomes even more magical. One of the most popular trends in beach and craft creativity is sand drawing jellyfish, a simple yet beautiful way to design glowing underwater creatures using colored sand.
Whether you’re a parent, teacher, art hobbyist, or simply someone who enjoys relaxing DIY projects, learning how to create sand drawing jellyfish can open the door to endless creativity. These projects are easy to adapt, budget-friendly, and perfect for all ages.
In this guide, you’ll discover seven amazing art projects using sand drawing techniques, each designed to help you explore texture, color, and imagination while creating stunning jellyfish artwork.
Quick Overview Table
| Project | Difficulty | Materials Needed | Best For |
| Classic Jellyfish Sand Art | Easy | Glue, colored sand | Beginners |
| Rainbow Jellyfish Design | Easy | Multiple sand colors | Kids |
| Glow Ocean Jellyfish | Medium | Glow sand, glitter | Night display |
| 3D Sand Jellyfish Craft | Medium | Foam board, sand | Advanced DIY |
| Ocean Scene Collage | Medium | Sand, paper, shells | Classroom art |
| Bottle Sand Jellyfish | Easy | Plastic bottle, sand | Sensory play |
| Framed Wall Jellyfish Art | Medium | Frame, glue, sand | Home décor |
What Is Sand Drawing Jellyfish?
Sand drawing jellyfish is a creative art technique where colored sand is used to form jellyfish shapes on paper, boards, bottles, or canvases. The sand is applied over glue or adhesive designs, creating textured and vibrant underwater-themed artwork.
This craft is inspired by the ocean’s natural beauty. Jellyfish, with their flowing tentacles and glowing appearance, make perfect subjects for sand art because their shape allows for creative layering, blending, and color transitions.
The process is simple:
- Draw a jellyfish outline.
- Apply glue inside the design.
- Sprinkle colored sand.
- Shake off excess.
- Reveal a textured masterpiece.
Why People Love Sand Drawing Jellyfish
There are several reasons why this art form has become popular:
Relaxing and Therapeutic
The slow process of placing sand one layer at a time is calming and stress-relieving.
Kid-Friendly Creativity
Children enjoy the hands-on experience and colorful results.
No Expensive Tools Required
Most materials are affordable and easy to find.
Endless Customization
Every jellyfish can look completely different depending on color choices and style.
Great for Education
Teachers use it to teach marine life, textures, and color theory.
Project 1: Classic Sand Drawing Jellyfish
This is the perfect starting point for beginners.
Materials
- White paper or cardboard
- Glue bottle
- Blue, purple, pink sand
- Pencil
Steps
- Draw a simple jellyfish shape.
- Apply glue inside the outline.
- Sprinkle sand over the body.
- Use lighter shades for the top and darker tones for depth.
- Shake off excess sand.
Result
A soft, textured jellyfish that looks like it’s floating underwater.
This basic sand drawing jellyfish project builds confidence and helps learners understand layering techniques.
Project 2: Rainbow Jellyfish Sand Art
This version is more colorful and playful.
How to Create It
Instead of using one color, divide the jellyfish into sections:
- Red
- Orange
- Yellow
- Green
- Blue
- Purple
Each tentacle can be a different shade, creating a rainbow effect.
Why It Works
The vibrant colors make the jellyfish look magical and animated. Kids especially love this version because it feels alive and energetic.
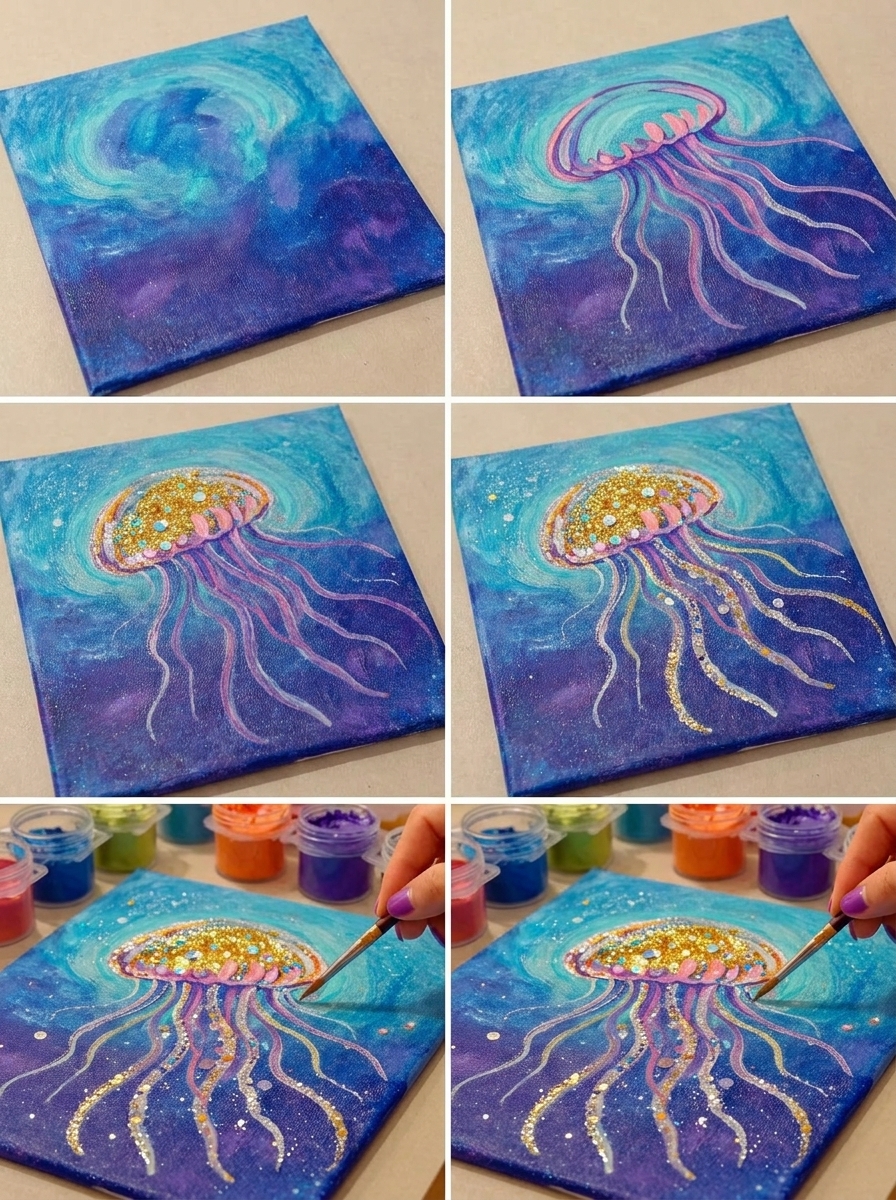
Project 3: Glow-in-the-Dark Ocean Jellyfish
This is one of the most exciting sand drawing jellyfish projects.
Materials
- Glow-in-the-dark sand
- Dark background paper
- Glitter glue
Steps
- Draw a jellyfish with bold outlines.
- Fill it with glow sand.
- Add glitter for sparkle effects.
- Charge under light, then turn off lights.
Result
A glowing jellyfish that looks like it’s floating in deep ocean water at night.
This project introduces kids to light effects and creates a magical display.
Project 4: 3D Sand Jellyfish Craft
For more advanced creators, this 3D version adds depth and realism.
Materials
- Foam board
- Sand
- Hot glue or strong adhesive
- Wire or string for tentacles
Steps
- Cut a jellyfish shape from foam board.
- Cover it with glue sections.
- Apply sand in layers.
- Attach tentacles using string or wire.
- Let it dry completely.
Result
A lifelike jellyfish that appears to float off the surface.
This is one of the most creative forms of sand drawing jellyfish art.
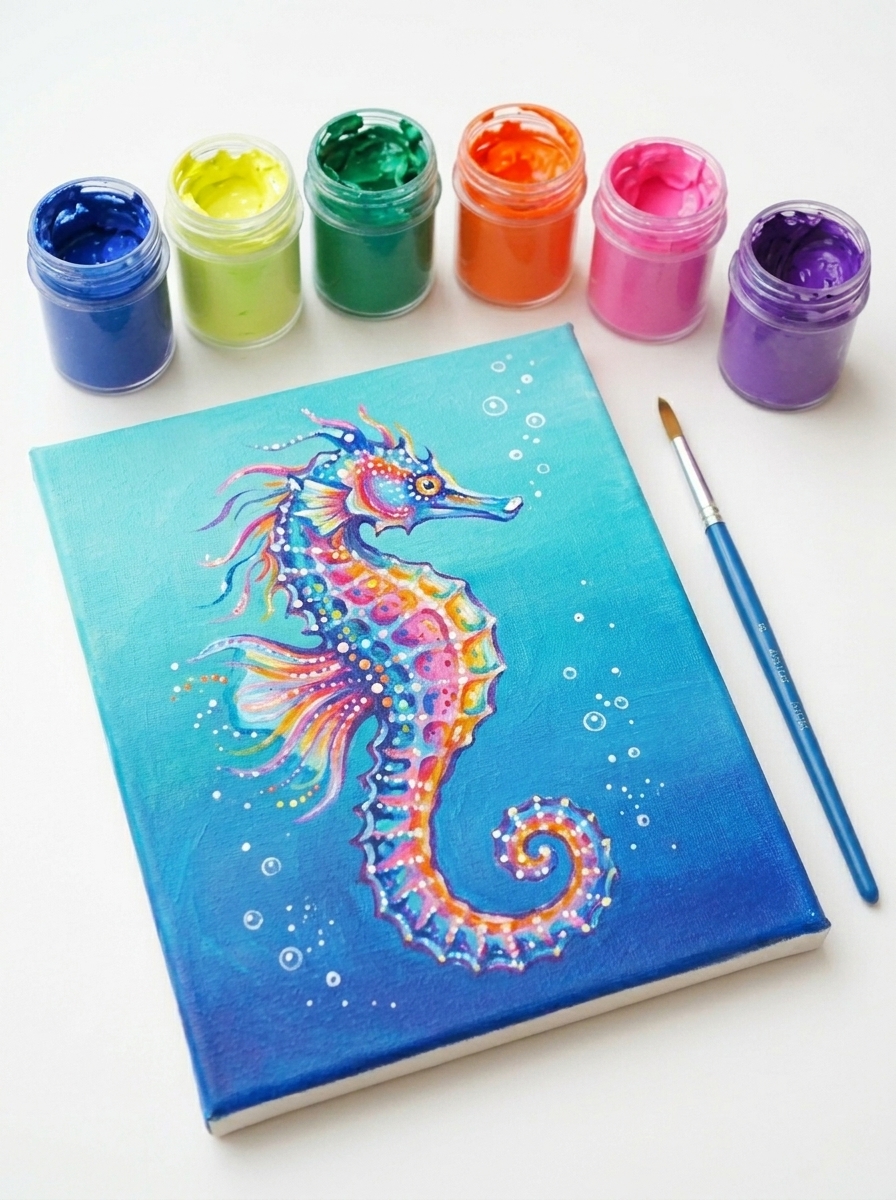
Project 5: Ocean Scene Sand Collage
This project expands beyond a single jellyfish and creates a full underwater world.
Materials
- Large paper or canvas
- Colored sand
- Shells or small decorations
- Glue
Steps
- Draw ocean background (waves, fish, jellyfish).
- Apply glue to each section.
- Add sand in layers.
- Decorate with shells or beads.
Educational Value
This helps children understand marine ecosystems and ocean environments while enjoying creative expression.
Project 6: Bottle Sand Jellyfish (Sensory Craft)
This is a fun and interactive sensory project.
Materials
- Clear plastic bottle
- Colored sand
- Water or oil (optional)
- Small jellyfish cutouts
Steps
- Fill bottle with layered sand.
- Insert small jellyfish shapes.
- Seal tightly.
- Shake and observe movement.
Why It’s Fun
It becomes a moving ocean scene inside a bottle. This version of sand drawing jellyfish is great for sensory play and relaxation.
Project 7: Framed Jellyfish Wall Art
This project turns sand art into home décor.
Materials
- Picture frame
- Cardboard or canvas
- Colored sand
- Glue
Steps
- Draw a detailed jellyfish design.
- Fill sections with sand.
- Let dry completely.
- Place inside a frame.
Result
A professional-looking artwork that can be displayed in bedrooms, classrooms, or living rooms.
Tips for Better Sand Drawing Jellyfish Art
Use Fine Sand
Finer grains create smoother designs.
Work in Sections
Apply glue step-by-step to avoid mixing colors.
Choose Strong Contrast
Dark and light colors help define shapes clearly.
Let It Dry Fully
Drying ensures sand stays in place permanently.
Experiment with Layers
Layering different colors creates depth and realism.
Educational Benefits
Sand art is more than just fun. It supports important learning skills:
Creativity Development
Children design unique jellyfish patterns.
Fine Motor Skills
Handling sand improves hand control.
Color Recognition
Mixing colors teaches visual understanding.
Focus and Patience
The process requires attention and calm behavior.
Science Learning
Ocean themes introduce marine biology concepts.
Why Sand Drawing Jellyfish Is Trending
This art form is becoming popular because it blends:
- Art
- Sensory play
- Education
- Relaxation
In a world full of digital entertainment, hands-on crafts like sand drawing jellyfish help people slow down and reconnect with creativity.
It’s also highly shareable on social media due to its bright colors and satisfying textures.
Common Mistakes to Avoid
Using Too Much Glue
This can cause clumping.
Mixing Sand Too Early
Colors may blend unintentionally.
Skipping Design Planning
Always sketch before applying materials.
Rushing the Process
Sand art requires patience for best results.
Final Thoughts
Sand drawing jellyfish is more than just a craft—it’s a creative journey into the underwater world. From simple beginner designs to advanced 3D art and glowing creations, these seven projects offer something for everyone.
Whether you’re crafting for fun, education, relaxation, or decoration, this art form brings color, imagination, and joy into any space.
So gather your sand, unleash your creativity, and start building your own magical jellyfish world today.