
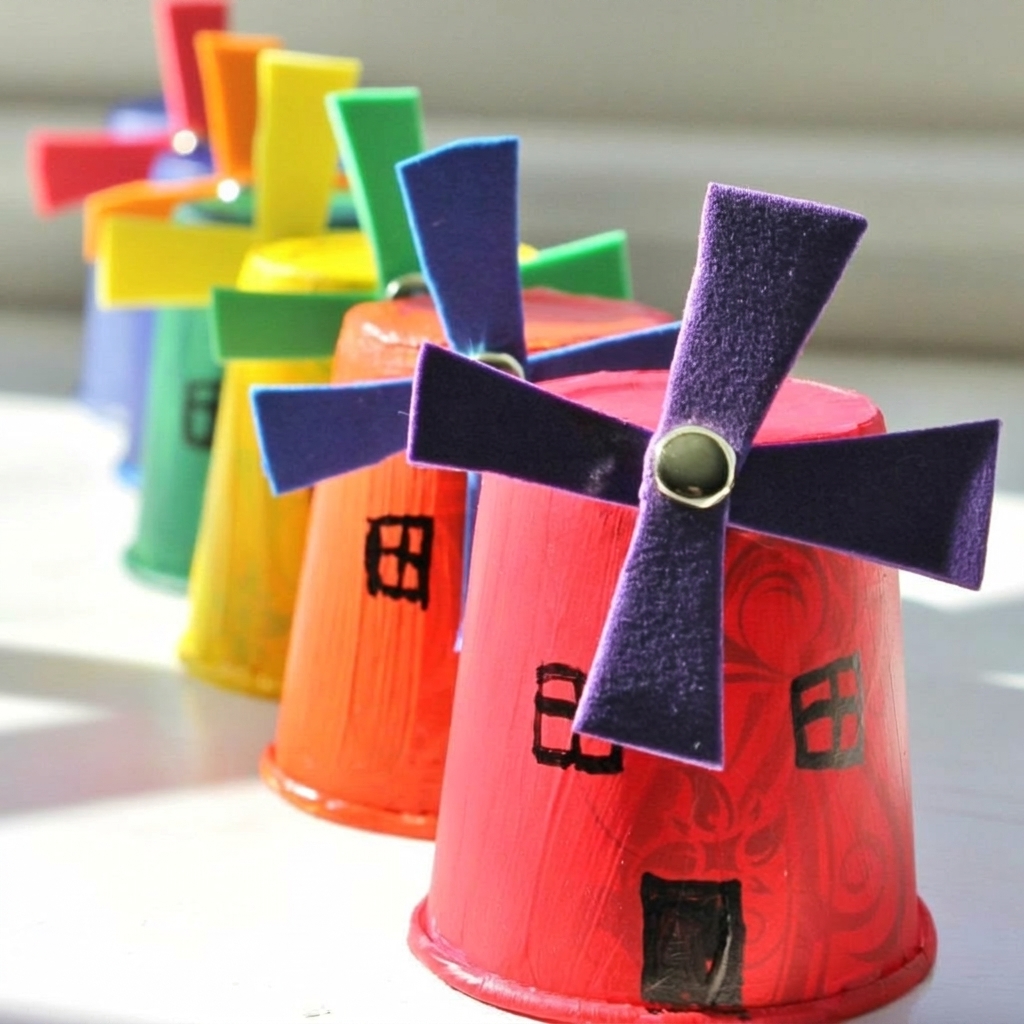
Making a windmill for children is one of the most enjoyable and educational craft activities that kids can experience. Combining creativity, science, and hands-on learning, this simple project transforms ordinary materials into a colorful spinning toy powered by the wind. Whether completed at home, in school, or during a weekend craft session, windmills offer children a fun opportunity to learn while creating something they can proudly use and display.
Children naturally enjoy activities that move and respond to their actions. A windmill captures their attention because it spins, changes direction with the breeze, and creates a magical sense of motion. More importantly, making a windmill for children helps develop valuable skills such as creativity, problem-solving, patience, and fine motor coordination.
Parents and teachers appreciate this craft because it is inexpensive, easy to prepare, and suitable for a wide range of ages. Most windmills can be created using materials already found around the house, making this activity both affordable and environmentally friendly.
In this article, we’ll explore why children love making windmills, how to create one successfully, the educational benefits involved, and practical tips for making the experience even more enjoyable.
What Is a Windmill Craft?
A windmill craft is a simple spinning toy usually made from paper, cardstock, or lightweight materials. When placed in moving air or a gentle breeze, the blades rotate around a central pin.
For children, windmills are much more than simple toys. They represent movement, color, creativity, and discovery. Kids enjoy watching the blades spin while learning how wind energy works.
Unlike many modern toys that require batteries or electronics, a windmill relies entirely on natural forces. This makes it a wonderful introduction to science concepts while keeping the activity simple and accessible.
Why Children Love Windmills
Windmills capture children’s attention for many reasons.
First, they move. Children are naturally fascinated by objects that spin, fly, roll, or change direction. A colorful windmill immediately attracts curiosity.
Second, windmills provide instant results. Once the project is complete, children can immediately test their creation outdoors and watch it spin.
Third, every windmill can be customized. Kids can choose colors, decorations, shapes, and patterns that reflect their personalities.
Finally, windmills encourage outdoor play. After building one, children often head outside to test how different wind conditions affect movement.
Why 5 Kids Love This Craft
While every child is unique, there are five common reasons why making a windmill for children remains a favorite activity.
1. The Windmill Spins Like Magic
Children are amazed when they see their finished windmill spin for the first time.
The movement feels almost magical because something they built with their own hands suddenly comes alive when the wind blows.
This simple reaction creates excitement and motivates children to keep experimenting.
2. They Can Design Their Own Creation
Children love opportunities to express themselves.
Making a windmill for children allows them to:
- Choose favorite colors
- Add stickers
- Draw patterns
- Create themed designs
- Decorate with glitter or markers
Each windmill becomes unique, which increases pride and ownership.
3. It Combines Learning with Fun
Many educational activities can feel like work. Windmill crafts feel like play.
While children are having fun, they are also learning about:
- Wind energy
- Motion
- Design
- Balance
- Cause and effect
This natural learning process keeps children engaged.
4. It Encourages Outdoor Exploration
Once the windmill is complete, children want to test it outside.
They begin asking questions such as:
- Where is the wind strongest?
- Why does the windmill spin faster here?
- What happens on a calm day?
These observations encourage curiosity and exploration.
5. They Feel Proud of Their Accomplishment
Completing a project from start to finish builds confidence.
Children enjoy showing family members and friends their finished windmill and explaining how they made it.
This sense of achievement supports positive self-esteem and independence.
Materials Needed

One reason making a windmill for children is so popular is that it requires only a few simple supplies.
Common materials include:
- Square sheet of paper
- Scissors
- Push pin
- Pencil with eraser
- Ruler
- Markers or crayons
- Stickers
- Glue (optional)
Many families already have these materials available at home.
How to Make a Windmill for Children
Creating a windmill is easy and suitable for beginners.
Step 1: Prepare the Paper
Start with a square piece of paper.
Bright colors often make the finished windmill more visually appealing.
Step 2: Draw Diagonal Lines
Using a ruler, draw lines from corner to corner, creating an X shape.
Step 3: Cut Along the Lines
Cut partway along each diagonal line, stopping before reaching the center.
Step 4: Fold the Corners
Take every other corner and fold it toward the center.
This forms the blades of the windmill.
Step 5: Secure the Blades
Insert a push pin through the folded corners and the center point.
Step 6: Attach to a Pencil
Push the pin into the eraser of a pencil.
Make sure the windmill can rotate freely.
Step 7: Test the Windmill
Take the windmill outside and watch it spin in the breeze.
Children often find this moment the most rewarding part of the activity.
Quick Summary Table
| Feature | Details |
| Activity Name | Making a windmill for children |
| Difficulty Level | Easy |
| Recommended Age | 4–12 Years |
| Time Required | 20–30 Minutes |
| Cost | Very Low |
| Materials Needed | Paper, Pencil, Push Pin, Scissors |
| Learning Focus | Creativity and Basic Science |
| Mess Level | Low |
| Indoor or Outdoor | Both |
| Educational Value | High |
Educational Benefits
Windmill crafts provide numerous learning opportunities.
Fine Motor Skill Development
Children strengthen hand muscles while:
- Cutting paper
- Folding corners
- Drawing lines
- Attaching components
These actions improve coordination and dexterity.
Creativity and Artistic Expression
Decorating windmills allows children to explore colors, patterns, and designs.
Creative freedom encourages imagination and self-expression.
Understanding Science Concepts
Windmills introduce children to important scientific ideas.
Kids begin learning about:
- Wind energy
- Motion
- Force
- Aerodynamics
- Cause and effect
These concepts form the foundation for future STEM learning.
Problem-Solving Skills
Not every windmill works perfectly the first time.
Children may need to:
- Adjust blade angles
- Fix folds
- Test different designs
This process teaches persistence and problem-solving.
Observation Skills
Testing windmills outdoors encourages children to observe and compare results.
They learn how weather conditions influence performance.
Teaching Wind Energy Through Crafts
Making a windmill for children provides an excellent opportunity to discuss renewable energy.
Children can learn that:
- Wind contains energy.
- Wind can move objects.
- Large wind turbines generate electricity.
- Renewable energy helps protect the environment.
Teachers and parents can expand the activity by showing pictures of real wind farms and discussing how wind power supports communities.
Creative Windmill Ideas
Once children master the basic design, they can try different variations.
Rainbow Windmill
Use multiple colors for each blade.
Nature-Themed Windmill
Decorate with flowers, leaves, and butterflies.
Space Windmill
Add stars, planets, and rockets.
Animal Windmill
Draw favorite animals on the blades.
Holiday Windmill
Create themed designs for Christmas, Halloween, or birthdays.
These variations help maintain excitement and encourage creativity.
Classroom Uses
Teachers often use windmill crafts because they combine art and science.
Possible classroom activities include:
Wind Testing Experiment
Students compare windmill performance in different locations.
Design Challenge
Groups compete to create the fastest-spinning windmill.
Weather Lessons
Windmills can be integrated into discussions about weather patterns and wind movement.
STEM Projects
Children can investigate how blade size affects speed and performance.
These activities transform simple crafting into meaningful learning experiences.
Common Mistakes to Avoid
Although the craft is simple, a few mistakes can reduce success.
Cutting Too Far
Cutting all the way to the center can weaken the structure.
Tight Pin Placement
If the pin is too tight, the blades cannot spin freely.
Heavy Decorations
Excessive decorations may slow the windmill’s movement.
Uneven Folding
Uneven blades can affect balance and performance.
Helping children identify and correct these issues builds confidence and problem-solving abilities.
Tips for Success
For the best results:
- Use lightweight paper.
- Make precise folds.
- Choose bright colors.
- Ensure the pin rotates freely.
- Test the windmill in different locations.
- Encourage experimentation.
- Focus on creativity rather than perfection.
The goal is to enjoy the process while learning something new.
Why Parents and Teachers Love This Activity
Adults appreciate windmill crafts because they offer exceptional value.
Benefits include:
- Low cost
- Easy preparation
- Minimal mess
- Educational content
- Outdoor engagement
- Creative expression
Unlike many activities that require expensive supplies, windmills provide meaningful learning using simple materials.
Conclusion
Making a windmill for children is a timeless craft that combines creativity, science, and fun in one simple project. Children love watching their colorful creations spin in the wind, while parents and teachers appreciate the educational value hidden within the activity.
From developing fine motor skills and creativity to introducing basic concepts of wind energy and motion, this craft offers countless benefits. The ability to customize designs, experiment with different styles, and test performance outdoors keeps children engaged and excited.
Whether completed at home, in the classroom, or during a community event, making a windmill for children remains one of the best hands-on activities for encouraging imagination, learning, and outdoor exploration. With only a few simple materials, children can create something beautiful, educational, and fun that they’ll be proud to show off and enjoy for years to come.