
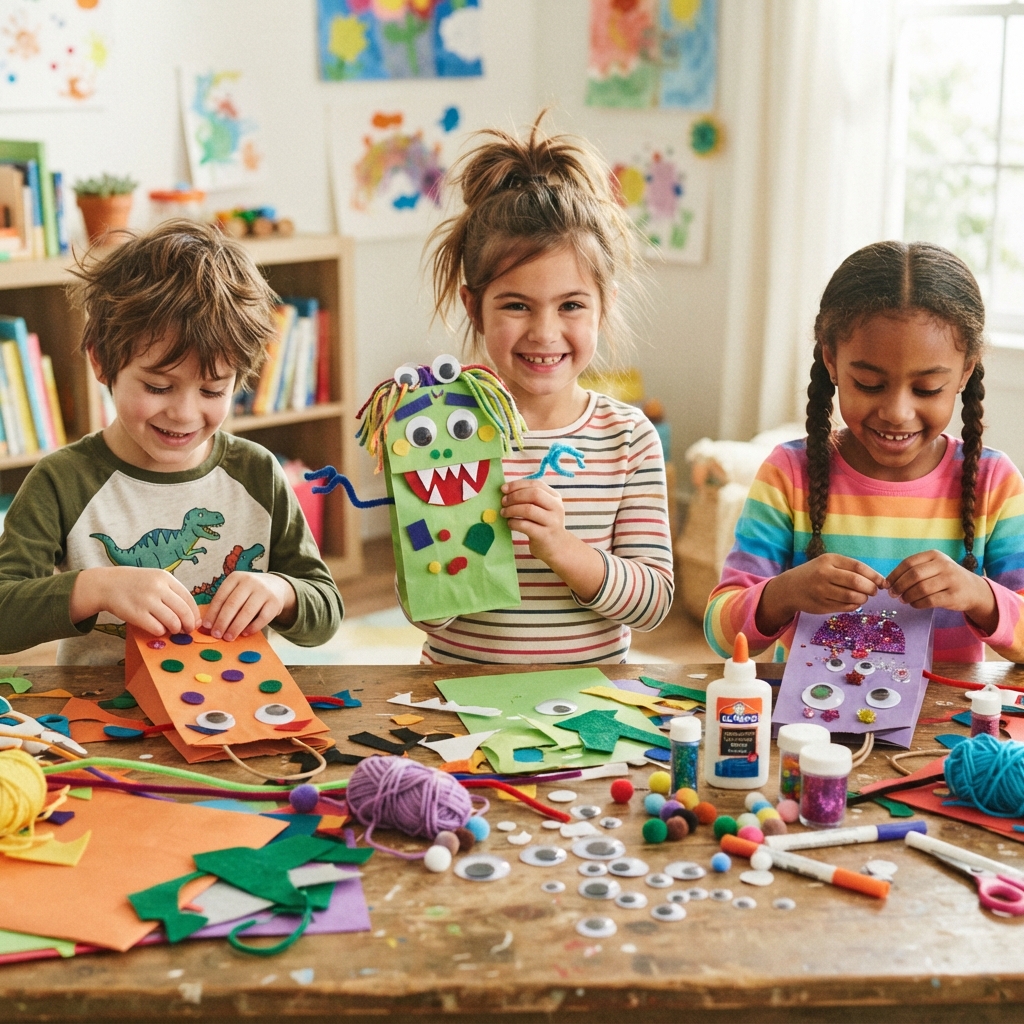
Creating monster dolls from paper bags is a fun and imaginative craft project that children absolutely love. With a simple paper bag and a few colorful craft supplies, kids can transform an ordinary bag into a silly, friendly monster full of personality. Instead of being scary, these monsters are playful, colorful, and perfect for storytelling and puppet shows.
This DIY project is ideal for elementary classrooms, preschool activities, birthday parties, summer camps, library programs, and family craft days. It encourages children to use their imagination while practicing cutting, gluing, coloring, and designing. Best of all, every monster doll is completely unique, making each child feel proud of their creative work.
Why Kids Love Paper Bag Monster Dolls
Monster dolls allow children to express their creativity without limits.
Kids enjoy:
- Designing funny monster faces.
- Choosing bright colors.
- Adding big eyes and silly teeth.
- Creating wild hairstyles.
- Giving each monster a unique name.
- Inventing exciting adventures.
- Performing puppet shows.
- Playing with friends and family.
Every monster becomes a lovable character with its own personality.
Materials You’ll Need
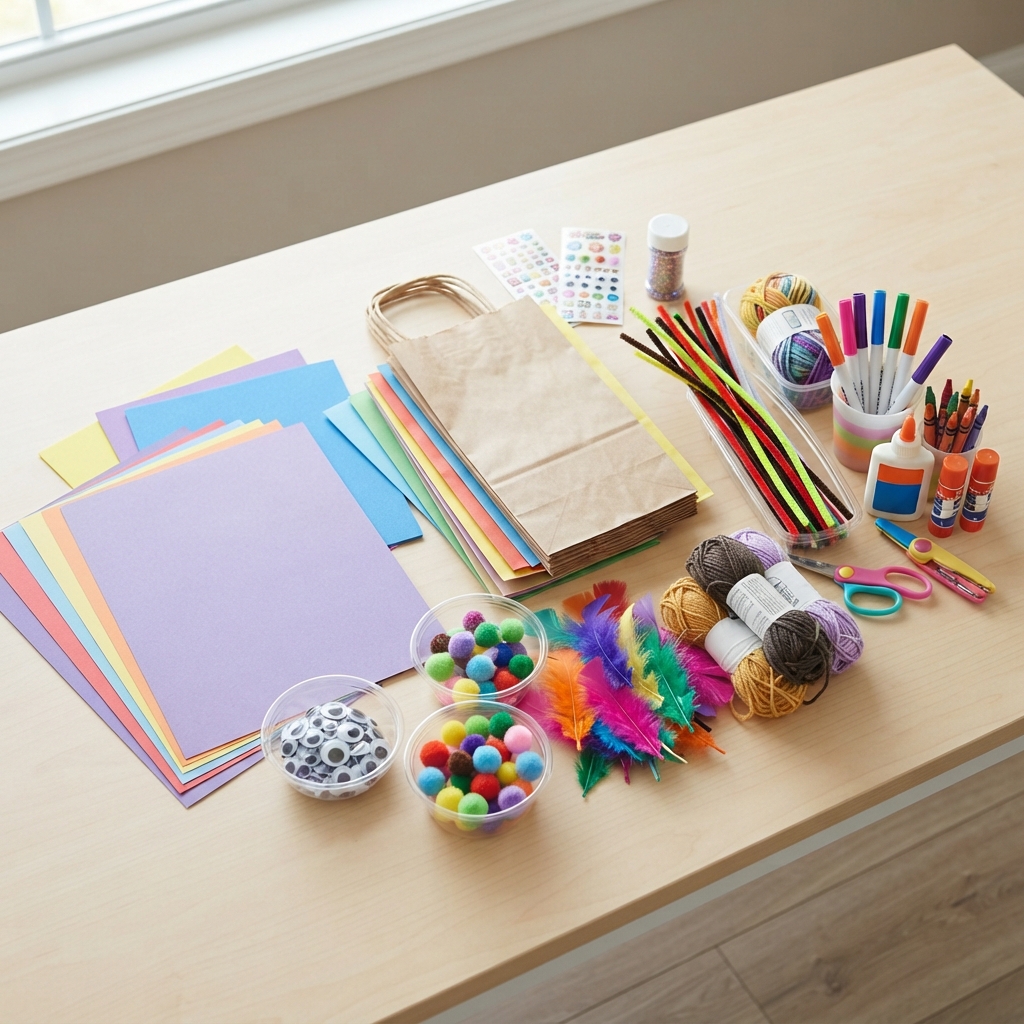
Gather these simple craft supplies before you begin:
- Brown or colored paper lunch bags
- Colored construction paper
- Craft foam (optional)
- Googly eyes
- Child-safe scissors
- Craft glue
- Markers or crayons
- Yarn
- Pipe cleaners
- Pom-poms
- Feathers
- Stickers
- Glitter (optional)
Many of these materials can be found at home or in a classroom craft box.
Prepare Your Workspace
Cover your table with newspaper or a reusable craft mat.
Arrange all materials in small containers so children can easily reach them.
Keep paper towels nearby for quick cleanup.
A tidy workspace helps children focus on creating.
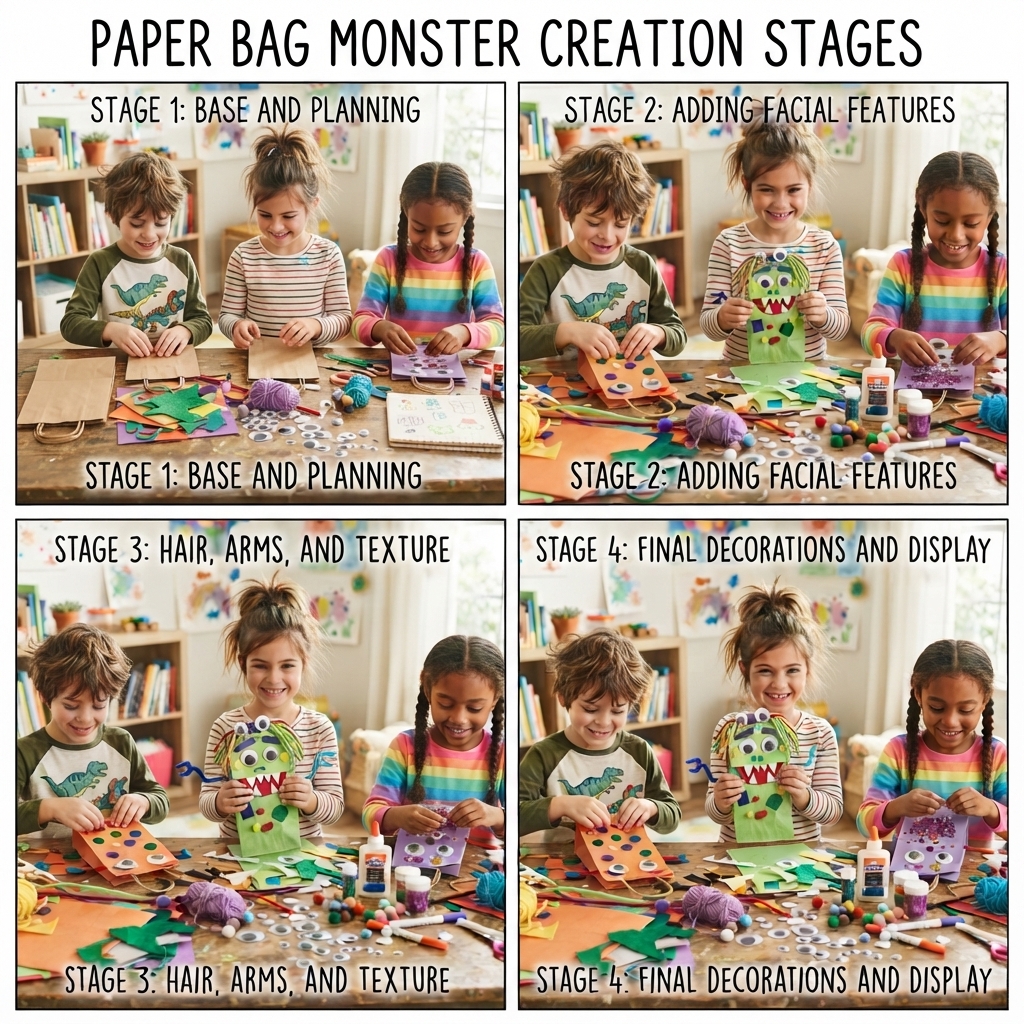
Step 1: Build the Monster Face
Lay the paper bag flat with the folded flap facing up.
This flap will become the monster’s moving mouth.
Children can decorate the front by adding:
- One giant eye
- Two funny eyes
- Three or more colorful eyes
- Eyebrows
- A nose
- Rosy cheeks
- A smiling or goofy expression
Every face should look fun rather than frightening.
Step 2: Add Funny Teeth
Cut teeth from white construction paper or craft foam.
Children can create:
- Pointy teeth
- Rounded teeth
- Tiny teeth
- Big goofy teeth
- Colorful fantasy teeth
Glue the teeth beneath the flap so they appear when the puppet opens its mouth.
Step 3: Create Monster Hair
Give each monster a crazy hairstyle using different materials.
Ideas include:
- Yarn hair
- Pipe cleaner spikes
- Feather mohawks
- Curly paper strips
- Ribbon curls
- Pom-pom hair
The sillier the hairstyle, the better!
Step 4: Add Arms and Legs
Cut long arms and legs from construction paper or use pipe cleaners.
Children can design:
- Long monster arms
- Tiny legs
- Tentacles
- Claws
- Colorful hands
- Extra arms
These details make every monster more exciting.
Step 5: Decorate the Monster
Now it’s time to personalize the puppet.
Children can add:
- Spots
- Stripes
- Hearts
- Stars
- Glitter
- Stickers
- Buttons (for decoration only)
- Colorful patterns
There are no rules—every design is unique.
Give Your Monster a Personality
Encourage children to imagine who their monster is.
They can decide:
- What is the monster’s name?
- Where does it live?
- What is its favorite food?
- Does it have special powers?
- Who are its friends?
- What adventures does it enjoy?
Creating a backstory makes the puppet even more fun.
Put on a Monster Puppet Show
Once all the puppets are finished, children can perform together.
Story ideas include:
- A monster birthday party
- A magical forest adventure
- A treasure hunt
- A trip to outer space
- A day at monster school
- A superhero rescue mission
- Making new friends
- Solving a funny mystery
Puppet shows build confidence and encourage teamwork.
Educational Benefits
This craft supports many important developmental skills, including:
- Fine motor skills
- Hand-eye coordination
- Creativity
- Imagination
- Storytelling
- Communication
- Problem-solving
- Cooperation
- Confidence
- Artistic expression
Crafting and dramatic play help children learn while having fun.
Safety Tips
To ensure a safe activity:
- Adult supervision is recommended.
- Use child-safe scissors.
- Choose non-toxic craft glue.
- Keep small decorations away from toddlers.
- Clean hands after crafting.
- Keep the workspace organized.
Safety allows everyone to enjoy the project comfortably.
Perfect for Group Activities
Paper bag monster dolls are perfect for:
- Elementary classrooms
- Preschool art centers
- Summer camps
- Birthday parties
- Library craft programs
- Community events
- Scout meetings
- Family craft nights
Children love comparing their colorful monsters and performing together.
Tips for Creative Monster Dolls
For the most imaginative results:
- Use bright, bold colors.
- Mix different craft materials.
- Encourage unusual monster designs.
- Let children invent their own characters.
- Add funny accessories.
- Celebrate every unique creation.
The most memorable monsters are often the funniest ones.
Conclusion
A paper bag monster doll project is a creative, inexpensive, and entertaining craft that children will enjoy from beginning to end. Using simple materials like paper bags, construction paper, yarn, and googly eyes, kids can design friendly monster puppets that inspire storytelling, role-playing, and imaginative adventures. Throughout the activity, they strengthen fine motor skills, creativity, communication, and self-confidence.
Whether at home, in school, at a birthday party, or during a summer camp, this DIY project creates lasting memories and encourages children to turn everyday materials into playful works of art. Every finished monster puppet becomes a colorful companion ready for endless stories and smiles.
