
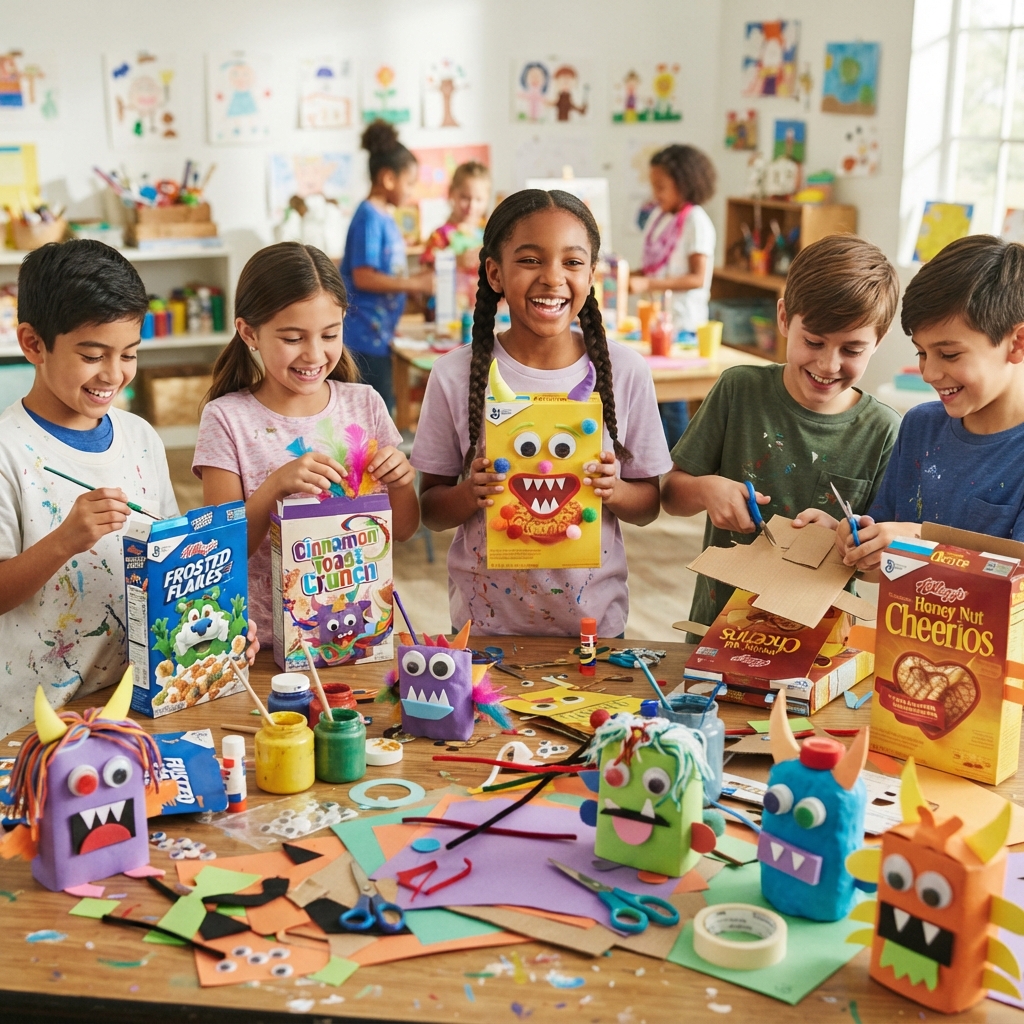
Turning an empty cereal box into a colorful, silly monster is a creative craft project that children absolutely love. Instead of throwing away cardboard packaging, kids can recycle it into unique monster characters with funny faces, bright colors, and playful personalities. This hands-on activity encourages imagination while teaching the importance of reusing everyday materials in fun and exciting ways.
Perfect for classrooms, homeschooling, rainy afternoons, birthday parties, and family craft sessions, cereal box monster projects are easy to make with inexpensive supplies. Every monster is different, allowing children to express their creativity and proudly display their one-of-a-kind creations.
Why Children Love Cereal Box Monsters
Children enjoy creating monsters because there are no rules about how they should look. A monster can have one eye, five eyes, long arms, colorful hair, or giant teeth. The more imaginative the design, the more exciting the project becomes.
Kids love this craft because it is:
- Easy to create
- Made from recycled materials
- Full of colorful decorations
- Perfect for imaginative play
- Great for children of different ages
- Fun to personalize with unique features
Every cereal box can become a brand-new monster with its own story and personality.
Benefits of This Craft Project
Creating cereal box monsters helps children develop important skills while having fun.
Some of the benefits include:
- Improving fine motor skills
- Strengthening hand-eye coordination
- Encouraging creativity and imagination
- Developing problem-solving skills
- Building confidence through artistic expression
- Learning about recycling and sustainability
- Practicing cutting, folding, and gluing
- Encouraging storytelling and communication
This activity combines art, environmental awareness, and creative thinking.
Materials You’ll Need
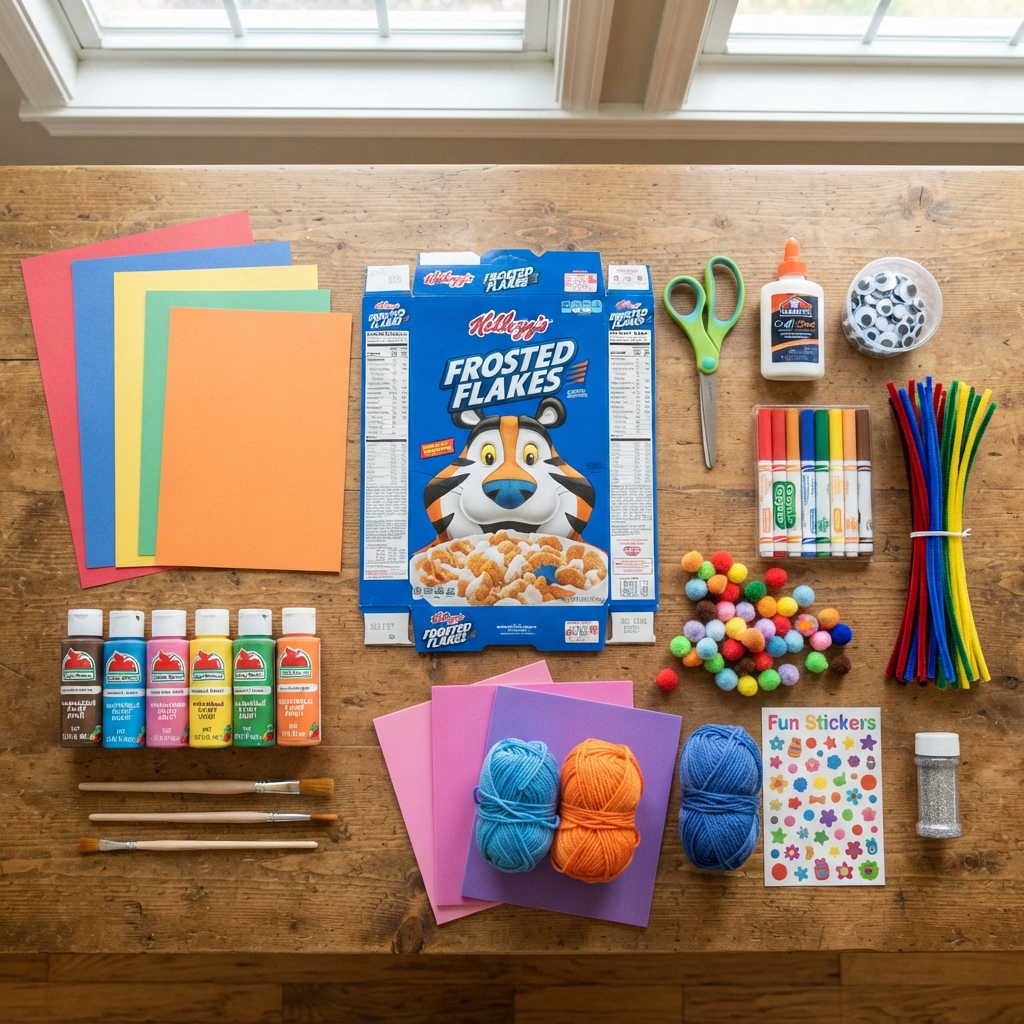
Gather these simple supplies before getting started:
- An empty cereal box
- Colored construction paper
- Washable paint
- Paintbrushes
- Child-safe scissors
- Craft glue
- Googly eyes
- Markers
- Pipe cleaners
- Pom-poms
- Craft foam
- Yarn
- Stickers
- Glitter (optional)
Most of these materials are inexpensive and can be found at home or in a classroom craft cabinet.
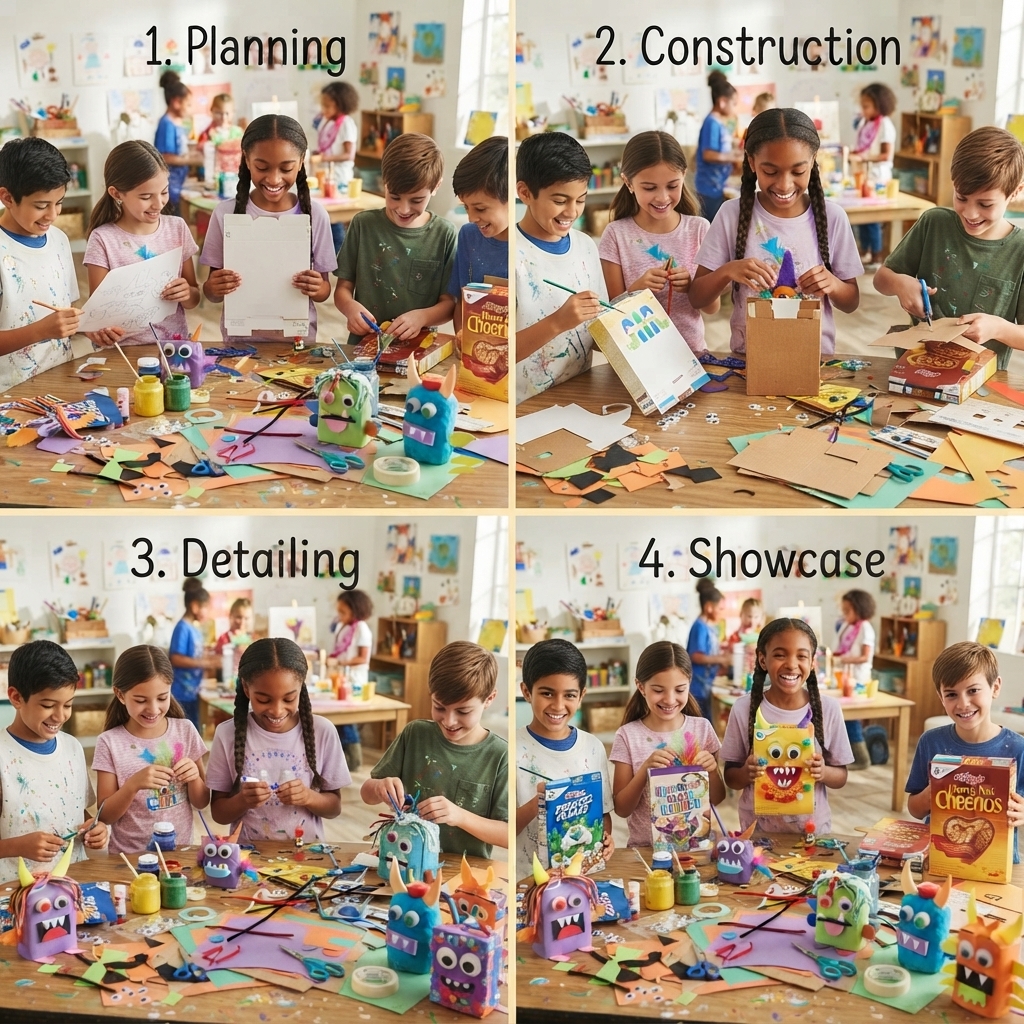
Step 1: Prepare the Cereal Box
Empty and clean the cereal box if necessary.
You can use the whole box as the monster’s body or cut it into different shapes depending on your design.
Older children can carefully trim the box into squares, rectangles, or creative body shapes.
Step 2: Cover the Box
Decorate the cereal box using one of these methods:
- Paint it bright colors.
- Cover it with construction paper.
- Wrap it in patterned paper.
- Decorate it with colorful tape.
Allow the paint or glue to dry completely before adding details.
Step 3: Create a Funny Face
The face is the most exciting part of the monster.
Children can add:
- One large eye
- Two googly eyes
- Six tiny eyes
- A huge smile
- Silly eyebrows
- Big ears
- Long eyelashes
- Funny noses
There is no wrong way to design a monster!
Step 4: Add Monster Features
Use different craft materials to give the monster its own personality.
Ideas include:
- Pipe cleaner arms
- Cardboard legs
- Yarn hair
- Pom-pom noses
- Foam horns
- Paper wings
- Colorful spikes
- Curly tails
Every feature makes the monster more unique.
Step 5: Decorate the Monster
Now it’s time to make the monster even more colorful.
Children can decorate with:
- Stickers
- Glitter glue
- Sequins
- Buttons
- Paper shapes
- Stars
- Hearts
- Rainbow patterns
Encourage children to invent names and personalities for their monsters.
Creative Monster Ideas
Here are some fun monster themes to inspire young artists.
Rainbow Monster
Decorate with every color of the rainbow and lots of cheerful patterns.
Friendly Monster
Give it a giant smile, rosy cheeks, and colorful hair.
Space Monster
Add planets, stars, antennas, and glowing colors.
Pirate Monster
Create an eye patch, pirate hat, and treasure map.
Robot Monster
Cover the box with silver paper and add buttons and gears.
Jungle Monster
Decorate with leaves, vines, and bright tropical colors.
Funny Tooth Monster
Glue on oversized paper teeth and create a goofy grin.
Educational Opportunities
This project can support learning in many different subjects.
Recycling
Teach children how cardboard can be reused instead of thrown away.
Shapes
Identify rectangles, circles, triangles, and squares while building the monster.
Colors
Practice naming and combining different colors.
Storytelling
Invent adventures for each monster.
Language Skills
Describe the monster’s appearance, personality, and favorite activities.
These activities combine art with language, science, and environmental education.
Classroom Activity Ideas
Teachers can extend the project with engaging classroom activities.
Children can:
- Create a classroom monster gallery.
- Write stories about their monsters.
- Put on a monster puppet show.
- Design monster name tags.
- Vote for the funniest monster.
- Create a “Monster Family” display.
- Build an entire cardboard monster town.
These activities encourage teamwork, communication, and creative thinking.
Safety Tips
Keep the project safe and enjoyable by following these simple guidelines.
- Use child-safe scissors.
- Supervise younger children during cutting.
- Use non-toxic paints and glue.
- Keep small decorations away from toddlers.
- Protect work surfaces with newspaper or a craft mat.
A safe crafting space helps everyone enjoy the activity.
Displaying the Finished Monsters
Completed monsters make wonderful decorations.
Children can:
- Display them on classroom shelves.
- Decorate their bedrooms.
- Use them as puppet characters.
- Create a pretend monster village.
- Include them in school art exhibitions.
- Use them during storytelling sessions.
Showing off finished crafts builds confidence and celebrates creativity.
Tips for Success
Help children enjoy the project by following these helpful suggestions:
- Encourage imagination instead of perfection.
- Let children choose their own colors and decorations.
- Prepare all materials before starting.
- Allow enough drying time.
- Praise every child’s unique ideas.
- Make the activity fun and relaxed.
Every monster is special because it reflects the imagination of its young creator.
Conclusion
Creating cereal box monsters is a fun, affordable, and educational craft project that children love. By transforming recycled cereal boxes into colorful monster characters, kids learn about creativity, recycling, and artistic expression while strengthening important developmental skills.
Whether they create a friendly rainbow monster, a silly robot, or a funny one-eyed creature, children will enjoy hours of imaginative crafting and storytelling. Gather some empty cereal boxes, colorful craft supplies, and plenty of imagination, and let young artists bring their own amazing monster world to life!
