
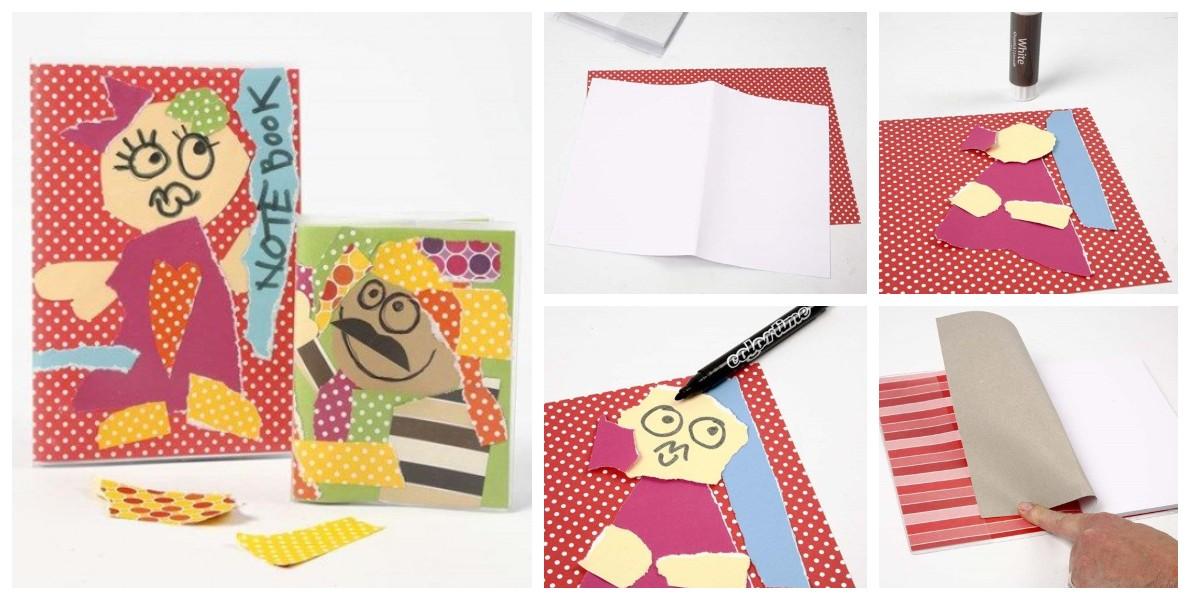
Decorating a notebook with colored paper is a fun and easy craft that lets children turn an ordinary notebook into a colorful work of art. Using simple materials, kids can design unique notebook covers with bright colors, creative patterns, and playful decorations. This enjoyable activity encourages imagination while helping children prepare for a new school year.
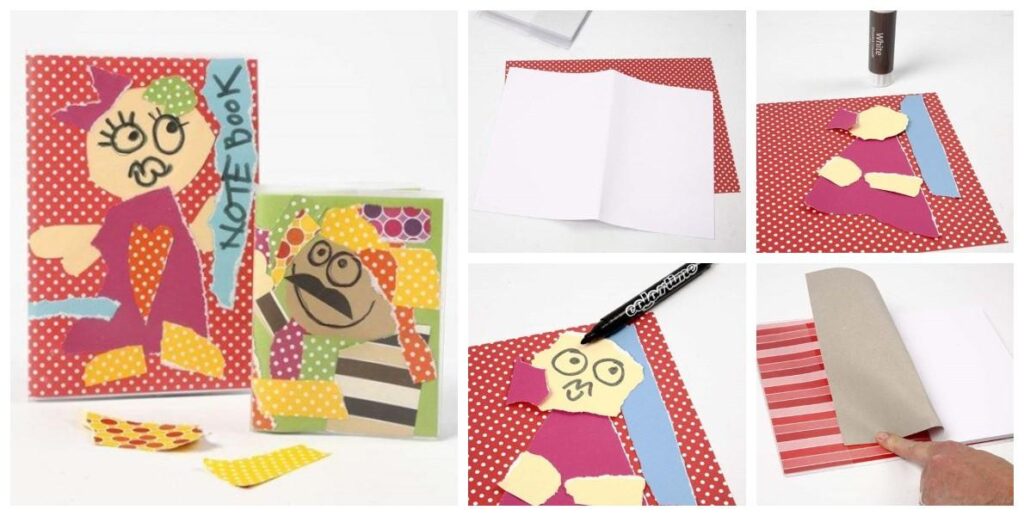
Whether at home, in the classroom, or during an art lesson, decorating notebooks is a wonderful way to combine creativity with practical school supplies.
Why Decorate a Notebook?
Creating a personalized notebook has many benefits.
Children can:
- Express their creativity.
- Improve fine motor skills.
- Practice cutting and gluing.
- Learn about colors and patterns.
- Feel proud of making something by themselves.
- Create a notebook that is easy to recognize at school.
Every notebook becomes a unique creation.
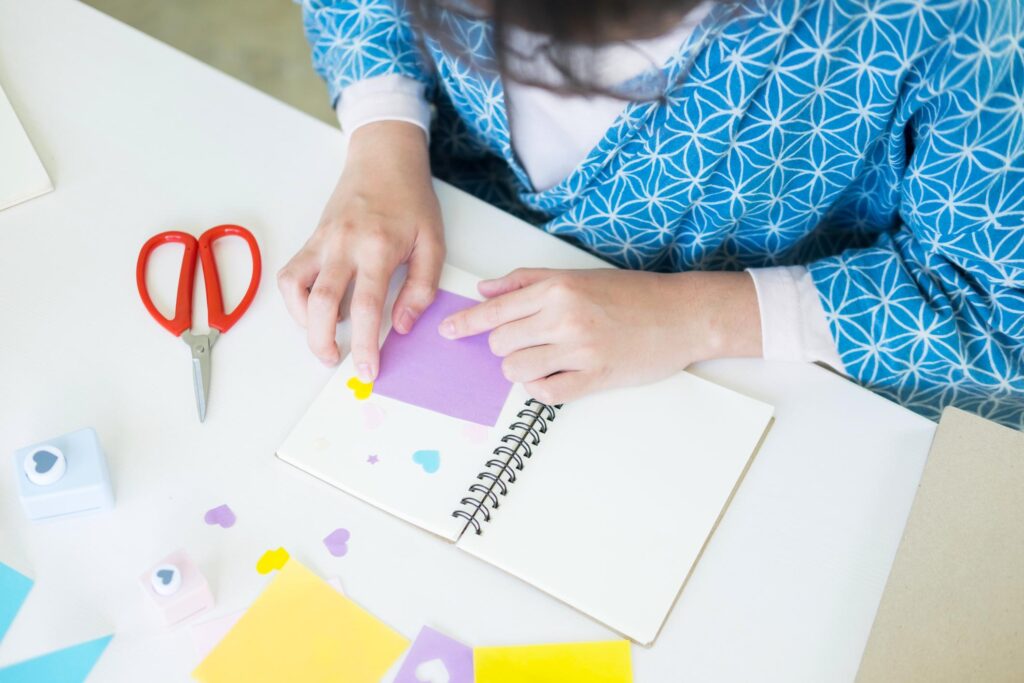
Materials You’ll Need
Before you begin, gather these simple supplies:
- A plain notebook
- Colored paper or construction paper
- Scissors
- Glue stick or craft glue
- Pencil
- Ruler
- Markers or colored pencils
- Stickers
- Washi tape (optional)
- Glitter glue (optional)
- Foam stickers (optional)
These materials are inexpensive and easy to find.
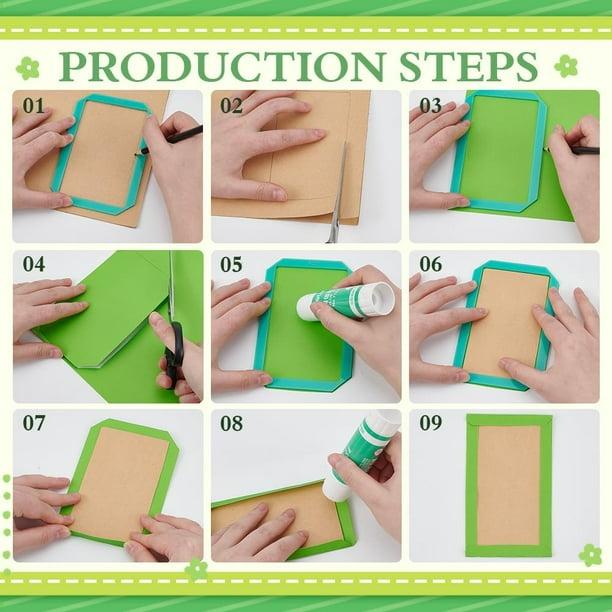
Step 1: Choose Your Colors
Pick your favorite colored papers.
You can choose:
- Red
- Blue
- Green
- Yellow
- Purple
- Pink
- Orange
Mixing different colors creates a bright and cheerful notebook.
Step 2: Measure the Notebook
Place the notebook on the colored paper.
Use a pencil and ruler to trace the correct size.
Leave a small extra border so the paper can fold neatly around the edges.
Step 3: Cut the Paper
Carefully cut out the paper cover.
Young children may ask an adult for help with this step.
Try to keep the edges straight and smooth.
Step 4: Glue the Cover
Spread glue evenly on the notebook cover.
Carefully place the colored paper onto the notebook.
Press gently to remove wrinkles and air bubbles.
Allow the glue to dry completely.
Step 5: Fold the Edges
Fold the extra paper over the inside edges of the notebook.
Glue the folded edges securely.
This makes the cover stronger and gives it a neat finish.
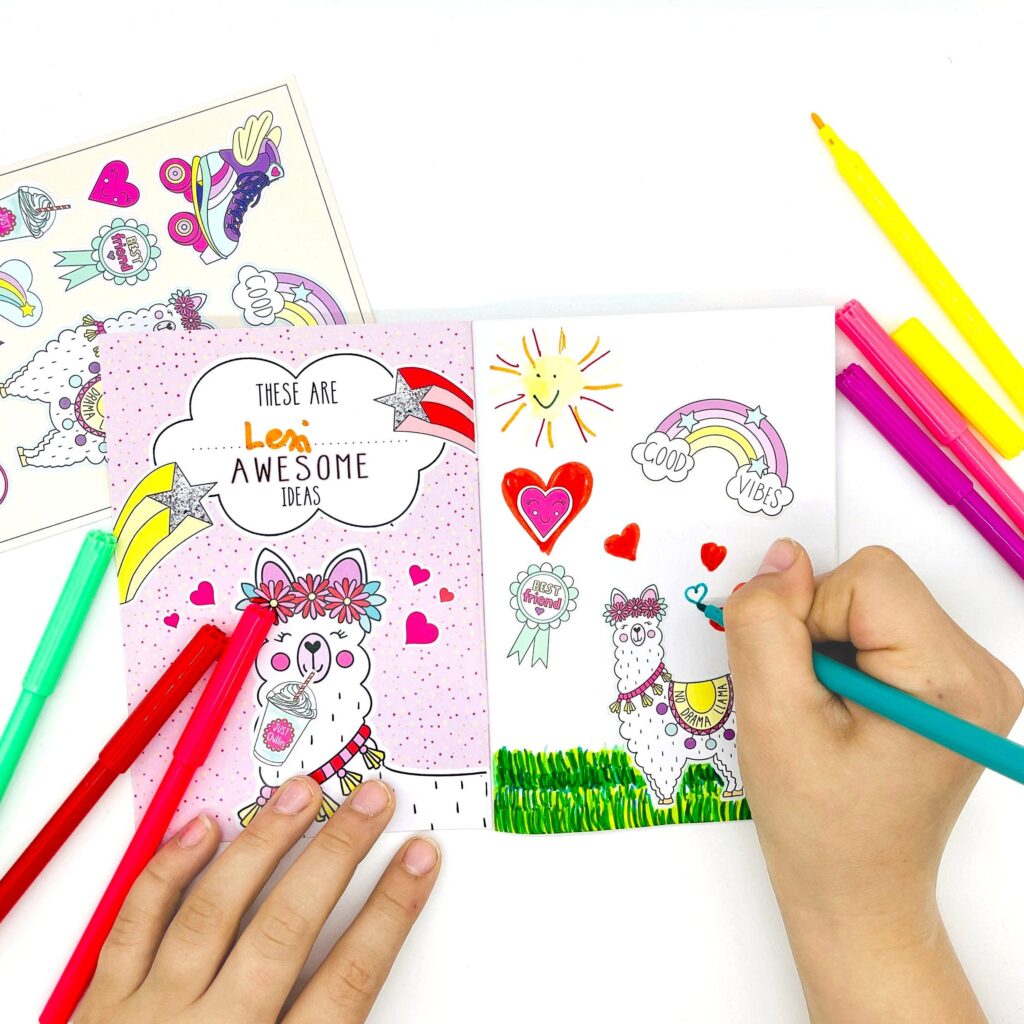
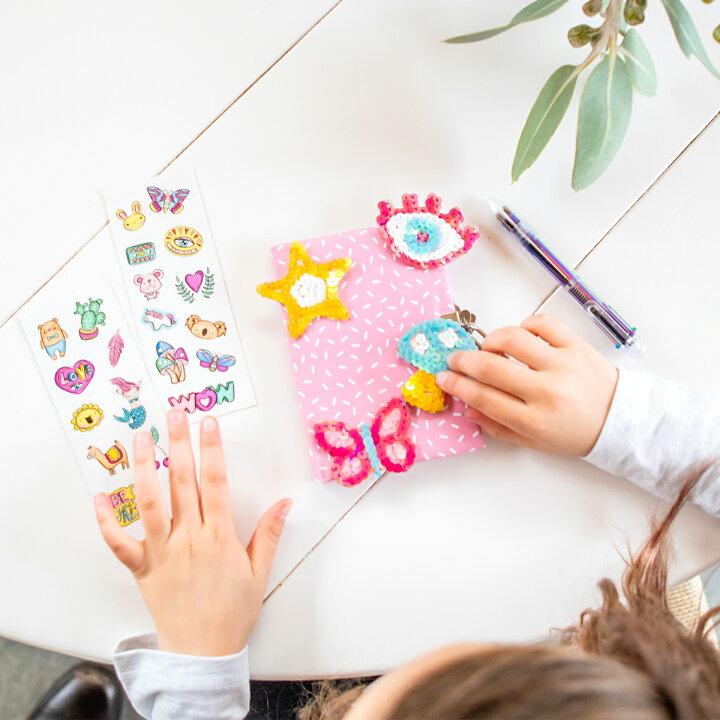
Step 6: Decorate the Notebook
Now it’s time to be creative.
Decorate your notebook with:
- Stickers
- Glitter
- Stars
- Hearts
- Flowers
- Rainbows
- Cartoon characters
- Animals
- School-themed designs
- Colorful drawings
There are no limits to your imagination.
Creative Notebook Themes
Rainbow Notebook
Decorate with rainbow stripes, fluffy clouds, and smiling sunshine.
Animal Notebook
Create a panda, fox, cat, owl, or bear cover.
Space Notebook
Add planets, rockets, astronauts, stars, and galaxies.
Flower Garden Notebook
Decorate with flowers, butterflies, bees, and green leaves.
Ocean Notebook
Draw dolphins, fish, turtles, coral reefs, and seashells.
Dinosaur Notebook
Fill the cover with friendly dinosaurs, volcanoes, and prehistoric trees.
Personalize Your Notebook
Make your notebook extra special by adding:
- Your name
- Your class
- Your favorite subject
- Inspirational words
- Your favorite colors
- Small hand-drawn pictures
A personalized notebook is fun to use every day.
Educational Benefits
This craft helps children develop many useful skills.
They practice:
- Measuring
- Cutting
- Gluing
- Drawing
- Creative thinking
- Fine motor coordination
- Patience
- Concentration
Creative activities also build confidence and encourage independent learning.
A Perfect Classroom Activity
Teachers can organize a notebook decorating session during the first week of school.
Each student designs a unique notebook cover and shares it with classmates. The finished notebooks can be used for writing, drawing, homework, or creative projects throughout the school year.
This activity helps children feel excited and prepared for learning.
An Eco-Friendly Craft
Children can decorate notebooks using recycled materials such as:
- Scrap paper
- Old magazines
- Wrapping paper
- Gift bags
- Leftover craft paper
Reusing materials teaches children the importance of protecting the environment.
Tips for the Best Results
For a beautiful notebook cover:
- Use strong colored paper.
- Measure carefully.
- Apply glue evenly.
- Smooth the paper to remove bubbles.
- Let the glue dry before using the notebook.
- Keep decorations balanced and colorful.
- Have fun creating your own original design.
Conclusion
Learning how to decorate a notebook with colored paper is a simple, enjoyable, and creative activity for children. With just a few basic supplies, kids can transform an ordinary notebook into a colorful masterpiece that reflects their personality. This fun craft encourages creativity, improves fine motor skills, and makes going back to school even more exciting. Whether completed at home or in the classroom, a handmade notebook cover is a wonderful project that children will be proud to use every day.
