
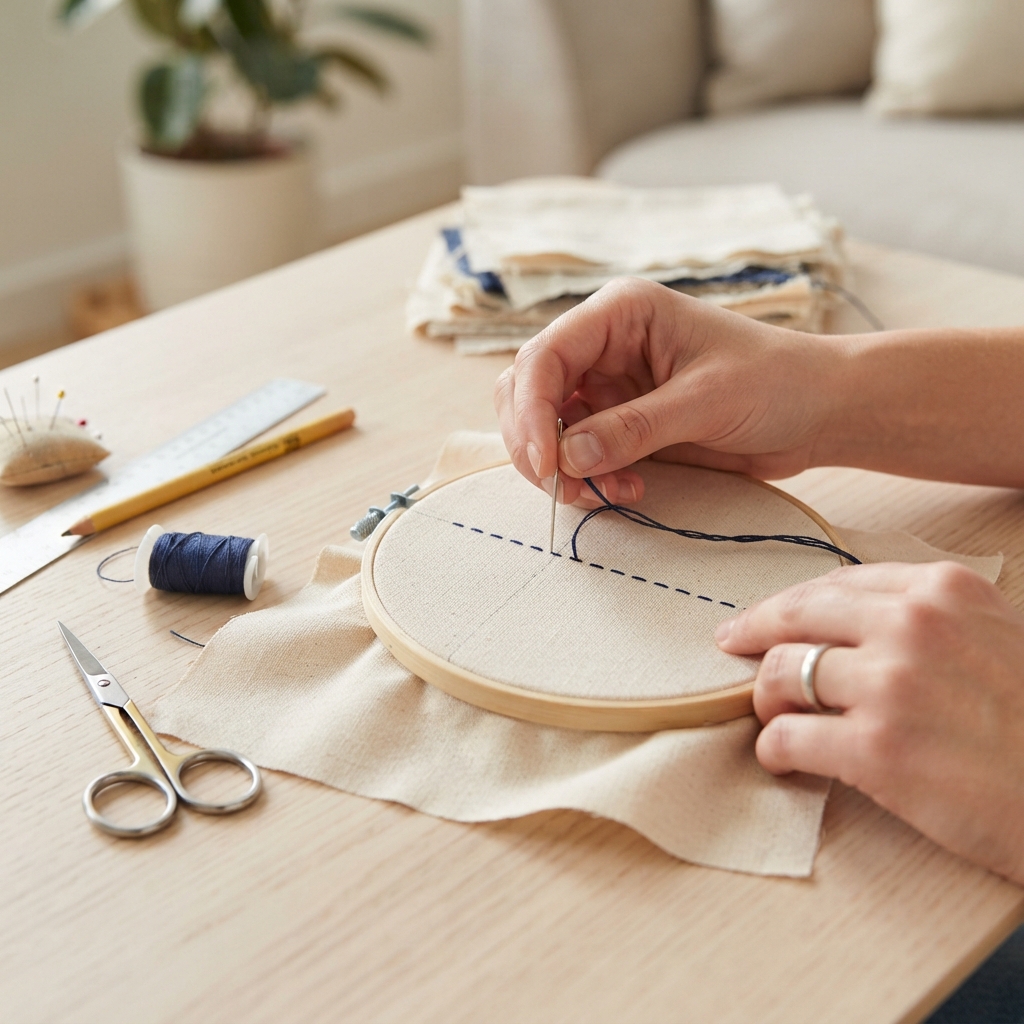
The running stitch is one of the easiest and most useful hand-sewing stitches for beginners. It is often the first stitch people learn because it requires only a needle, thread, and fabric.
Although the running stitch looks simple, it has many uses. You can use it for basic sewing, temporary seams, repairs, quilting, embroidery, and decorative crafts. Once you learn this stitch, you will have a useful foundation for learning other hand-sewing techniques.
This beginner-friendly guide explains what the running stitch is, what you need, how to make it, and how to practice it.
What Is a Running Stitch?
A running stitch is created by making a series of small stitches in a straight line.
The needle goes up through the fabric, then down through the fabric a short distance away. The process is repeated to create a continuous row of stitches.
From the front, the result looks like a simple line of short stitches separated by small spaces.
The running stitch can be made with evenly spaced stitches for a neat appearance or with different lengths for decorative effects.
Materials You Will Need
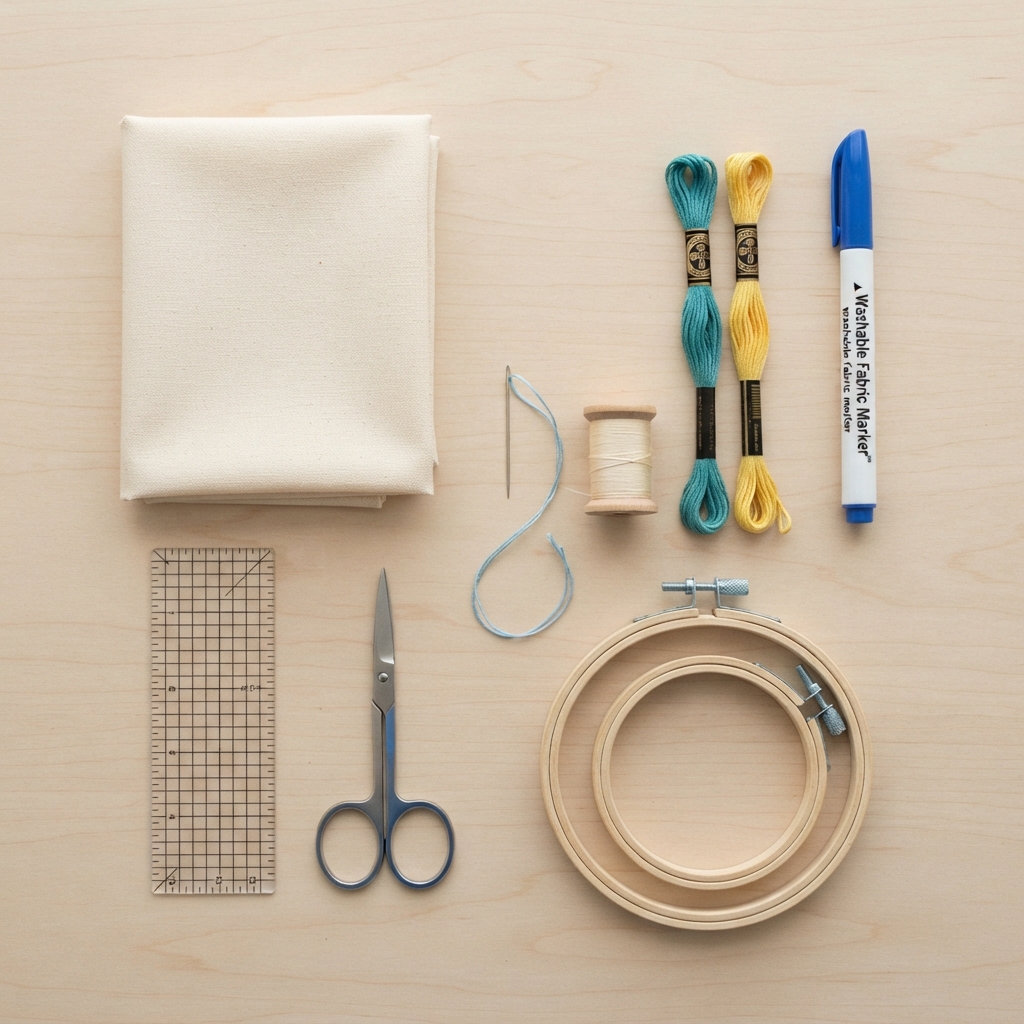
You only need a few basic supplies:
- A piece of cotton fabric
- Hand-sewing needle
- Sewing thread or embroidery floss
- Small scissors
- Pencil or washable fabric marker
- Ruler
- Optional: embroidery hoop
For your first practice session, choose a medium-weight cotton fabric. It is easy to handle and makes the stitches easy to see.
Step 1: Prepare Your Fabric
Cut a small piece of fabric, approximately 15–20 centimeters wide.
Place it on a flat surface.
If you are practicing decorative stitching, you can place the fabric in an embroidery hoop. The hoop keeps the fabric stable and makes stitching easier.
Use a ruler and washable fabric marker to draw a few straight lines on the fabric.
These lines will help guide your first stitches.
Step 2: Prepare the Thread
Cut approximately 40–50 centimeters of thread.
Avoid using a very long piece because it can become tangled while you are learning.
Thread the needle and tie a small knot at the end of the thread.
If you are using embroidery floss, you can use two or three strands for a more visible stitch.
Step 3: Bring the Needle Up
Hold the fabric with the side you want to decorate facing upward.
Push the needle from the back of the fabric toward the front.
Pull the thread through until the knot reaches the back of the fabric.
You are now ready to make your first running stitch.
Step 4: Make the First Stitch
Insert the needle back down through the fabric a short distance from where it came up.
Pull the thread gently.
You should now see one small straight stitch on the front of the fabric.
Do not pull the thread too tightly. The fabric should remain flat without puckering.
Step 5: Make the Next Stitch
Bring the needle back up through the fabric a short distance from the first stitch.
Then insert it back down again.
Repeat this movement along the marked line.
You will gradually create a row of stitches.
Try to make each stitch approximately the same length.
Step 6: Continue Along the Line
Keep repeating the same movement:
Up → down → up → down.
Try to maintain a consistent rhythm.
The stitches do not need to be perfect. The goal is to become comfortable controlling the needle and thread.
If the thread becomes too short, finish it with a small knot on the back and start with a new piece.
Step 7: Finish the Stitching
When you reach the end of your line, turn the fabric over.
Make a small loop with the thread and pass the needle through it to create a knot.
Make another knot if necessary to secure the stitching.
Trim the extra thread with scissors.
Your first row of running stitches is complete.
How to Make Even Running Stitches
Even stitches create a neat and professional appearance.
Try to make each stitch approximately the same length and leave similar spaces between them.
For example, you might make stitches about 3–5 millimeters long with small spaces between each stitch.
Do not worry if your first attempts are uneven. With practice, your stitches will naturally become more consistent.
How to Make Decorative Running Stitches
The running stitch does not have to be boring.
You can use colorful threads and create decorative patterns.
Try making:
- Wavy lines
- Zigzags
- Spirals
- Circles
- Flowers
- Hearts
- Stars
- Simple borders
Use different thread colors to create cheerful designs.
Running Stitch With Different Fabrics
The running stitch works particularly well on cotton, linen, felt, and many other stable fabrics.
If the fabric is very thin, use a finer needle and thread.
For thicker fabric, choose a stronger needle and suitable thread.
Avoid pulling the thread too tightly because it can distort delicate materials.
Common Beginner Mistakes
Learning any new sewing technique takes practice. Here are some common mistakes to watch for.
Making Stitches Too Large
Very large stitches may not hold fabric securely.
Start with small stitches and gradually experiment with different sizes.
Pulling the Thread Too Tight
Too much tension can cause wrinkles or puckering.
Pull the thread just enough to make the stitch lie flat.
Using Too Much Thread
Long thread can become tangled.
Use shorter lengths until you become comfortable with the technique.
Uneven Stitch Spacing
Do not worry about perfection. Practicing straight lines will gradually improve your stitch spacing.
Choosing Difficult Fabric
Stretchy or slippery fabric can be challenging for beginners.
Start with medium-weight cotton.
Running Stitch for Simple Sewing
The running stitch can be used for simple seams when the project does not require a stronger stitch.
For example, you can use it to join two pieces of lightweight fabric.
Place the fabric pieces together, mark your sewing line, and make a row of running stitches along it.
For garments or areas that receive a lot of stress, a stronger stitch such as the backstitch may be more appropriate.
Running Stitch for Embroidery
Running stitch is also useful as a decorative embroidery stitch.
You can use it to outline simple designs such as:
- Flowers
- Leaves
- Butterflies
- Bees
- Stars
- Hearts
- Rainbows
Choose contrasting colors if you want the stitches to stand out.
A Simple Running Stitch Practice Project
A fabric bookmark is an easy project for beginners.
Cut two narrow pieces of cotton fabric.
Place them together and mark a straight line around the edges.
Practice running stitch along the sides.
You can then add a small embroidered flower, star, or heart to the front.
This simple project lets you practice both sewing and decoration.
Running Stitch Activities for Children
Running stitch can also be introduced as a supervised sewing activity for older children.
Use thick fabric such as felt and bright embroidery thread.
Children can practice following simple lines and shapes.
This activity can help develop:
- Fine motor skills
- Hand-eye coordination
- Concentration
- Patience
- Creativity
An adult should supervise children when they are using needles and scissors.
What to Learn After the Running Stitch
Once you are comfortable with running stitch, you can begin learning other basic stitches.
Good next steps include:
- Backstitch
- Whip stitch
- Blanket stitch
- Slip stitch
- Stem stitch
- Chain stitch
- Satin stitch
- French knots
Each stitch has a different appearance and purpose.
Final Thoughts
Learning the running stitch is a great first step into hand sewing and embroidery. It is simple to learn, requires very few supplies, and can be used for both practical and decorative projects.
Start by practicing straight lines on scrap cotton fabric. Focus on controlling the needle, keeping your thread tension gentle, and making small, consistent stitches.
Your first stitches may not be perfect, and that is completely normal. With regular practice, the running stitch will soon become one of the easiest and most useful techniques in your sewing toolkit.
