
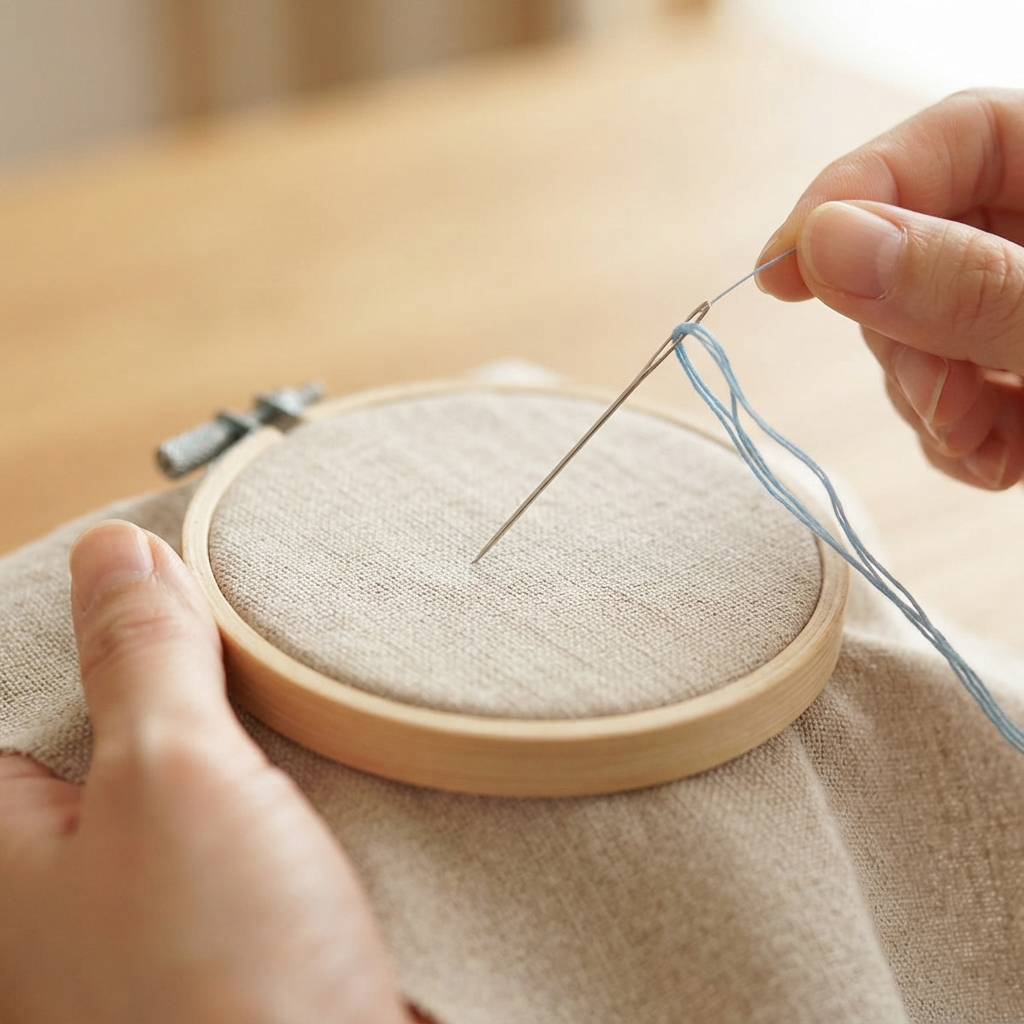
The chain stitch is one of the most recognizable and versatile embroidery stitches. It creates a beautiful series of linked loops that look like a chain. Although it has a decorative appearance, the stitch is surprisingly easy to learn.
Chain stitch can be used to outline designs, fill small shapes, decorate clothing, personalize fabric, and create handmade gifts. With just a needle, thread, and fabric, beginners can start practicing this useful embroidery technique.
This guide explains what chain stitch is, what materials you need, and how to make it step by step.
What Is a Chain Stitch?
A chain stitch is an embroidery stitch made from a series of connected loops.
Each new loop passes through or connects with the previous one, creating a chain-like line.
The stitch can be made in straight lines, curves, circles, flowers, letters, and many other shapes.
It is especially useful when you want an embroidered line that is more decorative than a simple running stitch.
What You Need to Make a Chain Stitch
You only need a few basic supplies:
- A piece of fabric
- Embroidery needle
- Embroidery floss or sewing thread
- Small scissors
- Fabric marker or pencil
- Embroidery hoop
- Ruler, if needed
Cotton fabric is an excellent choice for beginners because it is easy to handle and allows the stitches to be seen clearly.
Step 1: Prepare Your Fabric
Choose a small piece of medium-weight cotton fabric.
Place it inside an embroidery hoop if you have one. The hoop keeps the fabric flat and makes it easier to control your stitches.
Use a washable fabric marker or pencil to draw a straight line.
Later, you can practice curves, circles, and simple shapes.
Step 2: Thread the Needle
Cut a piece of embroidery floss approximately 40–50 centimeters long.
Thread the needle.
You can use several strands of embroidery floss if you want a thicker, more noticeable chain.
For your first practice, two or three strands can make the stitches easy to see.
Tie a small knot at the end of the thread.
Step 3: Bring the Needle Up
Start from the back of the fabric.
Bring the needle up through the fabric at the beginning of your marked line.
Pull the thread through until the knot rests against the back.
Hold the working thread gently with your fingers.
Step 4: Create the First Loop
Insert the needle back into the fabric very close to the point where the thread first came through.
Do not pull the needle completely through yet.
Instead, bring the needle back up a short distance along the marked line.
Most importantly, keep the working thread underneath the needle.
Pull the needle and thread through gently.
A small loop will form around the needle.
This is the first chain.
Step 5: Make the Next Chain
To create the next loop, insert the needle inside the previous loop or very close to its end.
Bring the needle up farther along the line.
Again, keep the working thread underneath the needle.
Pull gently.
A second loop will form and connect to the first.
Step 6: Continue the Chain
Repeat the same movement along your marked line.
The basic motion is:
Insert → bring the needle up → keep the thread under the needle → pull gently.
Each new loop connects to the previous one.
Continue until you reach the end of the line.
Step 7: Finish the Chain
When you reach the end of your design, make a small securing stitch over the final loop.
Push the needle to the back of the fabric.
Tie a small knot to secure the thread.
Trim the excess thread with scissors.
Your chain stitch line is complete.
How to Keep Chain Stitches Even
Consistent loops create a neat and attractive design.
Try to keep each loop approximately the same size.
Avoid pulling the thread too tightly because the loops can become small and uneven.
Do not leave the thread too loose either, because the loops may become messy.
Practice is the best way to develop consistent tension.
Making Curved Chain Stitches
One of the advantages of chain stitch is that it works beautifully around curves.
Draw a simple curve on your fabric.
Follow the line slowly, making smaller loops as the curve becomes tighter.
For sharp curves, shorter stitches usually provide better control.
With practice, you can use chain stitch to outline flowers, leaves, clouds, animals, and other designs.
Chain Stitch for Letters
Chain stitch is also useful for embroidered lettering.
Write a simple word on your fabric using a washable marker.
Follow each letter with chain stitch.
Try using colorful embroidery floss to create personalized:
- Names
- Initials
- Short words
- Greetings
- Quotes
Keep the letters large enough for your first attempts.
Chain Stitch as a Decorative Outline
Chain stitch creates a bold decorative outline.
You can use it around:
- Flowers
- Hearts
- Stars
- Butterflies
- Leaves
- Animals
- Geometric shapes
Choose a contrasting thread color to make the design stand out.
Using Chain Stitch to Fill Shapes
Chain stitch can also be used to fill larger shapes.
Instead of creating a single outline, make rows of chain stitches close together.
Work across the shape until the fabric is covered.
This technique takes more time than a simple outline but can produce a beautiful textured surface.
Choosing the Right Thread
Embroidery floss is the most common choice for chain stitch.
It is available in many colors and can be separated into individual strands.
For a delicate design, use fewer strands.
For a bold design, use more strands.
You can also experiment with specialty embroidery threads for different textures.
Choosing the Right Needle
Use an embroidery needle with an eye large enough for your thread.
A sharp needle works well with woven fabrics such as cotton and linen.
Make sure the needle is comfortable to hold and easy to thread.
Common Beginner Mistakes
Pulling the Thread Too Tight
This can make the loops small and distorted.
Pull gently until the loop sits neatly on the fabric.
Making Loops Different Sizes
Large variations can make the chain look uneven.
Practice creating loops of similar size.
Losing the Working Thread
Remember to keep the working thread under the needle when forming each loop.
This is one of the most important steps in making chain stitch correctly.
Using Very Long Thread
Long thread can tangle easily.
Use shorter pieces and replace them as needed.
Starting With a Complicated Design
Beginners should practice on straight lines before moving to detailed pictures.
A Simple Chain Stitch Practice Project
A small embroidered flower is an excellent first project.
Draw a simple flower with a few petals on cotton fabric.
Use green thread to create a chain stitch stem.
Then use colorful thread to outline the petals.
You can add French knots in the center for extra decoration.
This small project allows you to practice straight lines, curves, and connected loops.
Chain Stitch for Children’s Crafts
Chain stitch can be introduced to older children as a supervised embroidery activity.
Simple designs such as flowers, hearts, stars, and rainbows are fun to practice.
Bright embroidery floss makes the activity more colorful and engaging.
Children should always have adult supervision when using needles and scissors.
Tips for Improving Your Chain Stitch
Practice regularly on scrap fabric.
Start with straight lines.
Move on to gentle curves.
Then practice circles and simple shapes.
Experiment with different thread colors and thicknesses.
Keep your stitches relaxed and avoid rushing.
With practice, your loops will become more even and your designs will look cleaner.
What to Learn After Chain Stitch
Once you are comfortable with chain stitch, you can explore other embroidery techniques, including:
- Running stitch
- Backstitch
- Blanket stitch
- Stem stitch
- Satin stitch
- French knots
- Lazy daisy stitch
- Split stitch
Combining different stitches can make your embroidery projects much more interesting.
Final Thoughts
Chain stitch is a beautiful and beginner-friendly embroidery technique. Its linked loops create a decorative line that can be used for outlines, lettering, borders, flowers, and many other designs.
Start by practicing on a simple straight line. Focus on keeping the loops even and maintaining gentle thread tension.
Once you feel comfortable, experiment with curves, shapes, flowers, and personalized designs. With patience and practice, chain stitch can become an enjoyable part of your hand-embroidery skills.
