
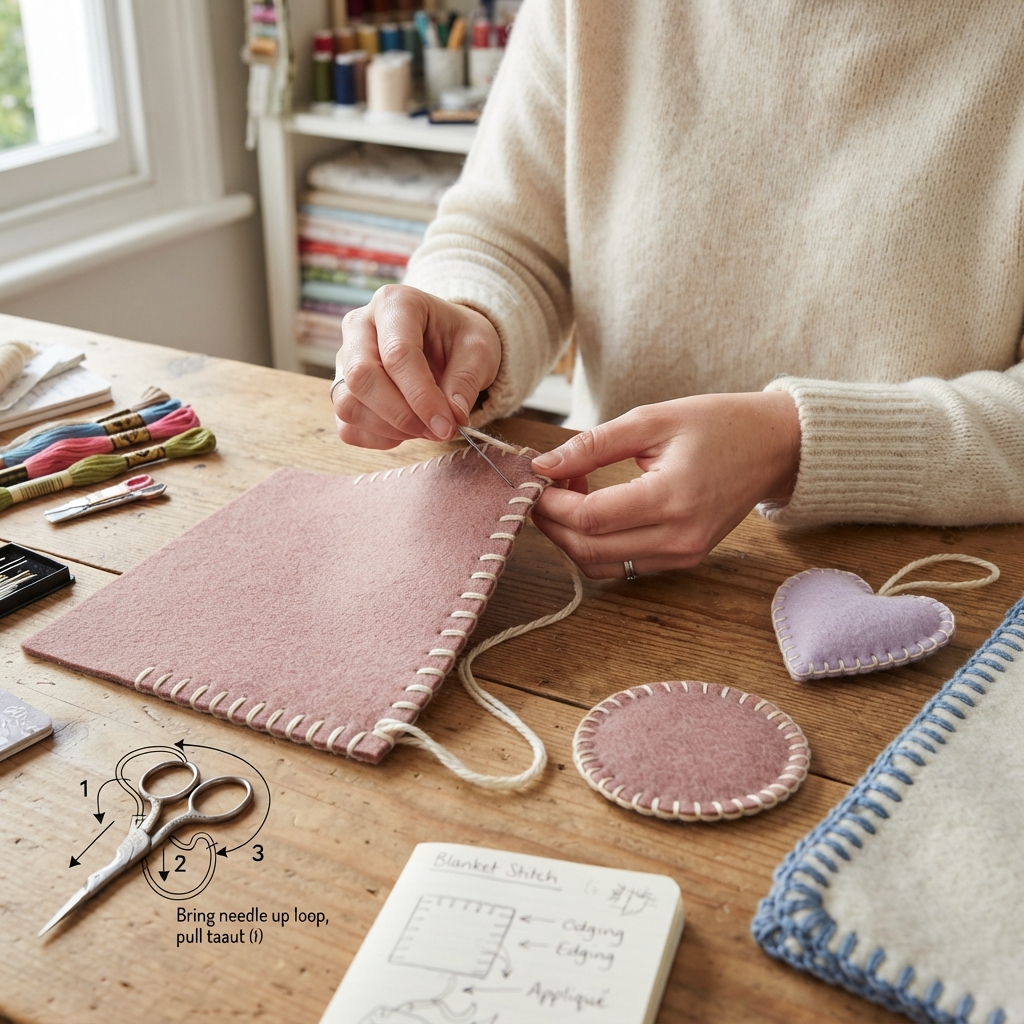
The blanket stitch is one of the most useful and attractive hand-sewing stitches for beginners. It is easy to learn, creates a decorative edge, and can also help prevent fabric from fraying.
Although its name comes from traditional blanket finishing, this stitch is useful for many modern sewing and craft projects. You can use it on felt, fleece, wool, fabric decorations, appliqué, toys, and handmade gifts.
In this guide, you will learn what the blanket stitch is, how to make it step by step, and how to use it in simple sewing projects.
What Is a Blanket Stitch?
A blanket stitch is a decorative hand-sewing stitch commonly used along the edge of fabric.
Unlike a simple running stitch, the thread travels around the edge and creates a series of small vertical or looped stitches.
When finished, the stitches form an attractive border.
The blanket stitch can be sewn with matching thread for a subtle finish or colorful embroidery floss for a decorative effect.
Why Learn the Blanket Stitch?
The blanket stitch is useful because it combines function and decoration.
It can:
- Help finish fabric edges
- Reduce fraying on suitable materials
- Join pieces of fabric
- Decorate felt projects
- Secure appliqué pieces
- Add colorful borders
- Create handmade details
It is especially popular for projects made from felt because felt does not usually require the same type of edge finishing as woven fabric.
Materials You Will Need
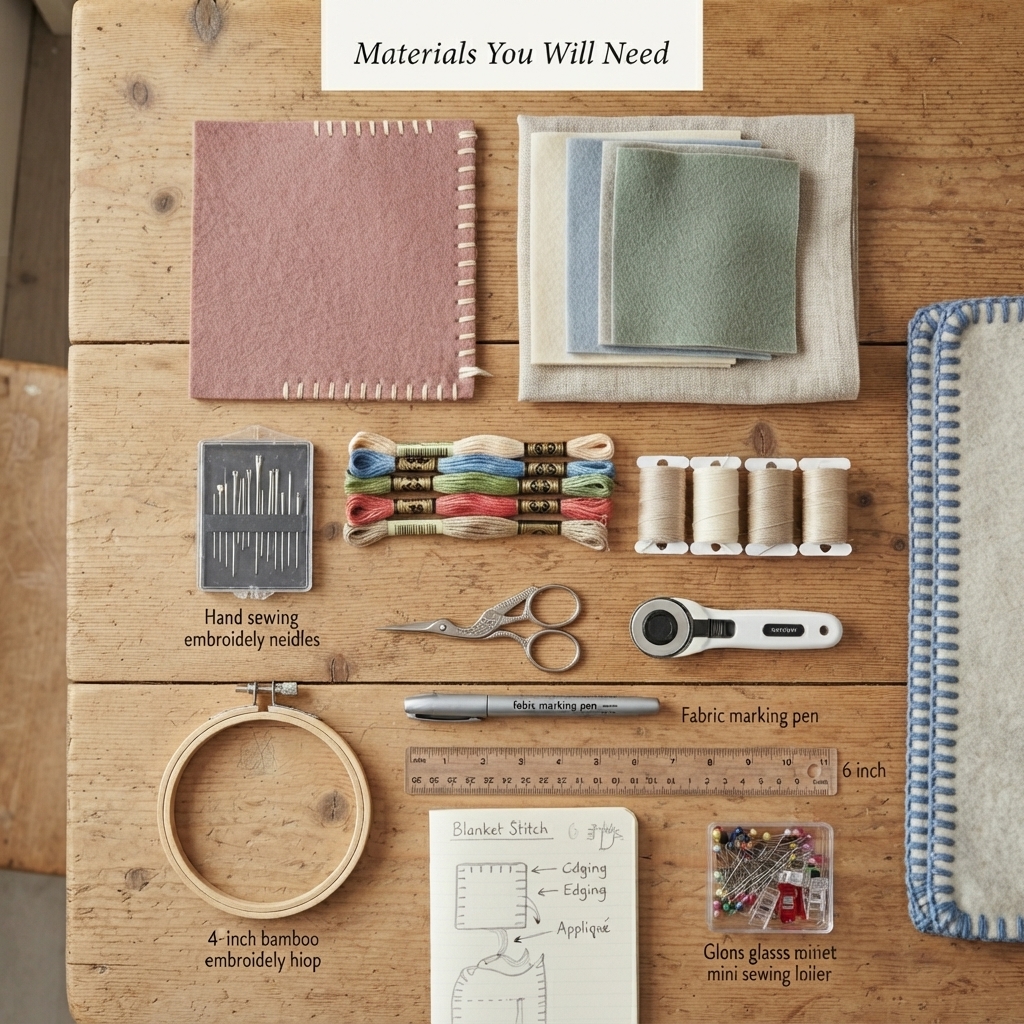
You only need a few supplies:
- Fabric or felt
- Hand-sewing needle
- Sewing thread or embroidery floss
- Small scissors
- Fabric marker or pencil
- Ruler
- Optional embroidery hoop
- Optional pins or sewing clips
For beginners, medium-weight felt and embroidery floss are excellent materials for practicing.
Step 1: Prepare Your Fabric
Cut a small piece of felt or fabric.
For practice, a square measuring approximately 10–15 centimeters is enough.
Place the fabric on a flat surface.
If you are making a border, use a ruler and fabric marker to draw a guideline near the edge.
The guideline will help you keep your stitches evenly spaced.
Step 2: Thread Your Needle
Cut approximately 40–50 centimeters of thread.
Thread the needle and tie a small knot at one end.
Embroidery floss can make the blanket stitch easier to see while you practice.
You can use one or more strands depending on the look you want.
Step 3: Bring the Needle Up
Start from the back of the fabric.
Bring the needle through the fabric close to the edge.
Pull the thread until the knot rests on the back.
Leave a small distance from the edge so that the stitch has enough fabric to hold.
Step 4: Make the First Blanket Stitch
Bring the needle from the back toward the front near the edge.
Before pulling the thread completely through, place the working thread underneath the needle.
Pull the needle through.
The thread will form a small loop around the edge.
This loop is the characteristic feature of the blanket stitch.
Step 5: Make the Next Stitch
Move a short distance along the edge.
Insert the needle from back to front at the same distance from the edge.
Again, keep the working thread underneath the needle before pulling it through.
Pull gently to form another loop.
Repeat this movement.
You will begin to see a neat row of stitches developing along the edge.
Step 6: Keep the Stitches Even
Try to keep the distance between each stitch consistent.
The stitches do not have to be perfect, especially when you are learning.
A useful beginner spacing is approximately 5–8 millimeters, although you can make the stitches smaller or larger depending on your project.
Avoid pulling the thread too tightly because this can distort the fabric.
Step 7: Turn Corners
When you reach a corner, you can make the next stitch close to the same point to create a neat turn.
Work slowly around the corner and check that the stitches remain evenly spaced.
Practice on a small square before attempting a larger project.
Step 8: Finish the Stitching
When you reach the starting point, secure the thread on the back of the fabric.
Make a small knot or several securing stitches.
Trim the excess thread.
Turn the fabric over and check that the stitches are secure.
How to Use the Blanket Stitch
The blanket stitch has many practical and decorative uses.
1. Finishing Felt Edges
Felt is one of the easiest materials for practicing blanket stitch.
You can use colorful thread around the edges of felt shapes to create a decorative border.
Try using felt hearts, stars, flowers, animals, or leaves.
2. Joining Two Pieces of Fabric
Blanket stitch can be used to join two pieces of felt or fabric.
Place the pieces together and stitch around their edges.
This technique is useful for making:
- Small pouches
- Ornaments
- Fabric toys
- Coasters
- Decorations
- Simple wallets
3. Appliqué
Appliqué involves attaching a fabric shape to a larger piece of fabric.
Place the decorative shape on the base fabric.
Use blanket stitch around the edge to secure it.
Bright embroidery floss can make the border stand out.
4. Decorative Borders
You can use blanket stitch simply because it looks beautiful.
Try adding a colorful border to:
- Fabric bookmarks
- Pillows
- Bags
- Wall decorations
- Placemats
- Handmade cards
Choose a contrasting thread color for a bold appearance.
5. Handmade Toys
Blanket stitch is often useful for making simple felt toys.
You can cut two matching shapes, place them together, and sew around the edge.
Leave a small opening if you want to add stuffing.
After filling the toy, close the remaining opening with blanket stitch.
Choosing the Right Thread
Embroidery floss is an excellent choice for decorative blanket stitch.
Cotton sewing thread can create a more subtle appearance.
Choose thicker thread when you want the stitches to be highly visible.
For a simple look, choose thread that matches the fabric.
For a colorful craft project, use contrasting colors.
Choosing the Right Fabric
Blanket stitch works particularly well with:
- Felt
- Fleece
- Wool
- Some cotton fabrics
- Craft fabric
- Stable woven materials
For very thin or delicate fabrics, use a finer needle and thread and make smaller stitches.
Common Blanket Stitch Mistakes
Pulling the Thread Too Tight
Tight stitches can distort the fabric.
Pull the thread gently until the stitch sits neatly against the edge.
Making Stitches Too Far Apart
Large gaps can make the edge look uneven.
Practice maintaining consistent spacing.
Stitching Too Close to the Edge
If you stitch extremely close to the edge, the fabric may pull or tear.
Leave enough material for the stitch to hold securely.
Using Thread That Is Too Long
Long thread can become tangled.
Work with shorter pieces and replace the thread when needed.
A Simple Blanket Stitch Project
A felt heart is an excellent beginner project.
First, draw a heart shape on paper and use it as a template.
Cut two identical hearts from felt.
Place them together.
Starting near the top of the heart, use blanket stitch around the edge.
Leave a small opening if you want to add a little stuffing.
Once the heart is filled, continue stitching until the opening is closed.
You can decorate it with beads, buttons, embroidery, or ribbons.
Blanket Stitch for Children’s Crafts
Blanket stitch can be introduced as a supervised sewing activity for older children.
Felt is easy to handle, and colorful embroidery floss makes the stitches exciting to practice.
Children can create simple shapes such as:
- Stars
- Hearts
- Flowers
- Fish
- Butterflies
- Animals
Adult supervision is important whenever children use needles and scissors.
Tips for Better Blanket Stitches
Practice on scrap fabric before starting a finished project.
Mark a guideline to help maintain consistent spacing.
Keep the needle movement steady.
Use the same distance from the fabric edge for every stitch.
Do not pull the thread too tightly.
Experiment with different thread colors and stitch sizes.
Remember that handmade stitches do not have to look perfectly machine-made. Small differences can give your project a charming handmade character.
Final Thoughts
Learning the blanket stitch is a valuable skill for anyone interested in hand sewing, embroidery, and fabric crafts. It is simple enough for beginners but versatile enough for many creative projects.
Start by practicing on a small piece of felt. Once you understand how to create the loops and maintain even spacing, try making hearts, stars, toys, pouches, appliqué designs, and decorative borders.
With a little practice, the blanket stitch can become one of your favorite techniques for creating beautiful handmade projects.
