
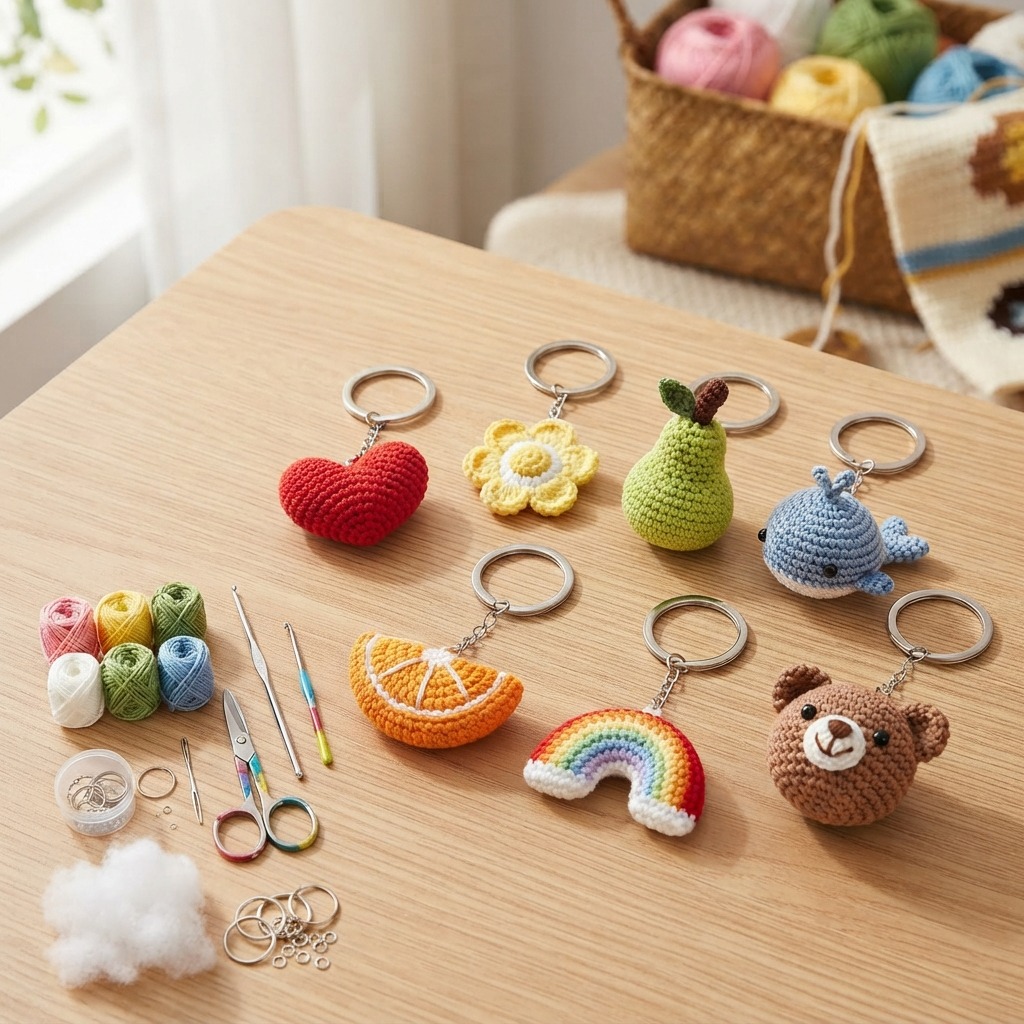
Crochet is one of the most enjoyable ways to turn simple yarn into useful and beautiful handmade items. If you are looking for a small project that is easy to make, a crochet keychain is a perfect choice. It requires only a small amount of yarn, a crochet hook, and a few basic materials. Because the project is small, beginners can usually finish one quickly while practicing their crochet skills.
A handmade crochet keychain can be more than just a way to organize your keys. It can become a cute accessory for a handbag, backpack, pencil case, purse, or zipper. You can make it in almost any shape, color, or style. Flowers, hearts, animals, fruits, stars, clouds, and tiny dolls are all popular choices.
Crochet keychains are also wonderful handmade gifts. You can create several designs for friends and family members or make personalized keychains to sell at craft fairs and online.
Why Make a Crochet Keychain?
There are many reasons to try a crochet keychain project. The first is that it is simple and inexpensive. Since the finished item is small, you only need a little yarn. This makes keychains a great project for using leftover yarn from larger crochet projects.
A crochet keychain is also a useful way to practice basic techniques. Beginners can learn how to make a magic ring, work in rounds, increase stitches, decrease stitches, and sew small pieces together.
Another advantage is customization. You can choose colors and shapes according to your personality or the person who will receive the keychain.
You can even create seasonal designs. Make pumpkins for Halloween, snowflakes for winter, flowers for spring, or colorful fruits for summer.
Materials You Will Need
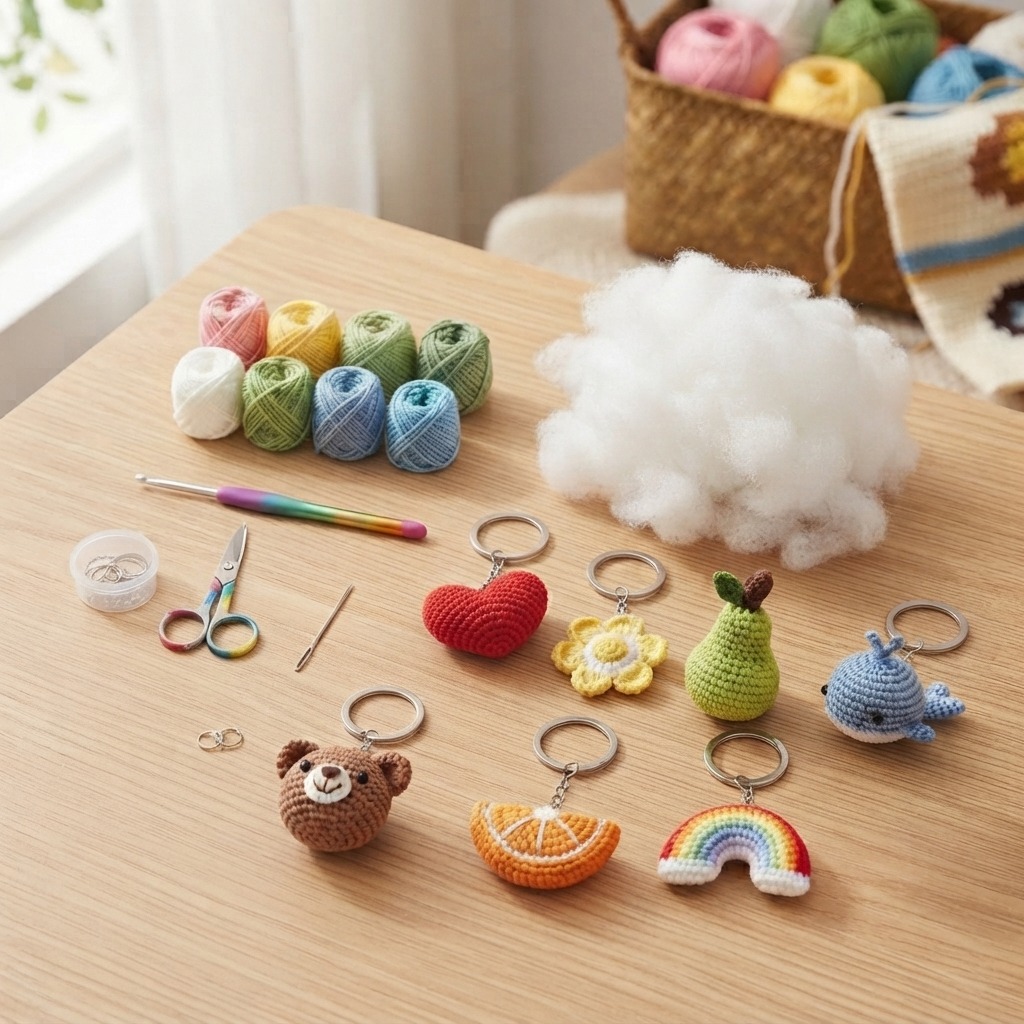
To make a basic crochet keychain, prepare the following materials:
- Small amounts of yarn
- A crochet hook suitable for your yarn
- Scissors
- A yarn needle
- Polyester fiberfill or another soft stuffing
- A metal keychain ring
- A small jump ring or split ring
- Stitch marker, if needed
Cotton yarn is a particularly good choice because it is strong, durable, and easy to crochet. However, acrylic yarn can also work well.
For small keychains, choose a smaller crochet hook than you might normally use with the same yarn. Tighter stitches help create a firm shape and prevent stuffing from showing through.
Choosing a Keychain Design
Before you start crocheting, decide what shape you want to make.
For your first project, simple shapes are easiest. Consider making:
- A heart
- A flower
- A star
- A ball
- A small fruit
- A mushroom
- A cat
- A bear
- A bunny
- A cloud
- A smiling face
If you are comfortable with amigurumi techniques, you can create small three-dimensional animals and characters.
For a beginner-friendly keychain, a small flat shape is usually the easiest option.
Basic Crochet Stitches
You only need a few basic stitches to make many crochet keychains.
Chain Stitch
The chain stitch is used to create a foundation and can also be used to make a hanging loop.
Single Crochet
Single crochet creates a tight fabric and is commonly used for small crochet toys and keychains.
Slip Stitch
A slip stitch is useful for joining rounds and finishing your work.
Increase
An increase adds stitches to a round and helps your crochet piece become wider.
Decrease
A decrease removes stitches and helps create a smaller or rounded shape.
If you are new to crochet, practice these stitches before beginning the keychain.
Step 1: Start the Crochet Shape
For a small stuffed keychain, begin with a magic ring.
Make six single crochet stitches into the ring and gently pull the yarn tail to close the center.
If you are not comfortable with a magic ring, you can make a few chain stitches and join them into a small circle instead.
Place a stitch marker at the beginning of the round if needed.
Step 2: Increase the Shape
In the next round, make two single crochet stitches in each stitch around.
This increases the number of stitches and makes the circle larger.
Continue increasing gradually until the crochet piece reaches the size you want.
For a tiny keychain, you may only need a few rounds.
Remember that the number of rounds depends on your yarn, hook size, and desired finished size.
Step 3: Create the Body
Once the piece is wide enough, crochet several rounds without increasing.
This creates the main body of a small stuffed keychain.
Keep your stitches tight and even.
If you are making a round character, continue crocheting until the shape is approximately half the desired size.
Step 4: Add the Stuffing
If you are making a three-dimensional keychain, add a small amount of polyester fiberfill.
Do not overstuff the piece. Too much stuffing can stretch the crochet stitches and make the shape uneven.
Add the stuffing gradually and use the end of your crochet hook or a pencil to gently push it into the corners.
Make sure the stuffing is distributed evenly.
Step 5: Close the Shape
Continue crocheting while gradually decreasing stitches.
The opening will become smaller as you work.
Add a little more stuffing if necessary before completely closing the piece.
When only a small opening remains, finish the final stitches and cut the yarn, leaving a long tail.
Use a yarn needle to weave the tail through the remaining stitches and pull gently to close the opening.
Secure the yarn and hide the end inside the crochet piece.
Step 6: Add the Details
Now you can turn your simple crochet shape into a character or decorative design.
For example, if you are making a small animal, you can add:
- Eyes
- Nose
- Mouth
- Ears
- Tiny arms
- Tiny feet
- A tail
You can embroider facial features with black yarn or embroidery thread.
For children’s keychains, embroidered features are generally preferable to loose small parts.
Step 7: Make a Hanging Loop
To attach the keychain ring, make a small crochet loop.
Attach yarn to the top of your crochet piece and chain approximately 8 to 12 stitches, depending on the size you want.
Join the chain back to the starting point with a slip stitch.
Fasten off securely.
You can also make a longer loop if you want the keychain to hang from a backpack or handbag.
Step 8: Attach the Keychain Ring
Take a metal keychain ring and connect it to the crochet loop.
You can use a small jump ring to make the attachment easier.
Make sure the connection is secure because the keychain may be pulled and moved frequently.
If you are making keychains to sell, use strong metal hardware and reinforce the crochet attachment point.
Easy Crochet Heart Keychain
A heart is one of the easiest and most attractive shapes for a crochet keychain.
You can make a small heart using red, pink, white, purple, or any color you like.
After crocheting the heart, add a small loop at the top and attach a metal keychain ring.
A heart keychain makes a lovely Valentine’s Day gift, birthday present, or handmade accessory.
Crochet Flower Keychain
Flowers are another beautiful option.
Choose bright colors for the petals and a contrasting color for the center.
You can make a simple flat flower and attach it directly to the keychain ring.
A flower keychain is especially suitable for spring and summer accessories.
Crochet Fruit Keychains
Tiny fruit shapes are colorful and fun.
Try making:
- Strawberries
- Cherries
- Lemons
- Oranges
- Watermelons
- Apples
- Pineapples
These designs can be made in bright colors and are excellent for decorating bags and backpacks.
Crochet Animal Keychains
Once you become comfortable with small crochet projects, try making miniature animals.
Popular choices include cats, dogs, bears, rabbits, frogs, turtles, pandas, and whales.
Animal keychains can be made with simple shapes and a few embroidered details.
You can also personalize them by changing the colors.
For example, a cat keychain can be white, black, gray, orange, or striped.
Color Combination Ideas
Choosing attractive colors can make a simple keychain look much more special.
For a soft design, combine cream, beige, pink, and lavender.
For a cheerful style, use yellow, orange, turquoise, and green.
For a classic look, choose black, white, gray, and beige.
For a playful children’s design, combine several bright colors.
You can also use leftover yarn from other projects to create colorful striped keychains.
Tips for Beginners
When making your first crochet keychain, start with a simple design.
Keep your stitches tight so that the stuffing does not show through.
Count your stitches at the end of every round. Losing or adding stitches can change the shape of your project.
Do not use too much stuffing. A small amount is usually enough for a tiny keychain.
Secure the keychain ring carefully. A weak attachment can cause the crochet piece to fall off.
Finally, take your time with finishing. Neatly hiding yarn ends and attaching details securely can make your finished keychain look much more professional.
How to Make Crochet Keychains for Gifts
Crochet keychains are excellent small gifts because they are inexpensive and easy to personalize.
You can make a keychain in the recipient’s favorite color or create a shape that represents their personality.
For a birthday gift, make a colorful flower, heart, animal, or initial.
For a teacher, consider a small apple, pencil, or school-themed design.
For a friend, make a tiny version of their favorite animal or food.
You can also package the keychain in a small paper gift bag with a handmade tag.
How to Sell Crochet Keychains
Small crochet keychains can also be suitable for a handmade business.
Because they require relatively little yarn, they can be produced in different colors and designs without using a large amount of material.
When making keychains for customers, focus on:
- Strong stitching
- Secure metal rings
- Neat finishing
- Attractive colors
- Original designs
- Consistent sizing
Create several styles so customers can choose their favorite.
You can also offer personalized colors or simple custom designs.
Creative Keychain Ideas
Once you have mastered the basic technique, there are many designs you can explore.
Try making:
Mini Donut
Use colorful yarn and add tiny embroidered sprinkles.
Tiny Mushroom
Create a red or brown cap with a small cream-colored stem.
Smiling Sun
Make a yellow circle and embroider a happy face.
Little Bee
Use yellow and black stripes with tiny wings.
Mini Cloud
Use white or pale blue yarn and add a cute face.
Small Rainbow
Crochet several colorful stripes and add a hanging loop.
These small projects can help you develop your skills while creating attractive accessories.
Common Mistakes to Avoid
One common mistake is using a crochet hook that is too large. Large hooks can create loose stitches, allowing stuffing to show through.
Another mistake is failing to secure the keychain ring properly. Always reinforce the connection between the crochet piece and the metal ring.
Avoid making the project too complicated when you are just starting. Simple shapes are easier to finish neatly.
It is also important to weave in loose yarn ends carefully. Unsecured ends can unravel over time.
Final Thoughts
Making a crochet keychain is a fun, quick, and creative project for beginners. With a small amount of yarn and a few basic crochet techniques, you can create a useful accessory that is completely personalized.
Start with a simple heart, flower, circle, or other flat design. As your confidence grows, experiment with stuffed animals, fruits, characters, and colorful decorations.
Crochet keychains are also wonderful handmade gifts and can be a great addition to a small craft business. Since they are quick to make and require little material, you can create many different designs without a large investment.
The most important thing is to enjoy the process. Choose your favorite colors, experiment with different shapes, and add your own creative details. With a little practice, you can turn simple yarn into charming crochet keychains that are both practical and beautiful.
