Making a simple magnet is one of the most exciting and hands-on science activities you can try at home. Imagine turning an ordinary nail into something that can pick up paper clips like magic! It feels almost like cooking a special recipe—simple ingredients, a few easy steps, and suddenly you’ve created something powerful.
What makes this even more fun is that Makiang a simple magnet is not just a school experiment—it’s a little science adventure. Many students discover magnetism for the first time by trying this activity, and it often becomes their favorite because results appear quickly. A fun fact is that ancient people once thought magnets had magical powers before science explained how they work!
This experiment is special because it is simple, fast, and family-friendly. Parents can do it with kids, and teachers often use it in classrooms. It’s also similar in excitement to popular DIY science projects like baking soda volcanoes, but even easier to set up and clean.
If you enjoy easy science experiments like homemade lava lamps or balloon static electricity tricks, you will love Making a simple magnet even more. Let’s dive in and explore how it works!
What is Making a simple magnet?
So, what exactly is Making a simple magnet? Is it magic? Is it science? Or both? Well… it’s pure science—but it definitely feels magical!
Making a simple magnet means turning a regular piece of metal, like a nail or pin, into a magnet that can attract other metal objects. How cool is that? You might even ask yourself: “Wait… I can make metal act like a magnet at home?” Yes, you absolutely can!
There’s a funny idea that says, “the way to a man’s heart is through his stomach,” but in science, we might say the way to understanding magnetism is through simple experiments like this one.
People love calling it “magic magnet making,” but don’t worry—no wizard hat required. Just curiosity, a few tools, and a bit of fun energy. Try it once, and you’ll want to show everyone your little homemade magnet trick!
Why You’ll Love This Making a simple magnet
There are many reasons why Making a simple magnet is such a great activity, especially for beginners and kids.
First, the main highlight is how quickly you see results. In just a few minutes, a normal metal nail can start picking up small objects. That “wow moment” makes learning exciting and memorable.
Second, it is super budget-friendly. You don’t need expensive kits or science lab equipment. Most materials—like batteries, nails, and wire—are already found at home. This makes it perfect for families who want fun learning without spending much money.
Third, the process itself is fun because you can try different methods and see which one works best. Some methods create stronger magnets, while others are faster or easier. It feels like a mini science competition at home!
Compared to other experiments like baking soda volcanoes or slime-making, Making a simple magnet feels more “real science” because it shows invisible forces in action.
If you enjoy easy DIY science projects, this one will quickly become your favorite. Try it today and see the magic of magnetism come alive!
How to Make Making a simple magnet
● Quick Overview
Making a simple magnet is easy, fun, and surprisingly fast. In just 10–15 minutes, you can turn basic materials into a working magnet. The process is simple, and even beginners can follow it without trouble.
What makes it exciting is the instant result—you don’t wait long to see success. Once your magnet is ready, it can pick up small metal objects like paper clips or pins. It’s a great mix of learning and fun!
● Key Ingredients for Making a simple magnet
Here’s what you need for Making a simple magnet:
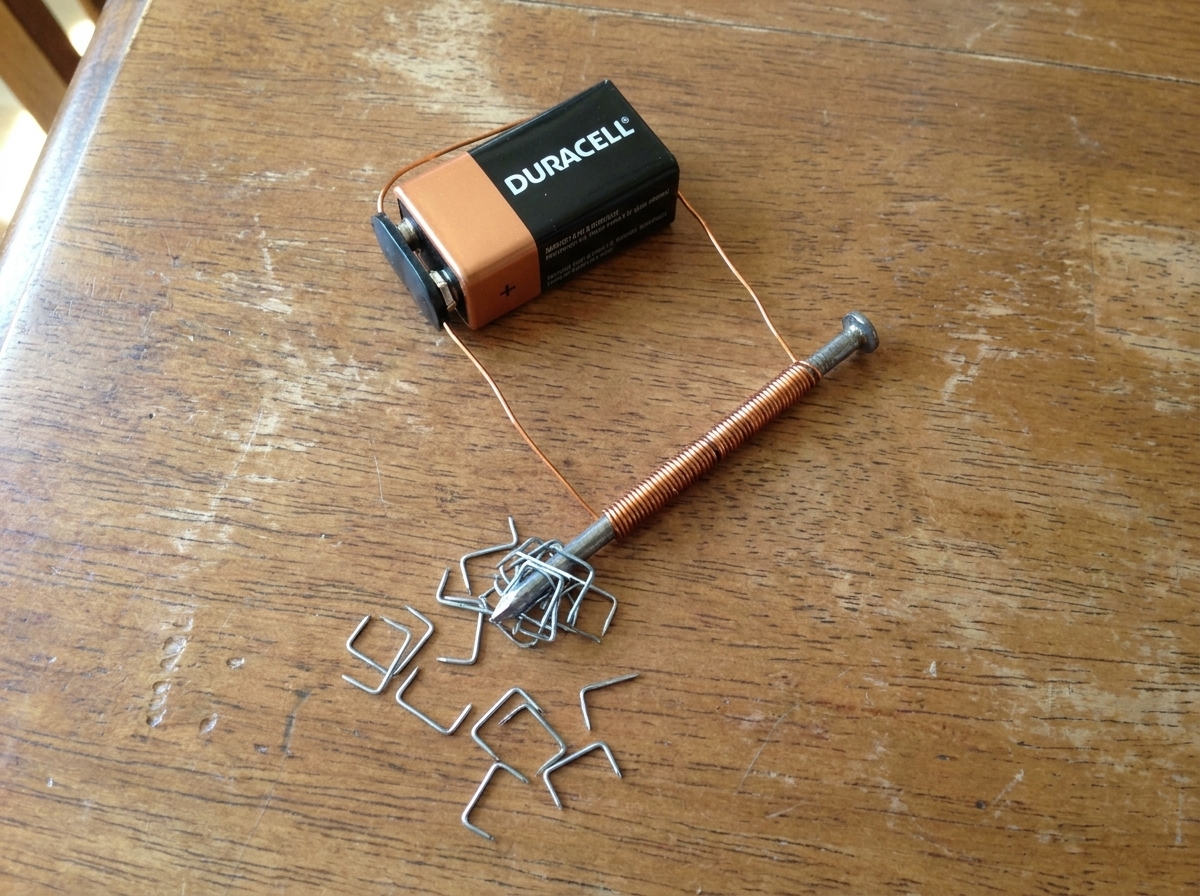
- 1 iron nail or steel pin
- Copper wire (thin, insulated)
- 1 AA battery (or small battery pack)
- Small paper clips or pins for testing
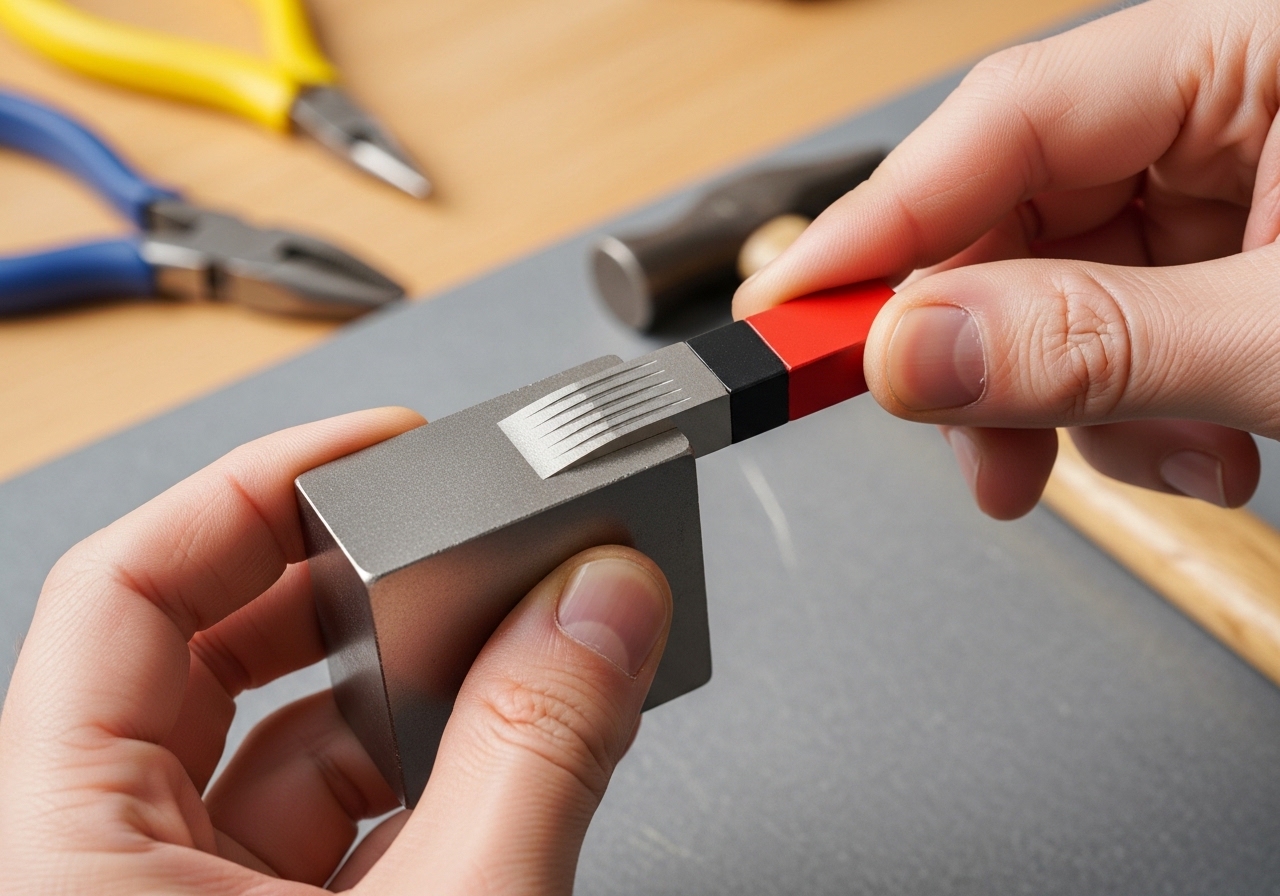
- Strong permanent magnet (optional for some methods)
Optional tools:
- Tape
- Small pliers
- Scissors
Each item plays an important role. The nail becomes the magnet body, while electricity or friction helps activate the magnetic force.
● Step-by-Step Instructions
Let’s go step by step for Making a simple magnet:
Step 1: Prepare your nail
Take a clean iron nail or steel pin. Make sure it is dry and free from dirt.
Step 2: Wrap the wire
Carefully wrap copper wire around the nail. Make 10–20 tight loops. The more loops, the stronger the magnet.
Step 3: Connect the battery
Attach both ends of the wire to a small battery. This creates electric flow.
Step 4: Test your magnet
Bring the nail close to paper clips. If done correctly, it should pick them up!
Step 5: Try different methods
You can also try rubbing the nail with a strong magnet or leaving it near a magnetic field.
Each step helps you understand how Making a simple magnet works in different ways.
What to Serve Making a simple magnet With
Even though Making a simple magnet is a science activity, you can make it even more fun by pairing it with other learning experiences:
- Simple science notebooks for recording results
- Other DIY experiments like slime or volcanoes
- Educational videos about magnetism
- Family science challenge games
These activities make learning more exciting and help you understand science better.
Top Tips for Perfecting Making a simple magnet
Here are some helpful tips for Making a simple magnet:
- Use fresh batteries for stronger results
- Increase wire loops to boost magnet strength
- Always use iron or steel materials (not plastic or aluminum)
- Repeat the process multiple times for better magnetization
- Be patient—some methods take a little time to work
Common mistakes to avoid:
- Loose wire connections
- Weak or old batteries
- Using the wrong metal type
If you follow these tips, your Making a simple magnet experiment will work much better.
Storing and Reheating Tips
Even though Making a simple magnet is not food, your “magnet creation” still needs care!
Here’s how to store your homemade magnet:
- Keep it in a dry place
- Avoid dropping or hitting it
- Store it away from strong heat
- Place it near a soft metal surface if needed
How long does it last?
- Temporary magnets may lose strength after a few hours or days
- Electromagnets stop working when battery is removed
- Some methods create longer-lasting magnets depending on material
How to “recharge” it:
- Reconnect to battery again
- Rub it with a permanent magnet
- Repeat the magnet-making process
Proper care helps keep your Making a simple magnet experiment working longer and better.
Final Thoughts
Making a simple magnet is one of the easiest and most exciting science experiments you can try at home. It teaches you how invisible forces work in real life while giving you hands-on fun. With just a few simple materials, you can create something powerful and surprising.
Whether you are a student, a parent, or just someone who loves DIY science, this activity is perfect for you. Try different methods, compare results, and enjoy the process of discovery.
Science doesn’t have to be complicated—it can be simple, fun, and magical. So grab your materials and start your Making a simple magnet experiment today. Who knows? You might just become a young scientist in the making!