Introduction: Why DIY Bouncy Balls Are the Ultimate STEM Project
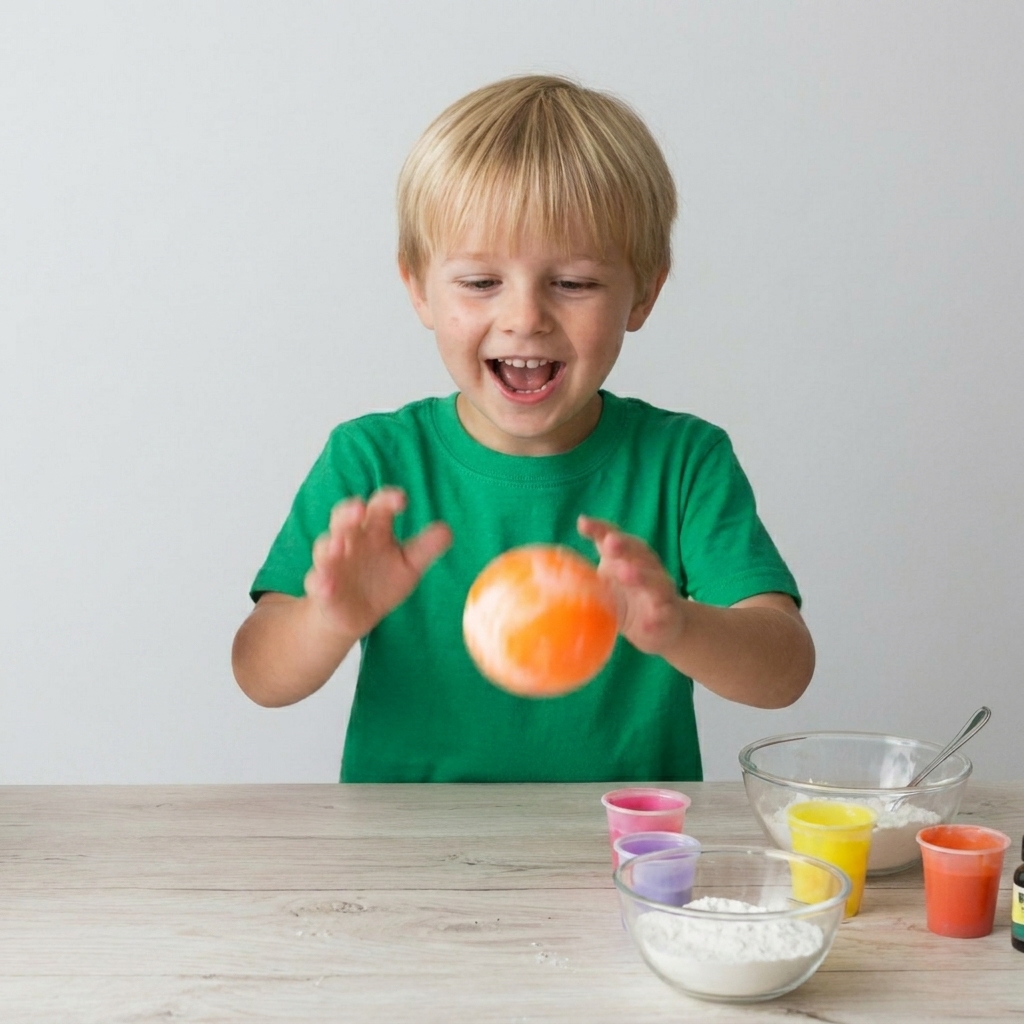
The method of making bouncy balls is loved by children. Unlike ordinary crafts that get forgotten after a few minutes, homemade bouncy balls combine creativity, chemistry, and active play in one exciting activity. Kids don’t just make something colorful—they create a toy they can actually use, test, and improve.
From kitchen science experiments to homeschool STEM lessons, The method of making bouncy balls is loved by children. because it transforms simple household ingredients into stretchy, springy creations that bounce across the floor like magic. Parents also appreciate the educational value because children learn basic chemistry, physics, and problem-solving skills while having fun.
In this guide, you’ll learn classic recipes, borax-free alternatives, creative customization ideas, and the science behind why these DIY creations bounce. Whether you want a quick DIY bouncy ball recipe or an advanced DIY polymer bouncy ball activity, this complete guide has everything you need.
The Science of the Bounce: Polymers & Cross-Linking
Glue contains long chains of molecules called polymers. Imagine cooked spaghetti noodles sliding around in a bowl. In liquid glue, these chains move freely.
When making a DIY polymer bouncy ball activity, the goal is to connect these chains together into a flexible structure.
The Cross-Linking Magic
Borax or other activating ingredients act like tiny bridges between the polymer chains. This process is called cross-linking.
As more connections form, the liquid mixture transforms into a stretchy solid called an elastomer. This gives the ball its shape, flexibility, and bounce.
Clear glue usually creates a stronger bounce than white glue because it forms a denser polymer network.
Ingredients
1 tablespoon clear glue
1/2 teaspoon borax
2 tablespoons warm water
1 tablespoon cornstarch
Food coloring
Step-by-Step Instructions
1. Prepare the Activator
Dissolve borax completely in warm water.
2. Mix the Base
Combine glue, cornstarch, and food coloring in a separate bowl.
3. Trigger Cross-Linking
Pour the activator into the glue mixture and let it sit for about 15 seconds.
4. The Secret Step
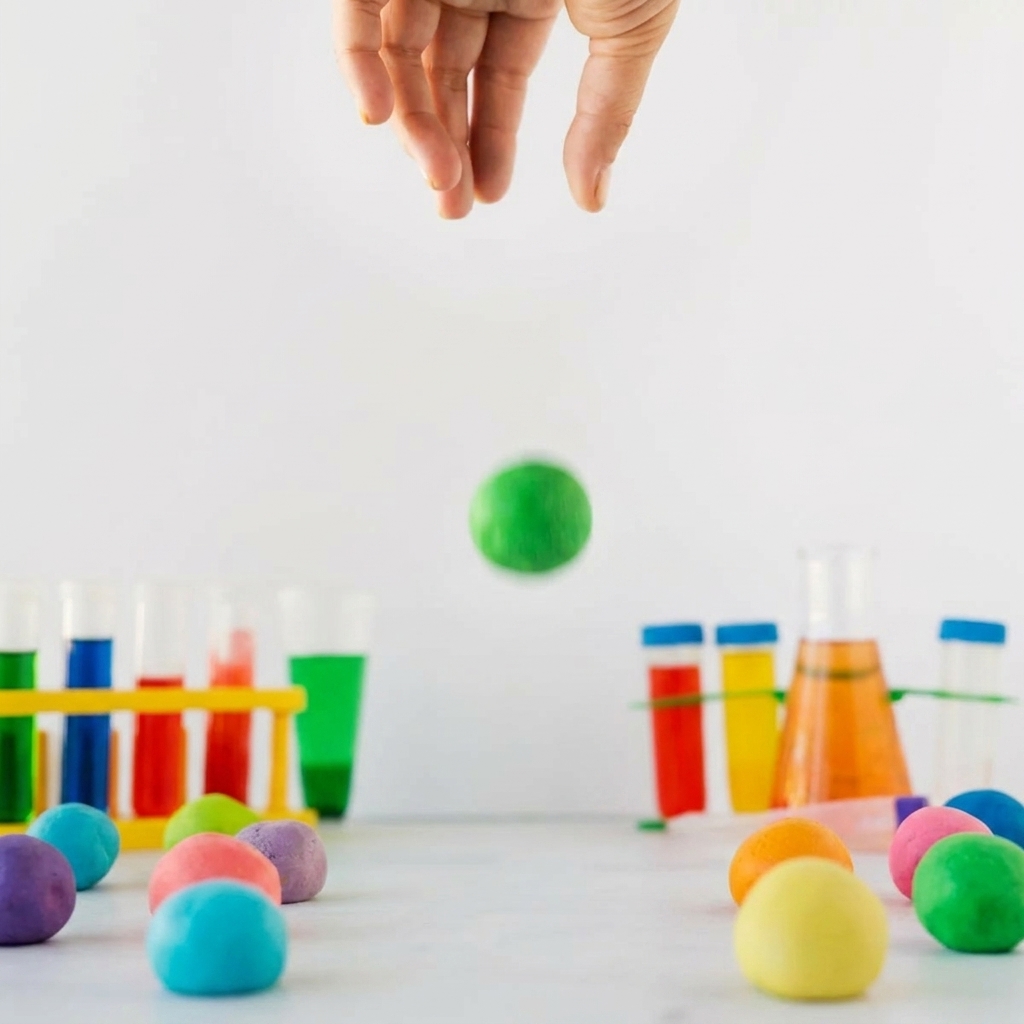
Knead and roll the mixture for 2–10 minutes.
The longer you knead, the smoother and bouncier your ball becomes. This is the key reason The method of making bouncy balls is loved by children. they can physically feel the transformation happen.
Recipe #2: The Borax-Free Bake & Bounce Ball
This safer alternative is perfect for parents avoiding borax-based projects.
Ingredients
1 cup cornstarch
1/2 cup white glue
1 tablespoon water
Instructions
Mix ingredients into a dough-like consistency.
Knead until smooth and elastic.
Shape into balls.
Bake at 350°F for 30 minutes.
Why Baking Helps
Heat evaporates excess moisture and strengthens molecular bonds, making the ball firmer and more durable.
This version of the DIY bouncy ball recipe is simple, kid-friendly, and less chemically intensive.
Specialty Variations: Glow, Glitter & Rainbow Fun
Another reason The method of making bouncy balls is loved by children. is the endless customization.
Glow-in-the-Dark Balls
Add glow powder or glow acrylic paint before activating the mixture.
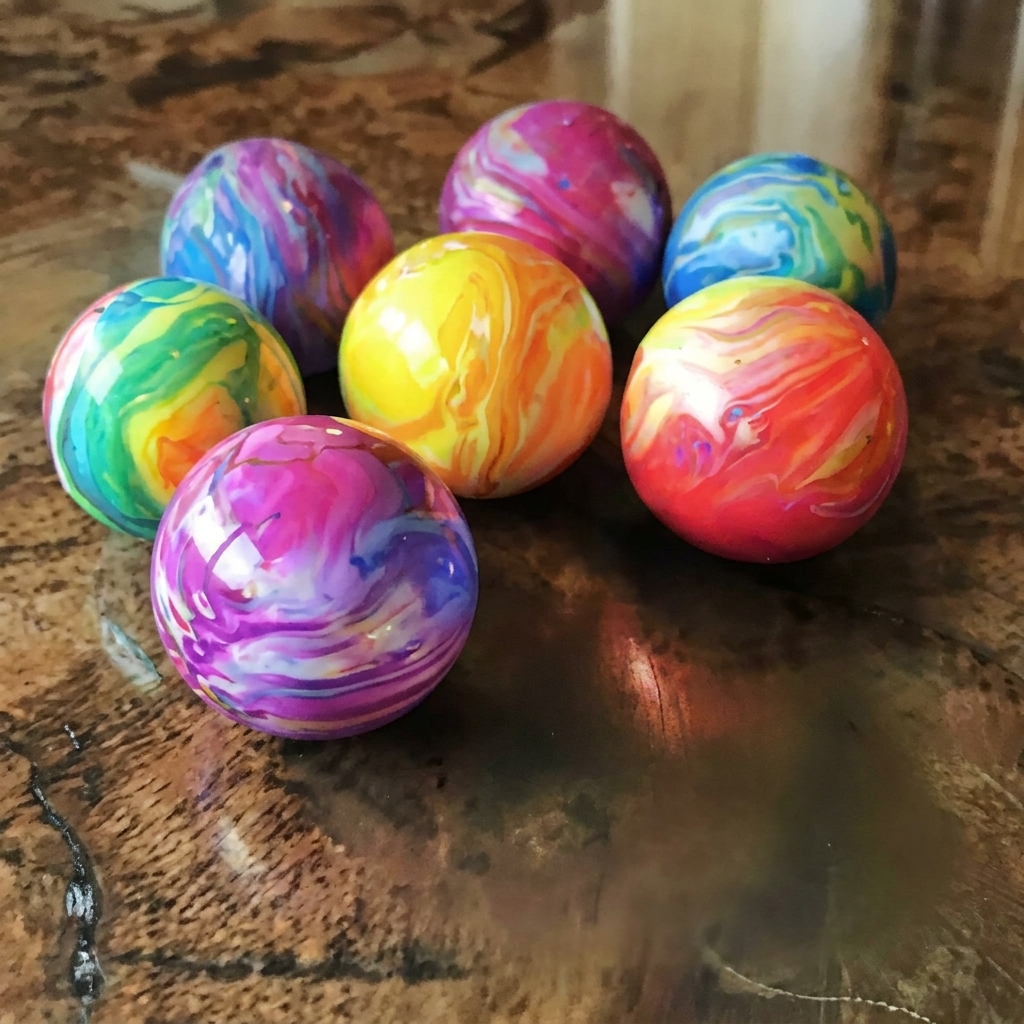
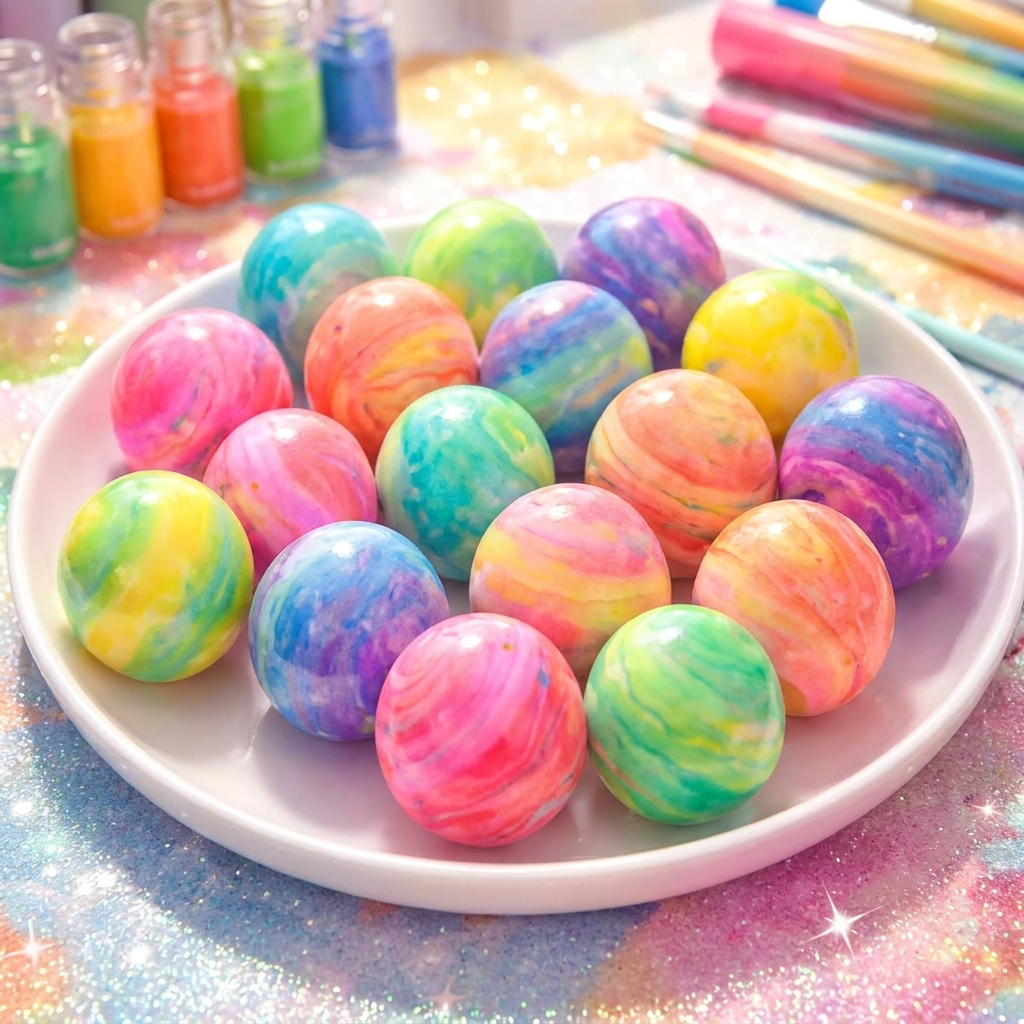
Rainbow Swirl Balls
Create several colored batches and gently combine them before rolling.
Glitter Bounce Balls
Mix fine glitter into clear glue for sparkling effects under light.
Gel Texture Balls
Use blue glue gel for a softer, squishier texture that feels different from traditional polymer balls.
These upgrades turn a simple DIY polymer bouncy ball activity into a creative sensory adventure.
The Bouncing Challenge: A STEM Experiment for Kids
After making your bouncy balls, turn the activity into a science investigation.
Standardized Bounce Test
Drop each ball from exactly 3 feet high beside a ruler.
Record:
Bounce height
Surface type
Ball texture
Variables to Test
Surface Type
Does the ball bounce higher on:
Tile?
Wood?
Concrete?
(Carpet absorbs energy, so avoid it.)
Temperature Experiment
Test a cold fridge ball versus a warm room-temperature ball.
Cornstarch Experiment
Does adding extra cornstarch increase or reduce bounce?
This transforms The method of making bouncy balls is loved by children. into a full educational STEM project.
Troubleshooting Guide: Why Is My Ball Not Working?
Even the best DIY bouncy ball recipe can run into problems.
Problem
Quick Fix
Too sticky
Add more cornstarch or activator
Too hard
Add a few drops of warm water
Falling apart
Knead longer
Weak bounce
Use clear glue instead of white
Cracking
Reduce activator slightly
Understanding these adjustments helps children learn experimentation and problem-solving.
Expert Tips for the Best Bounce
To maximize success with The method of making bouncy balls is loved by children., follow these expert tips:
Always use warm water for activators
Knead longer for smoother texture
Roll firmly to remove air pockets
Avoid over-activating the mixture
Store finished balls in airtight containers
These simple adjustments dramatically improve elasticity and bounce quality.
Educational Benefits of DIY Bouncy Balls
This activity is more than just entertainment.
STEM Learning
Children explore:
Polymer chemistry
Elasticity
Energy transfer
Material science
Fine Motor Skills
Rolling, kneading, and shaping improve hand coordination and finger strength.
That’s another major reason The method of making bouncy balls is loved by children.
Frequently Asked Questions
Why isn’t my ball bouncing well?
You may need more kneading time or a better glue-to-activator balance.
Can I make bouncy balls without borax?
Yes. Cornstarch and glue recipes are popular alternatives.
How long do homemade bouncy balls last?
Usually several days to a week if stored properly.
Can I use white glue?
Yes, but clear glue generally creates a stronger bounce and smoother texture.
Conclusion: Why Kids Love This DIY Science Activity
At its core, The method of making bouncy balls is loved by children. because it combines creativity, science, and active play in one unforgettable activity. Kids aren’t just following instructions—they’re experimenting, testing ideas, and discovering how chemistry works with their own hands.
Whether you choose a classic DIY bouncy ball recipe or an advanced DIY polymer bouncy ball activity, this project encourages curiosity, problem-solving, and sensory exploration. From glow-in-the-dark creations to rainbow swirls and bounce-testing experiments, homemade bouncy balls transform ordinary ingredients into a fascinating STEM adventure.
With a little glue, creativity, and science magic, your kitchen can become the ultimate learning laboratory.