

A cardboard toy garage is an exciting craft project that allows children to build a miniature parking garage for their favorite toy cars. Using recycled cardboard boxes, paper, paint, and simple craft supplies, kids can create multiple parking levels, ramps, car wash stations, repair shops, and fueling areas. This hands-on activity combines creativity, engineering, and imaginative play while teaching children about transportation and organization.
Whether built at home, in the classroom, or during a weekend craft session, a cardboard toy garage provides hours of creative fun and learning.
Why Make a Cardboard Toy Garage?
Many children love playing with toy cars and trucks. Building a cardboard garage gives them a special place to park, organize, and care for their vehicles while encouraging imaginative storytelling.
This project helps children:
- Develop creativity by designing their own garage.
- Improve fine motor skills through cutting, folding, and gluing.
- Practice planning and problem-solving.
- Learn about vehicles and transportation.
- Encourage organization by sorting different toy cars.
- Discover the value of recycling everyday materials.
Materials You’ll Need
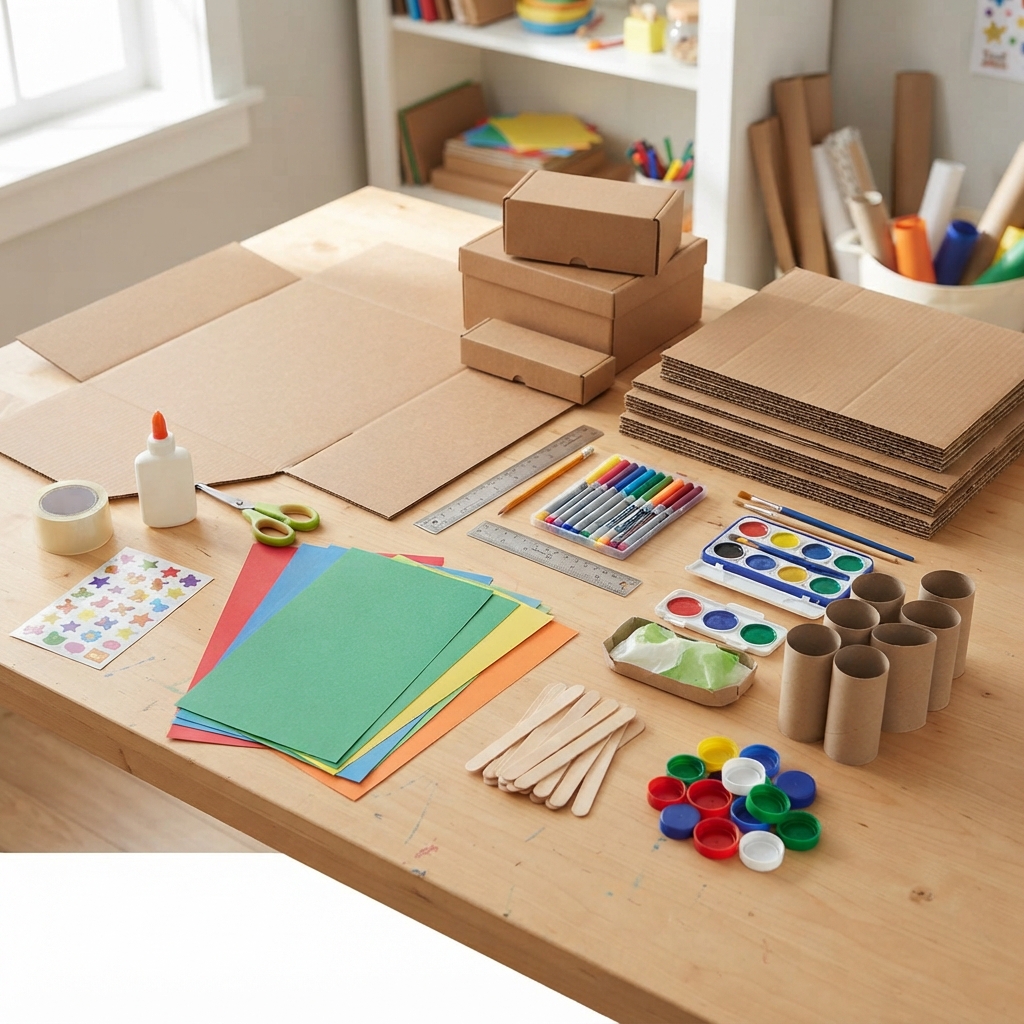
Before you begin, gather these easy-to-find supplies:
- Large cardboard box
- Small cardboard boxes
- Thick cardboard sheets
- Colored construction paper
- Child-safe scissors
- Craft glue or tape
- Markers and crayons
- Paint and paintbrushes (optional)
- Popsicle sticks
- Bottle caps
- Paper tubes
- Ruler
- Pencil
- Stickers for decoration
Most of these materials can be collected from your recycling bin.
Step 1: Build the Garage Base
Use a sturdy cardboard box as the main structure.
Cut away the front so the inside is easy to see. Glue the box onto a larger piece of cardboard to create a stable base for the garage.
Step 2: Create Parking Levels
Cut flat pieces of cardboard to make extra floors.
Support each level with cardboard columns or paper tubes.
Label the parking spaces with numbers to help organize the toy cars.
Step 3: Make Driving Ramps
Cut long strips of sturdy cardboard to create ramps connecting each floor.
Secure the ramps with folded cardboard supports so toy cars can easily drive up and down between levels.
Step 4: Add Parking Spaces
Draw neat parking lines on each floor.
Label areas for different vehicles, such as:
- Small Cars
- Racing Cars
- Trucks
- Emergency Vehicles
- Electric Cars
Children can sort their toys into the correct spaces.
Step 5: Build a Car Wash
Create a fun car wash using a small cardboard box.
Add:
- Rolling brushes made from strips of paper
- Blue paper water sprays
- Foam made from cotton balls
- Drying area
- Exit sign
Kids will enjoy pretending to wash every vehicle before parking it.
Step 6: Create a Repair Shop
Build a mechanic’s workshop beside the garage.
Include pretend tools such as:
- Wrench
- Hammer
- Screwdriver
- Jack
- Tire rack
- Toolbox
Children can imagine fixing toy cars before sending them back onto the road.
Step 7: Make a Fueling Station
Use small cardboard pieces and bottle caps to build fuel pumps.
Create signs such as:
- Fuel
- Electric Charging
- Air Pump
This makes the garage feel even more realistic.
Step 8: Add Road Signs and Decorations
Decorate the garage with useful signs, including:
- Entrance
- Exit
- Stop
- Speed Limit
- Parking
- Car Wash
- Repair Shop
Add trees, flower pots, traffic lights, benches, and streetlights around the garage.
Step 9: Enjoy Pretend Play
Once the garage is complete, children can create exciting transportation adventures.
They can:
- Park toy cars.
- Race vehicles through the ramps.
- Wash dirty cars.
- Repair broken vehicles.
- Organize parking spaces.
- Rescue stranded cars.
- Build new garage levels.
- Create traffic stories.
Role-playing encourages creativity, communication, and problem-solving.

Learning Benefits
A cardboard toy garage provides many educational opportunities.
Children practice:
- Fine motor coordination
- Creative thinking
- Planning and organization
- Spatial awareness
- Counting and sorting
- Problem-solving
- Storytelling
- Teamwork
The project also introduces basic engineering concepts through simple construction techniques.
Eco-Friendly Crafting
One of the greatest advantages of this activity is recycling.
Old cardboard boxes, paper tubes, bottle caps, and paper scraps become garages, ramps, fuel pumps, and decorations instead of being thrown away.
Children learn that recycled materials can become exciting toys while helping protect the environment.
Tips for Parents and Teachers
To make the activity even more enjoyable:
- Let children choose the garage colors.
- Encourage them to invent names for different parking levels.
- Add homemade cardboard traffic cones.
- Discuss basic road safety rules.
- Display the completed garage in the playroom or classroom.
- Invite children to explain how their garage works.
Celebrate every child’s imagination, creativity, and building skills.
Conclusion
A cardboard toy garage is a creative and educational craft project that combines art, engineering, and imaginative play. Children enjoy building ramps, parking levels, repair shops, and car washes while developing important skills in problem-solving, organization, and creativity. Best of all, this eco-friendly activity transforms ordinary recycled cardboard into an exciting miniature garage where toy cars can park, race, and begin countless new adventures.
