
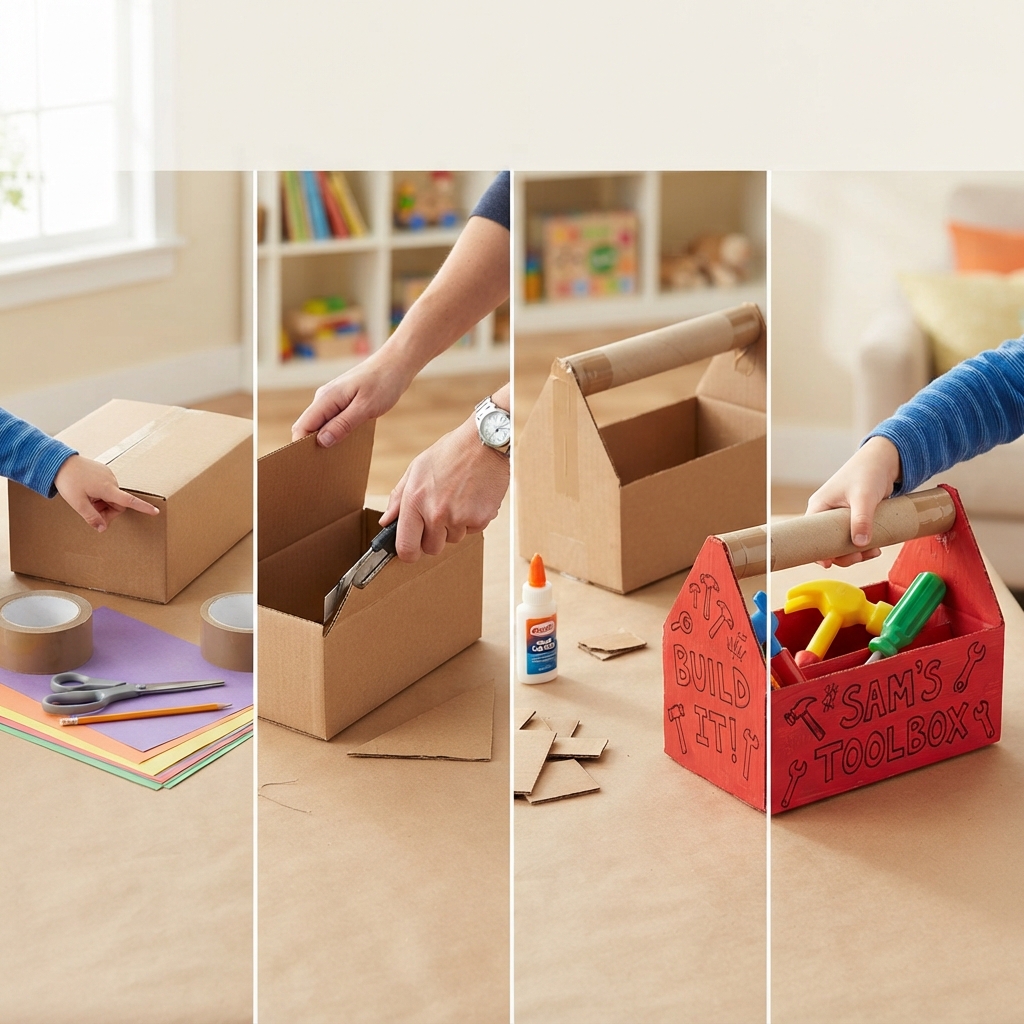
A cardboard toolbox is a creative and practical craft that children can make using recycled cardboard and simple art supplies. This fun project allows young builders to create a special place to store their handmade paper tools while learning about organization, construction, and recycling. It is an excellent activity for homes, classrooms, art clubs, and rainy afternoons.
By building their own toolbox, children can pretend to be carpenters, builders, or engineers while developing valuable crafting skills and confidence.
Why Make a Cardboard Toolbox?
Toolboxes help builders keep their tools neat and easy to find. Making a cardboard version introduces children to this useful idea in a safe and creative way.
This project helps children:
- Improve fine motor skills.
- Practice measuring, cutting, and folding.
- Strengthen hand-eye coordination.
- Encourage creativity and imaginative play.
- Learn basic construction and design skills.
- Develop organization habits.
- Understand the importance of recycling.
Materials You’ll Need
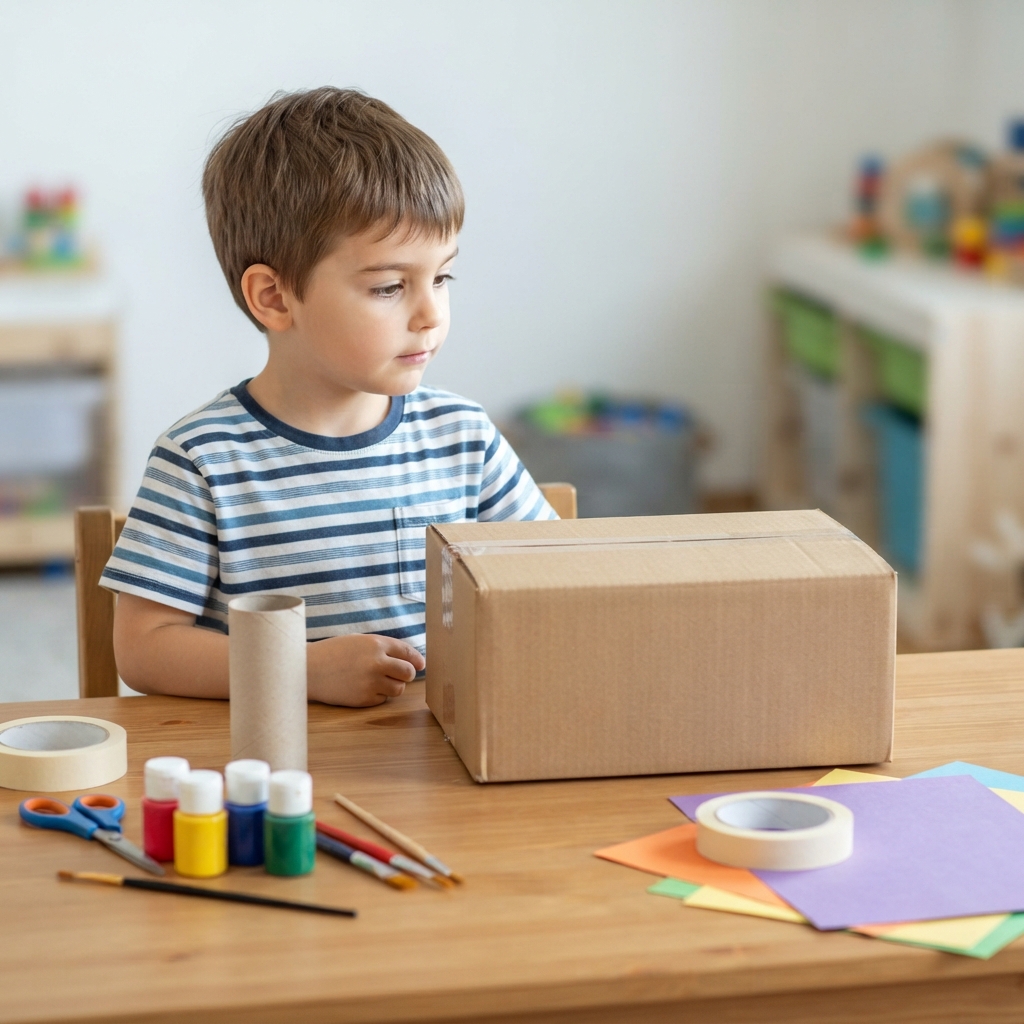
Most of the supplies can be found at home.
- Corrugated cardboard
- Thin cardboard from cereal boxes
- Colored paper
- Pencil
- Ruler
- Child-safe scissors
- White craft glue
- Strong tape
- Paint and paintbrushes
- Markers or crayons
- Popsicle sticks
- Cardboard tube (optional)
- Stickers or foam shapes for decoration
Using recycled materials makes this project affordable and environmentally friendly.
Step 1: Plan Your Toolbox
Before you begin cutting, draw a simple design of your toolbox.
Think about where you would like to place:
- The handle
- Side walls
- Bottom panel
- Storage compartments
- Decorative labels
Planning first helps children understand how designers and builders prepare their projects.
Step 2: Cut the Base
Cut a sturdy rectangle from thick cardboard.
This piece will become the bottom of the toolbox and support all the pretend tools.
Use a ruler to keep the edges straight.
Step 3: Build the Side Panels
Cut four cardboard strips for the sides.
Glue or tape them around the base to create an open box.
Hold the pieces in place until the glue begins to dry.
Step 4: Make a Strong Handle
A toolbox needs a comfortable handle for carrying.
You can create one by:
- Rolling a strip of cardboard into a tube.
- Folding several layers of cardboard together.
- Reusing a cardboard tube from a paper towel roll.
Attach the handle securely to the two shorter sides of the toolbox.
Ask an adult to help if extra support is needed.
Step 5: Add Storage Compartments
Cut smaller cardboard pieces to make dividers inside the toolbox.
These sections can hold different pretend tools such as:
- Paper hammers
- Cardboard screwdrivers
- Paper saws
- Measuring tapes
- Wrenches
- Paintbrushes
Compartments help children learn how to organize their tools.
Step 6: Decorate the Toolbox
Now it’s time to make your toolbox colorful and unique.
Paint it with bright colors or cover it with colored paper.
Children can decorate it with:
- Construction signs
- Tool drawings
- Stars
- Stripes
- Stickers
- Safety symbols
- Their name
There are endless ways to personalize the finished toolbox.
Step 7: Create Toolbox Labels
Make small labels for the compartments.
Examples include:
- Hammers
- Screwdrivers
- Measuring Tools
- Paint Supplies
- Building Tools
- Safety Equipment
Reading and sorting the labels helps build vocabulary and organization skills.
Step 8: Fill the Toolbox
Once the glue and paint have dried, place handmade paper tools inside.
Children can create and store:
- Hammers
- Saws
- Pliers
- Wrenches
- Screwdrivers
- Measuring tapes
- Paint rollers
- Safety helmets
- Construction signs
The toolbox is now ready for hours of imaginative play.
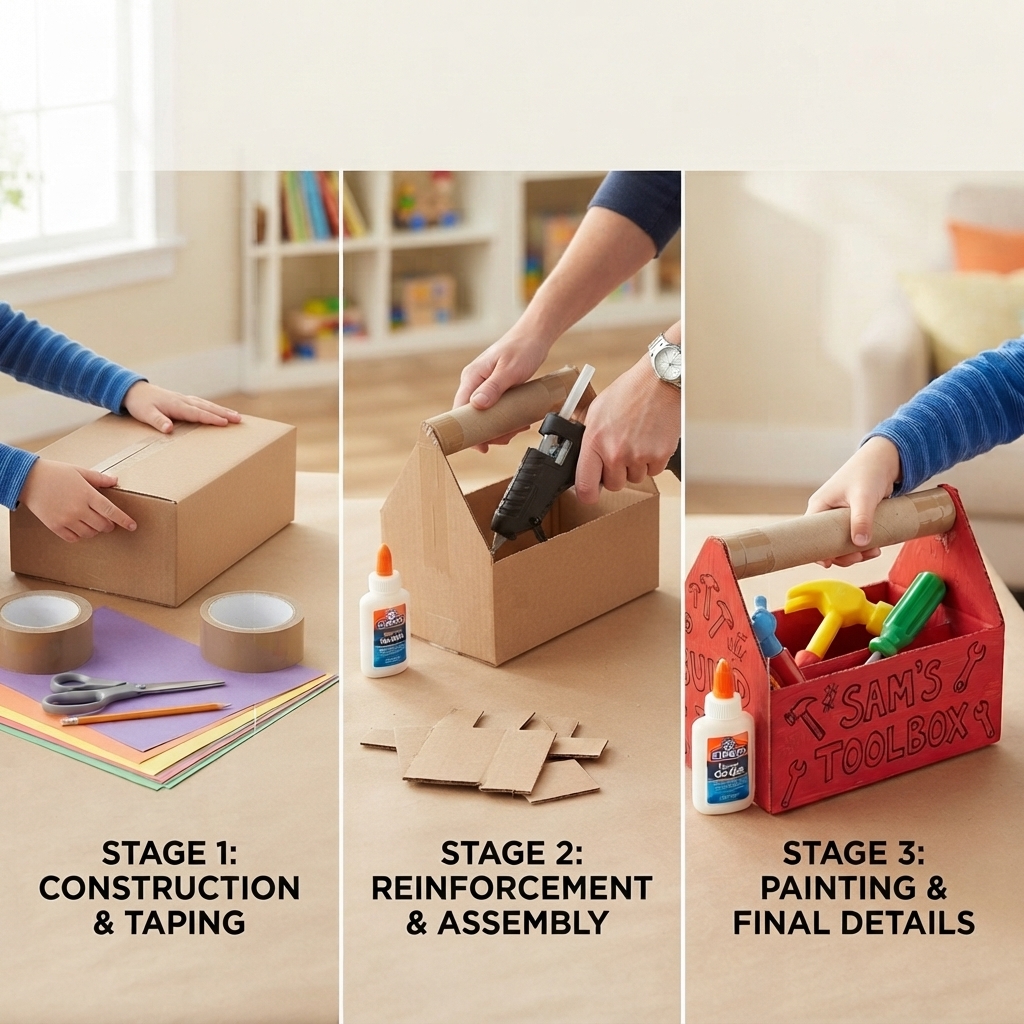
Educational Benefits
Making a cardboard toolbox supports many areas of learning.
Children practice:
- Creativity
- Fine motor development
- Planning and organization
- Measuring and spatial awareness
- Problem-solving
- Patience
- Following instructions
- Recycling and environmental responsibility
The project also introduces children to how real workers organize their equipment.
Fun Pretend Play Ideas
After completing the toolbox, children can enjoy activities such as:
- Repairing a cardboard house.
- Building a miniature construction site.
- Organizing a pretend workshop.
- Helping toy animals fix their homes.
- Acting as carpenters, builders, or engineers.
- Working together on construction-themed role-playing games.
These activities encourage teamwork, storytelling, and communication.
Safety Tips
Keep the crafting experience safe by following a few simple rules:
- Always use child-safe scissors.
- Ask an adult for help when cutting thick cardboard.
- Use non-toxic glue and paints.
- Keep your workspace clean and organized.
- Allow the glue and paint to dry completely before using the toolbox.
Safe crafting habits help children become careful and confident creators.
Creative Extension Ideas
Once the toolbox is complete, children can expand their construction-themed collection by making:
- Paper carpentry tools
- A cardboard workbench
- A paper ladder
- A cardboard house under construction
- A cement truck
- A construction crane
- Paper bricks
- Construction worker figures
- Safety barriers
- Road signs
Together, these crafts create an exciting miniature construction site that inspires endless imaginative adventures.
Conclusion
Making a cardboard toolbox is a fun, affordable, and educational craft that encourages children to explore creativity, organization, and basic construction concepts. By turning recycled cardboard into a colorful toolbox, young builders strengthen important crafting skills while learning the value of reusing materials. The finished toolbox becomes a useful accessory for pretend play and pairs perfectly with other construction-themed crafts, providing hours of creative fun at home or in the classroom.
