
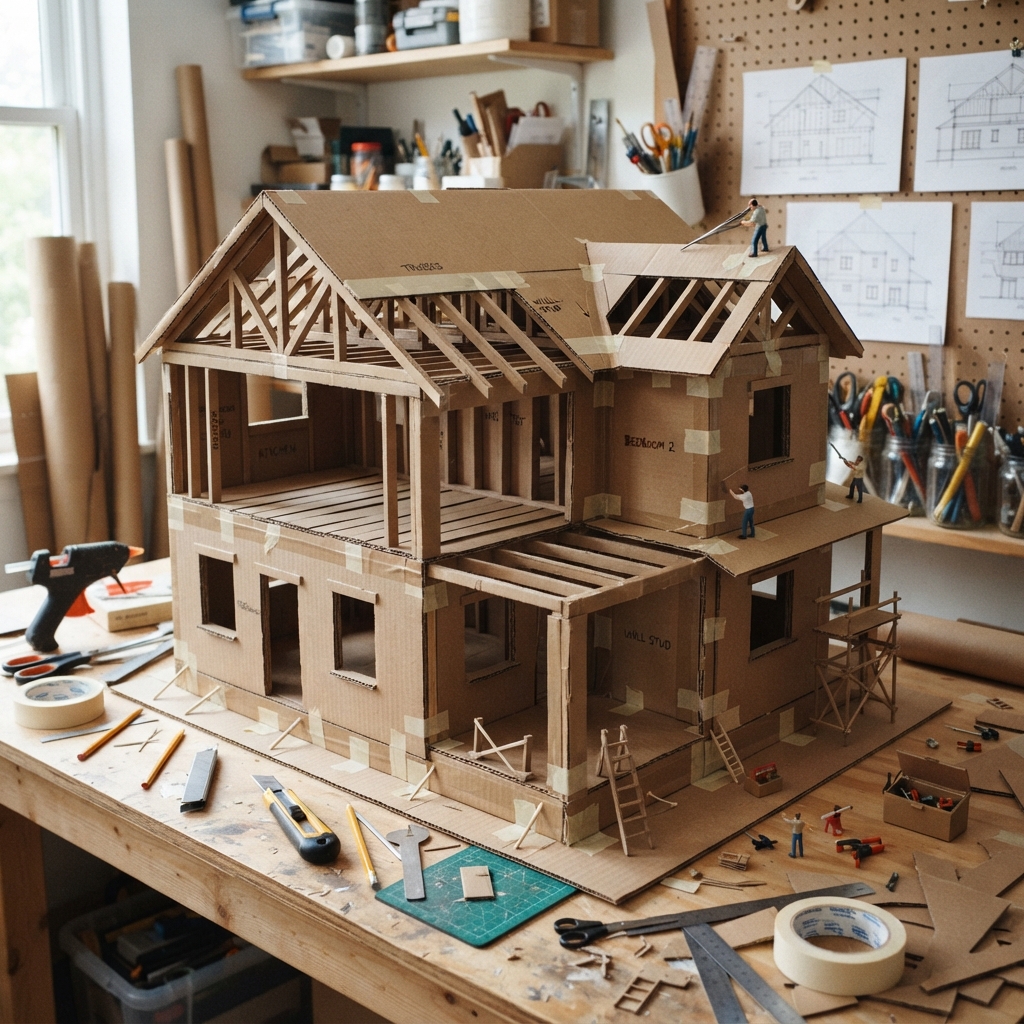
Building a house under construction out of cardboard is a fun and educational craft that introduces children to the exciting world of architecture and construction. Using simple recycled materials, kids can create a realistic model of a building site while learning about the different stages of building a house. This hands-on activity encourages creativity, problem-solving, and imaginative play, making it perfect for home, school, or craft workshops.
Why Make a Cardboard House Under Construction?
Children are naturally curious about how homes are built. This project gives them the opportunity to become young builders as they design walls, doors, windows, and roof frames using cardboard and paper.
The activity helps children:
- Develop creativity and imagination.
- Strengthen fine motor skills.
- Practice cutting, folding, and gluing.
- Improve hand-eye coordination.
- Learn basic construction and engineering concepts.
- Build patience and confidence.
- Discover the importance of recycling materials.
Materials You’ll Need
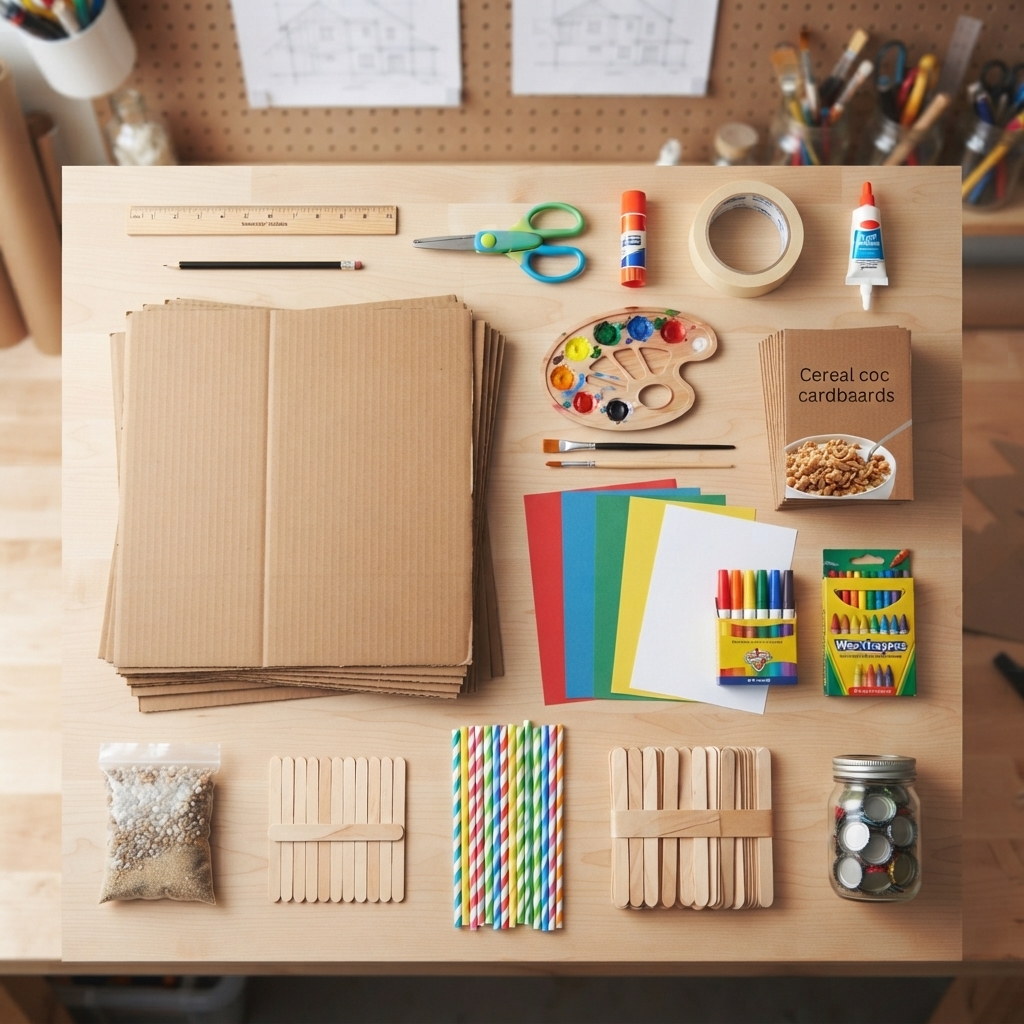
Most of the supplies can be found around the house.
- Corrugated cardboard
- Thin cardboard from cereal boxes
- Colored paper
- Pencil
- Ruler
- Child-safe scissors
- White craft glue
- Tape
- Paint and paintbrushes
- Markers or crayons
- Popsicle sticks
- Drinking straws
- Craft sticks
- Bottle caps (optional)
- Small pebbles or sand for decoration
Using recycled cardboard makes the project both affordable and environmentally friendly.
Step 1: Plan Your House
Before cutting the cardboard, draw a simple design of your house.
Think about where you would like to place:
- Front door
- Windows
- Walls
- Roof
- Garage
- Construction area
Planning first helps children understand how real builders prepare before construction begins.
Step 2: Create the Foundation
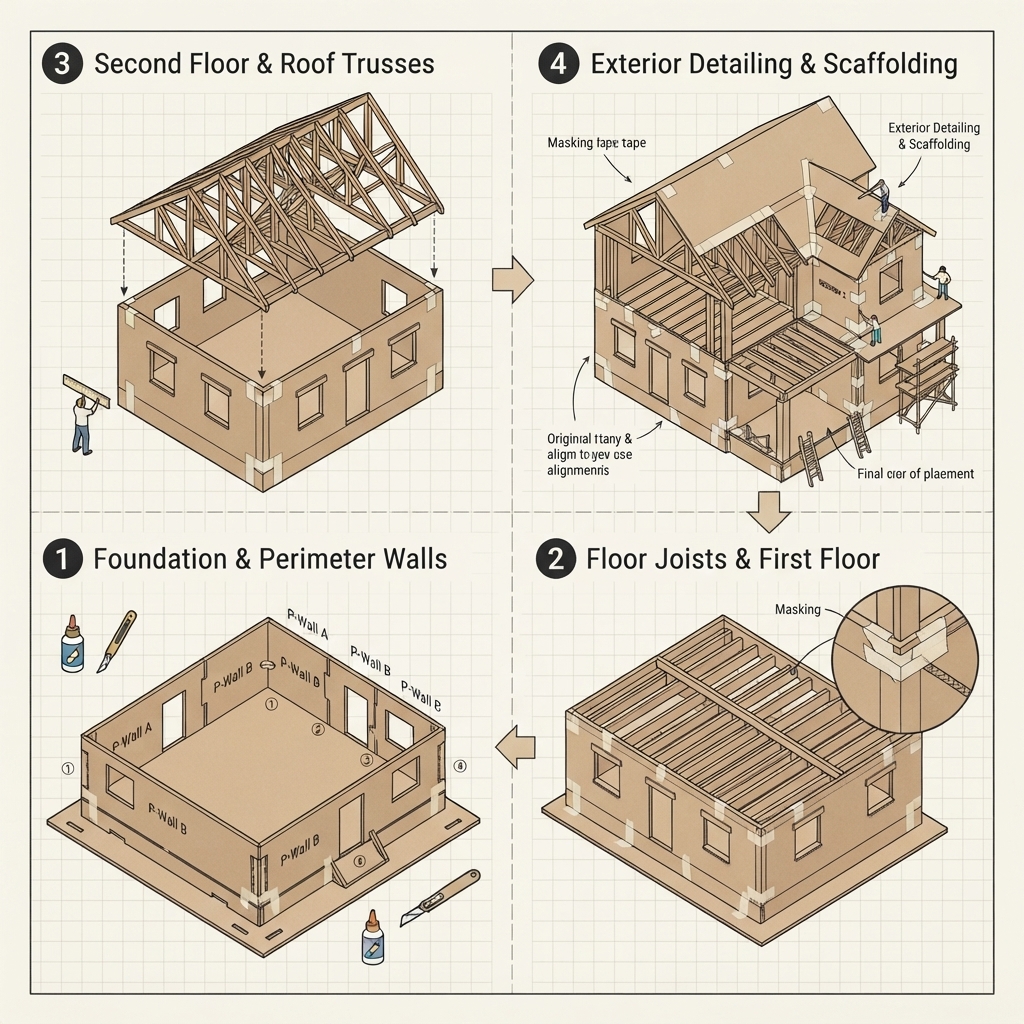
Cut a large rectangle from thick cardboard to make the base of the project.
Paint it gray to look like a concrete foundation.
You can also glue a little sand or tiny stones around the base to create the appearance of a real construction site.
Step 3: Build the Walls
Cut rectangles from cardboard for the walls.
Instead of finishing every wall, leave some sections open to show that the house is still being built.
Glue the walls onto the foundation and allow them to dry.
Step 4: Add Doors and Windows
Draw and carefully cut openings for doors and windows.
Use thin strips of cardboard to make simple frames around each opening.
These details help the model look more realistic.
Step 5: Build the Roof Frame
Instead of adding a finished roof, create only the roof supports to show that construction is still in progress.
Use:
- Popsicle sticks
- Craft sticks
- Folded cardboard strips
Arrange them into triangles and glue them across the top of the walls.
This creates a realistic roof frame.
Step 6: Add Construction Details
Now it’s time to decorate the building site.
Children can make:
- Cardboard bricks
- Paper wooden planks
- Toolboxes
- Ladders
- Safety cones
- Buckets
- Construction signs
- Scaffolding made from drinking straws
- Tiny piles of building materials
These details make the construction scene more exciting.
Step 7: Paint and Decorate
Paint the different parts of the project using colors that represent real building materials.
For example:
- Gray for concrete
- Brown for wood
- Red for bricks
- White for unfinished walls
- Yellow for safety equipment
Children can also decorate the house with colorful signs or their own creative designs.
Step 8: Create the Surrounding Area
Build a miniature construction site around the house.
Add features such as:
- Dirt paths
- Grass made from green paper
- Small trees
- Fences
- Construction barriers
- Traffic cones
- Worker figures
These additions bring the project to life.
Educational Benefits
This craft teaches many valuable skills while keeping children engaged.
Children learn:
- Creative thinking
- Planning and organization
- Engineering basics
- Spatial awareness
- Measuring skills
- Patience
- Teamwork
- Recycling and environmental responsibility
They also gain a better understanding of how houses are built step by step.
Fun Pretend Play Ideas
After completing the project, children can enjoy imaginative games such as:
- Building a neighborhood.
- Delivering materials with a paper cement truck.
- Operating a cardboard crane.
- Digging foundations with a paper excavator.
- Repairing a roof.
- Acting as architects, builders, or engineers.
These activities encourage storytelling, communication, and cooperative play.
Safety Tips
Keep the crafting experience safe by following these simple rules:
- Always use child-safe scissors.
- Ask an adult for help when cutting thick cardboard.
- Use non-toxic glue and paint.
- Keep your workspace clean.
- Allow the glue and paint to dry completely before playing with the model.
Good crafting habits help children work safely and confidently.
Creative Extension Ideas
Expand the construction scene by making additional paper and cardboard projects, including:
- A paper cement truck
- A cardboard toolbox
- Paper carpentry tools
- A paper ladder
- A construction crane
- A bulldozer
- A dump truck
- An excavator
- Construction worker figures
- Road signs and safety barriers
Together, these crafts create a complete miniature construction site full of imaginative possibilities.
Conclusion
Making a house under construction out of cardboard is a creative and educational activity that combines art, engineering, and imaginative play. With recycled materials and a little creativity, children can build an impressive model while learning about the stages of construction and the importance of teamwork. Whether completed at home, in the classroom, or at a community craft event, this project provides hours of fun while inspiring young builders to explore the exciting world of construction.
