
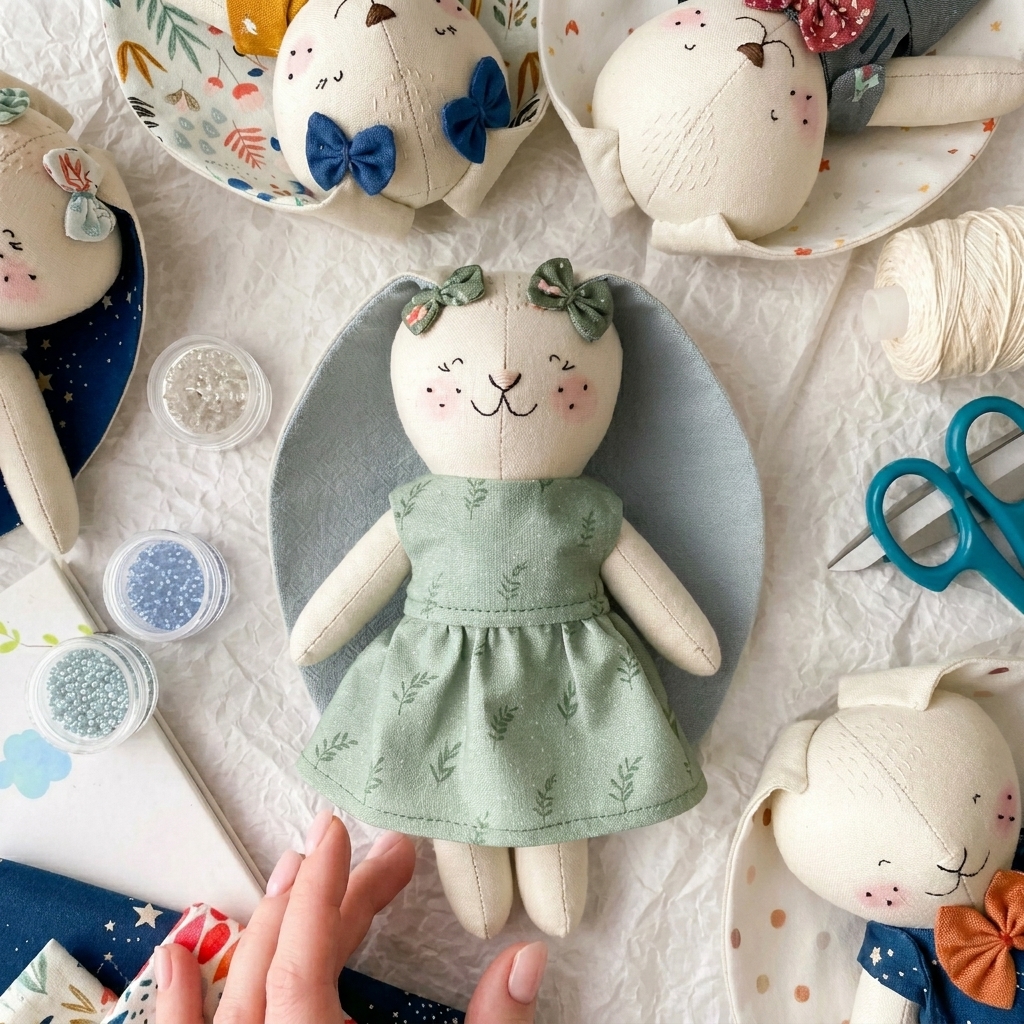
Making a rag doll is a wonderful beginner’s sewing project. It is simple, creative, and a great way to practice basic hand-sewing skills. You can make a rag doll from colorful fabric scraps and personalize it with different hairstyles, clothes, colors, and decorations.
Unlike complicated sewing projects, a simple rag doll does not require an advanced pattern or expensive supplies. With a few pieces of fabric, a needle, thread, and some soft stuffing, you can create a charming handmade toy.
This step-by-step guide explains how beginners can make a simple rag doll by hand.
Why Make a Rag Doll?
A handmade rag doll is more than just a sewing project. It can become a special toy, decoration, or handmade gift.
Making a rag doll helps beginners practice:
- Cutting fabric
- Following a simple template
- Sewing around curves
- Turning fabric
- Adding stuffing
- Closing openings
- Embroidering simple details
- Creating basic clothing
You can also recycle old cotton clothes or fabric scraps to give the project a sustainable touch.
Materials You Will Need
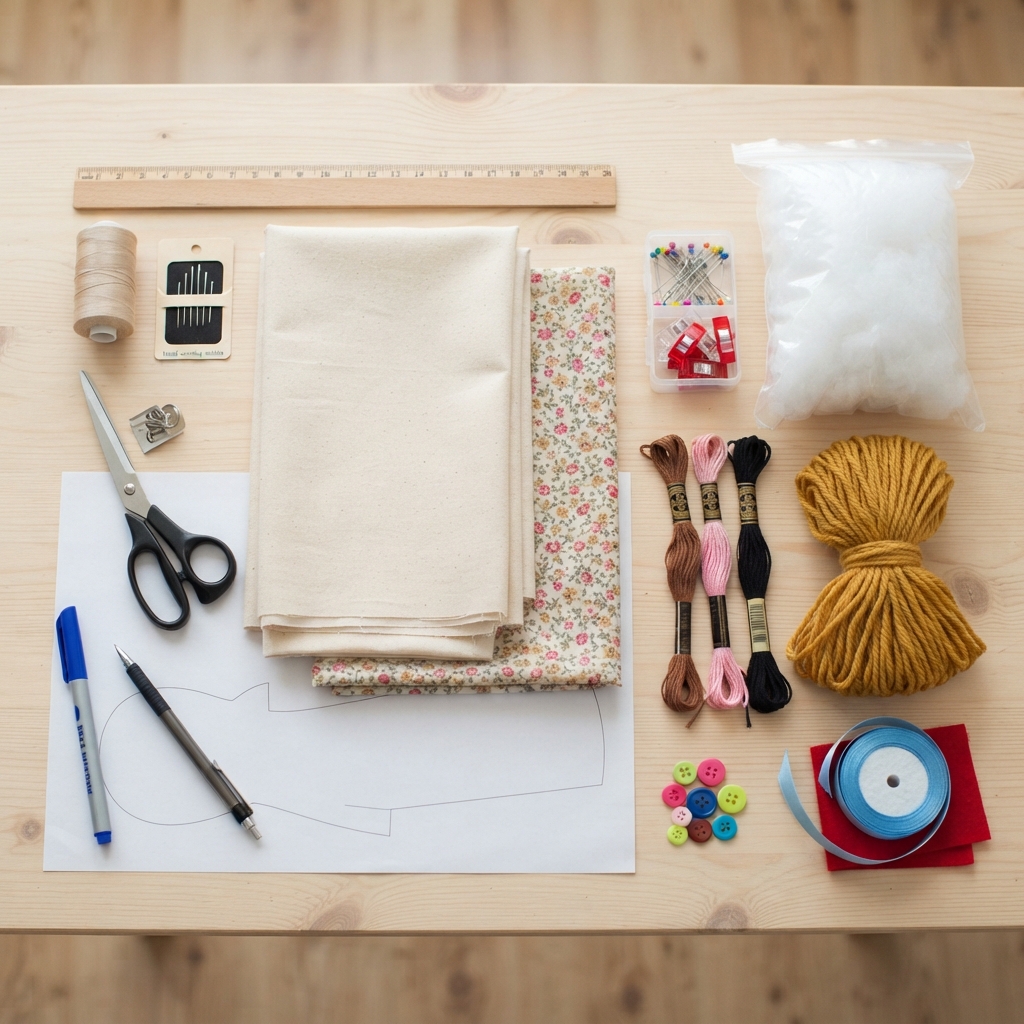
For a simple rag doll, gather:
- Cotton or other suitable fabric
- Sewing thread
- Hand-sewing needle
- Fabric scissors
- Fabric marker or washable pencil
- Paper for the doll template
- Ruler
- Straight pins or sewing clips
- Soft polyester fiberfill
- Embroidery thread
- Yarn for hair
- Optional buttons, ribbons, or felt
For a beginner project, medium-weight cotton is easy to cut and sew.
Step 1: Draw a Simple Doll Template
Start by drawing a basic doll shape on paper.
The template can include:
- Round head
- Neck
- Body
- Two arms
- Two legs
Keep the shape simple.
You do not need to draw separate pieces for the head, body, arms, and legs if you want an easier project. A single connected doll shape is often easier for beginners.
Make sure the arms and legs are wide enough to turn and stuff.
Step 2: Cut Out the Template
Carefully cut the paper doll template with scissors.
Place the template on your fabric.
Trace around it twice because you need two identical fabric pieces.
One piece will become the front of the doll and the other will become the back.
Add approximately 1 centimeter around the outside of the traced shape for the seam allowance.
Step 3: Cut the Fabric
Cut both doll pieces carefully.
Make sure the two pieces are similar in size and shape.
If you are making a doll with a patterned fabric, check which direction the pattern should face.
Place the two fabric pieces together with their right sides facing each other.
Secure them with pins or sewing clips.
Step 4: Mark the Opening
Before sewing, mark a small opening along one side of the doll.
An opening of approximately 5–8 centimeters is usually enough for turning and stuffing.
Do not sew this section yet.
This opening will be closed after the doll has been filled.
Step 5: Sew Around the Doll
Thread your needle with strong sewing thread.
Tie a small knot.
Start near the marked opening.
Use a backstitch to sew around the doll’s outline.
Work slowly around the curves of the head, arms, and legs.
Try to keep the stitches small and consistent.
Do not sew across the opening.
Step 6: Reinforce the Curves
The areas around the arms, legs, and neck receive a lot of stress when the doll is turned and stuffed.
Add extra stitches around these areas if necessary.
Be especially careful at narrow points where the arms and legs meet the body.
Strong seams will help the doll maintain its shape.
Step 7: Trim the Seam Allowance
Before turning the doll right side out, carefully trim some of the excess fabric around the curves.
Do not cut the stitches.
You can also make small cuts into the seam allowance around curved areas.
This allows the fabric to spread more easily when you turn the doll.
Be very careful not to cut through the sewn seam.
Step 8: Turn the Doll Right Side Out
Carefully turn the doll through the opening.
Use your fingers to gently push out the arms, legs, and head.
A blunt-ended tool can help with narrow areas, but avoid sharp objects that could puncture the fabric.
Take your time with this step.
Step 9: Add the Stuffing
Begin filling the doll with soft polyester fiberfill.
Start with the arms and legs.
Push small amounts of stuffing into the narrow areas first.
Then fill the body and head.
Add the stuffing gradually rather than putting in a large amount at once.
Make sure the doll feels soft but firm.
Avoid overfilling because too much stuffing can place pressure on the seams.
Step 10: Close the Opening
Once the doll is properly stuffed, fold the raw edges of the opening inward.
Pin them together if necessary.
Use a slip stitch or ladder stitch to close the opening neatly.
Make small stitches and secure the thread with a knot.
Hide the knot inside the seam if possible.
Step 11: Create the Face
Now you can give your rag doll a personality.
Embroidery is a simple and safe way to create facial features.
You can add:
- Two eyes
- A small nose
- A smile
- Eyebrows
- Rosy cheeks
Use embroidery thread and simple stitches.
For example, French knots can create small eyes, while backstitch can create a simple smile.
For dolls intended for very young children, avoid loose buttons or small decorations that could become choking hazards.
Step 12: Add Yarn Hair
Yarn is an easy material for creating rag doll hair.
Choose your favorite color.
Cut several pieces of yarn to the desired length.
Place the yarn across the doll’s head.
Sew the yarn securely along the center using small stitches.
Trim the hair and style it into:
- Braids
- Ponytails
- Pigtails
- Short hair
- Long hair
- A simple bob
Make sure the yarn is securely attached.
Step 13: Make Simple Doll Clothes
You can make basic clothing from fabric scraps.
A simple dress is a good first project.
Cut a small rectangle of fabric.
Fold it in half.
Cut a small opening for the head.
Sew the side edges together while leaving openings for the arms.
Finish the bottom edge with a small hem.
You can decorate the dress with ribbon, embroidery, or fabric appliqué.
Step 14: Add Shoes and Accessories
Small fabric details can make your rag doll unique.
You can create:
- Felt shoes
- A fabric hat
- A scarf
- A small bag
- A hair bow
- A simple apron
- A tiny blanket
Keep accessories securely attached if the doll will be played with.
Easy Rag Doll Variations
Once you understand the basic technique, try different designs.
Animal Rag Doll
Use the same concept to create a simple cat, rabbit, bear, or puppy.
Mini Rag Doll
Make a smaller version using fabric scraps.
Seasonal Doll
Create clothing for different seasons or holidays.
Personalized Doll
Choose fabric colors and embroidered details that make the doll unique.
Recycled Fabric Doll
Use old cotton shirts, pillowcases, or other clean fabric scraps.
Tips for Beginners
Take your time when drawing and cutting the template.
Use sharp fabric scissors.
Choose a stable fabric that is easy to sew.
Keep the seam allowance consistent.
Make strong stitches around the arms and legs.
Stuff the doll gradually.
Use embroidery rather than loose small objects for facial details when making dolls for young children.
Practice basic stitches on scrap fabric before starting the doll.
Common Beginner Mistakes
Making the Arms and Legs Too Narrow
Very narrow pieces can be difficult to turn and stuff.
Make them wide enough for your fingers or a suitable blunt tool to reach inside.
Forgetting the Opening
You need an opening to turn the doll right side out and add stuffing.
Overstuffing the Doll
Too much stuffing can stretch or weaken the seams.
Cutting Too Close to the Seam
When trimming curved areas, be careful not to cut the stitches.
Using Loose Decorations
Small buttons, beads, or other parts can present a choking hazard for young children.
A Simple First Rag Doll Project
If this is your first time making a rag doll, keep the design basic.
Use:
- One simple doll template
- Two fabric pieces
- Embroidered facial features
- Yarn hair
- Soft stuffing
- A simple fabric dress
This allows you to focus on the most important sewing skills without becoming overwhelmed.
Final Thoughts
Making a rag doll is a fun and rewarding project for beginner sewers. It combines basic hand sewing with creativity and gives you plenty of opportunities to experiment with colors, fabrics, embroidery, and clothing.
Start with a simple doll shape and medium-weight cotton. Take your time when sewing around the curves and adding the stuffing.
Once you have completed your first doll, you can experiment with different hairstyles, outfits, animal shapes, and decorative details. A handmade rag doll can become a lovely keepsake or a thoughtful handmade gift.
