
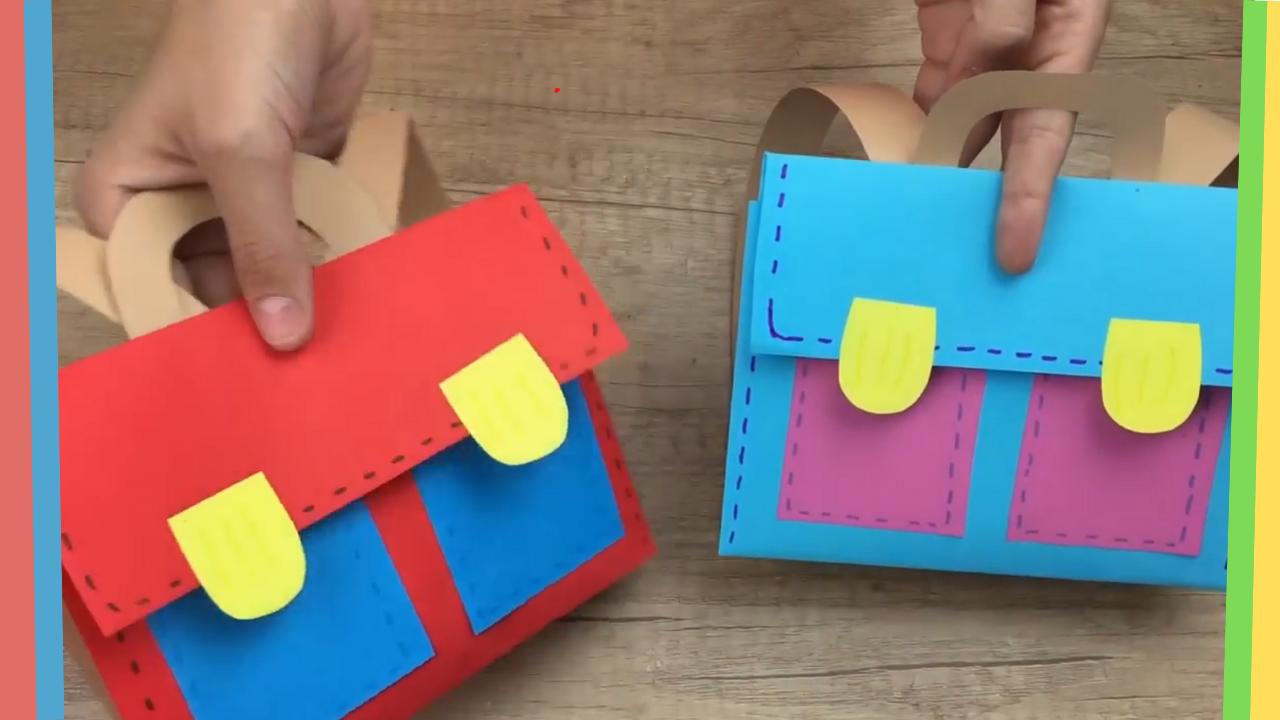
Making a school bag out of paper is a fun and creative craft that children of all ages can enjoy. With just a few simple materials, kids can design their own colorful paper school bag while practicing cutting, folding, gluing, and decorating. This hands-on activity is perfect for back-to-school celebrations, classroom art projects, homeschool lessons, or creative afternoons at home.
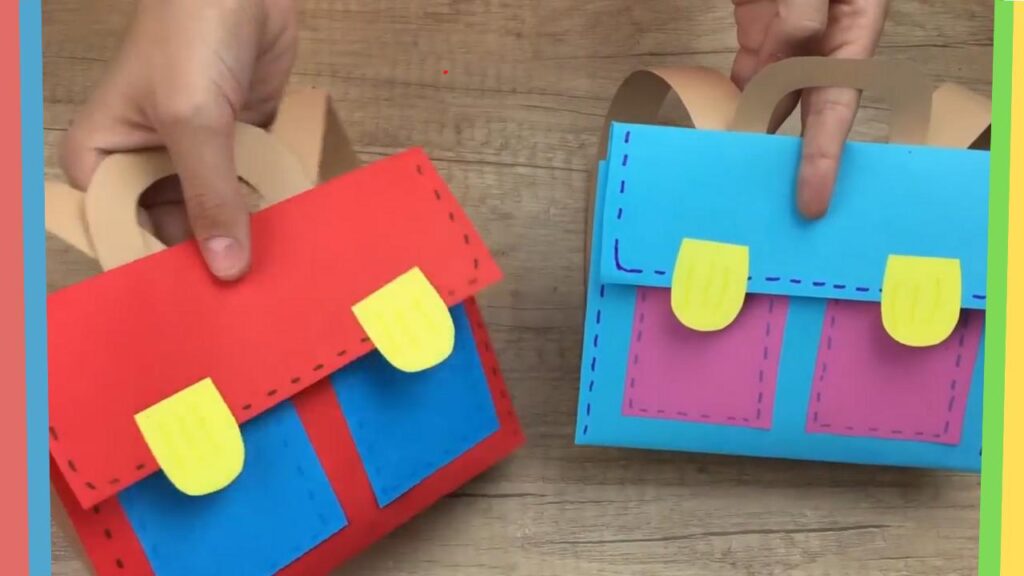
Besides being entertaining, this craft encourages imagination, improves fine motor skills, and teaches children how everyday materials can be transformed into something exciting and useful.
Why Make a Paper School Bag?
Creating a paper school bag offers many educational and creative benefits.
Children can:
- Develop creativity and artistic skills.
- Improve fine motor coordination.
- Practice measuring, cutting, and folding.
- Learn about recycling and sustainability.
- Build confidence by completing a craft project.
- Create a unique decoration or pretend-play accessory.
Each paper school bag becomes a one-of-a-kind masterpiece.
Materials You’ll Need
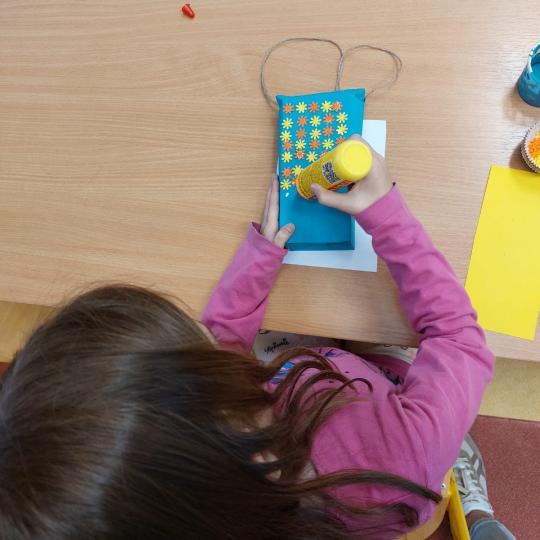
Before getting started, gather these simple supplies:
- Colored cardstock or construction paper
- Scissors
- Glue stick or craft glue
- Pencil
- Ruler
- Markers or colored pencils
- Stickers
- Washi tape (optional)
- Ribbon, string, or paper strips for the straps
- Glitter glue or foam stickers (optional)
These inexpensive materials are easy to find at home or in the classroom.
Step 1: Draw the Template
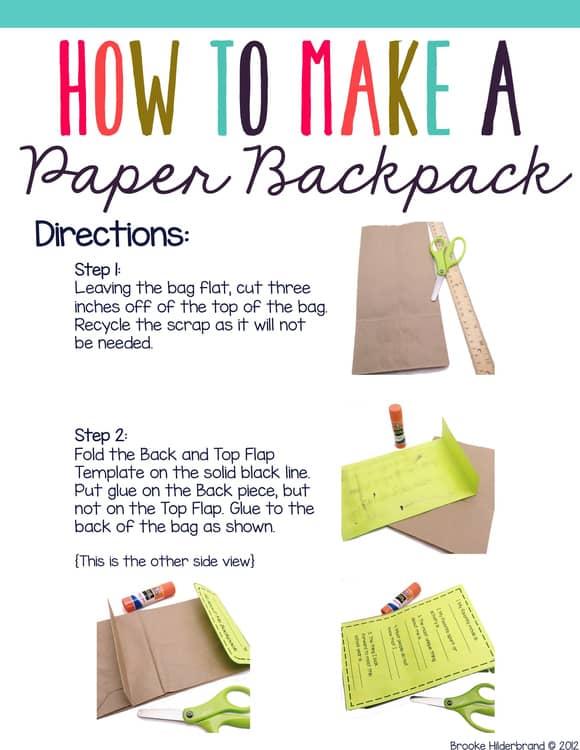
Use a ruler and pencil to draw the basic shape of the school bag on the paper.
Include:
- Front panel
- Back panel
- Two side panels
- Bottom flap
- Top flap
Careful measuring will help create a neat and sturdy bag.
Step 2: Cut Out the Pieces
Cut carefully along the outline.
Young children may need adult supervision during this step.
Neat edges will make the bag easier to assemble.
Step 3: Fold Along the Lines
Fold each section neatly where indicated.
Press the folds firmly to help the bag keep its shape.
Step 4: Glue the Bag Together
Apply glue to the tabs and assemble the bag by attaching:
- The side panels
- The bottom
- The front
- The back
Allow the glue to dry completely before decorating.
Step 5: Add the Straps
Create two straps using paper strips, ribbon, or string.
Glue them securely to the back of the bag.
You can also add a small handle to the top for a realistic look.
Step 6: Decorate Your Paper School Bag
This is the most exciting part of the project.
Decorate your bag with:
- Stickers
- Glitter
- Stars
- Hearts
- Flowers
- Animal drawings
- Cartoon characters
- Rainbows
- School-themed designs
- Colorful patterns
Encourage children to use their imagination and create a design they love.
Creative Design Ideas
Rainbow School Bag
Decorate with colorful rainbow stripes, fluffy clouds, and a smiling sun.
Animal School Bag
Turn the bag into a panda, fox, bear, cat, or owl.
Space School Bag
Add rockets, planets, astronauts, and sparkling stars.
Dinosaur School Bag
Decorate with friendly dinosaurs, volcanoes, and prehistoric plants.
Flower Garden School Bag
Use flowers, butterflies, bees, and leaves to create a cheerful nature theme.
Superhero School Bag
Design a bold bag with lightning bolts, stars, shields, and comic-style graphics.
Personalize the School Bag
Make each school bag special by adding:
- The child’s name
- Initials
- Class name
- Favorite colors
- Inspirational words
- Fun drawings
Personalized crafts become treasured keepsakes.
Educational Benefits
This simple activity helps children develop many important skills.
They practice:
- Measuring
- Cutting
- Folding
- Gluing
- Planning
- Problem-solving
- Creative thinking
- Fine motor skills
Craft projects also encourage patience, focus, and independent learning.
A Great Classroom Activity
Teachers can organize this craft during the first week of school.
Each student designs a unique paper school bag and decorates it with personal artwork. The finished bags can be displayed on a classroom bulletin board or used to hold small paper notes, flashcards, or classroom rewards.
This activity helps children express themselves while creating a welcoming classroom environment.
An Eco-Friendly Craft
This project is an excellent way to introduce recycling.
Children can reuse:
- Scrap paper
- Old magazines
- Wrapping paper
- Paper bags
- Leftover cardstock
Reusing materials teaches children that everyday items can become beautiful new creations.
Tips for Success
For the best results:
- Use sturdy paper or cardstock.
- Measure carefully before cutting.
- Fold neatly for crisp edges.
- Apply glue evenly.
- Let the glue dry completely.
- Decorate after assembly.
- Encourage children to create original designs.
These simple tips will help create a durable and attractive paper school bag.
Conclusion
Learning how to make a school bag out of paper is a fun, simple, and educational craft that children will love. With just a few basic materials and plenty of creativity, kids can build a colorful paper school bag while improving their artistic abilities, fine motor skills, and confidence. Whether used for classroom activities, back-to-school celebrations, or creative play at home, this enjoyable DIY project combines learning, imagination, and hands-on fun in a memorable way.
