

Introduction: Transforming Simplicity into Beauty
We take something ordinary like granulated sugar and transform it into something truly magical—sparkling sugar crystals. This process, often associated with making homemade rock candy, combines science, patience, and creativity in a rewarding experience that produces edible art and visual wonder.
Through a precise and simple method, we guide sugar molecules to arrange themselves into ordered geometric patterns that reflect light and captivate the eye. The result is not just candy, but a miniature masterpiece crafted at home.
Understanding the Science of Sugar Crystallization
We rely on a process called supersaturation, which occurs when a greater amount of sugar dissolves in water than it would normally at room temperature. By heating water and dissolving large quantities of sugar, we obtain a highly concentrated solution.
As the solution cools, the sugar can no longer dissolve completely. The molecules begin to clump together, forming solid crystals. Under the right conditions, we can control this growth to produce large, beautiful crystals.
Ingredients and Materials
We use simple, readily available tools to achieve impressive results.
Main Ingredients:
2-3 cups of granulated sugar
1 cup of water
Tools and Materials:
Glass jar or clear container
Wooden sticks or cotton string
Clothespin or stick for support
Pancake pan
Spoon for stirring
Optional Additions:
Food coloring for vibrant crystals
Flavor extracts (vanilla, strawberry, mint)
Edible glitter for shine
With these basic ingredients, we can create beautiful and customizable sugar crystals.
Step-by-Step Instructions for Growing Sugar Crystals
1. Prepare the Supersaturated Solution
Begin by heating the water in a pan:
Bring the water to a gentle boil.
Gradually add the sugar, stirring continuously.
Continue adding the sugar until it stops dissolving.
This step produces a thick, concentrated solution, which is essential for crystal formation.
2. Cooling and Preparing the Solution
Remove the mixture from the heat and let it cool slightly.
Add food coloring or flavoring as desired.
Stir gently to distribute the ingredients evenly.
The solution should remain clear and smooth to ensure optimal crystal growth.
3. Preparing the Crystal Base (Seed Crystals)
Prepare the skewer or string:
Dip it in the sugar solution.
Roll it in dry sugar.
Let it dry completely.
This produces small seed crystals that serve as starting points for the growth of larger crystals.
4. Creating the Growth Environment
Pour the solution into a clean glass jar.
Hang the skewer or string in the center.
Make sure it doesn’t touch the sides or bottom.
Secure it with a clothespin.
This method allows the crystals to grow evenly and undisturbed. 5. Allowing the Crystals to Form

Place the jar in a stable, quiet place:
Leave it undisturbed for 5 to 10 days.
Observe the crystals as they gradually develop.
During this time, the sugar molecules adhere to the surface of the seeds, forming intricate and shiny structures.
6. Harvesting the Crystals
When the crystals reach the desired size:
Carefully remove the skewer.
Allow the excess liquid to drain.
Allow the crystals to dry completely.
The result is a beautiful collection of sugar crystals, ready to be enjoyed or displayed.
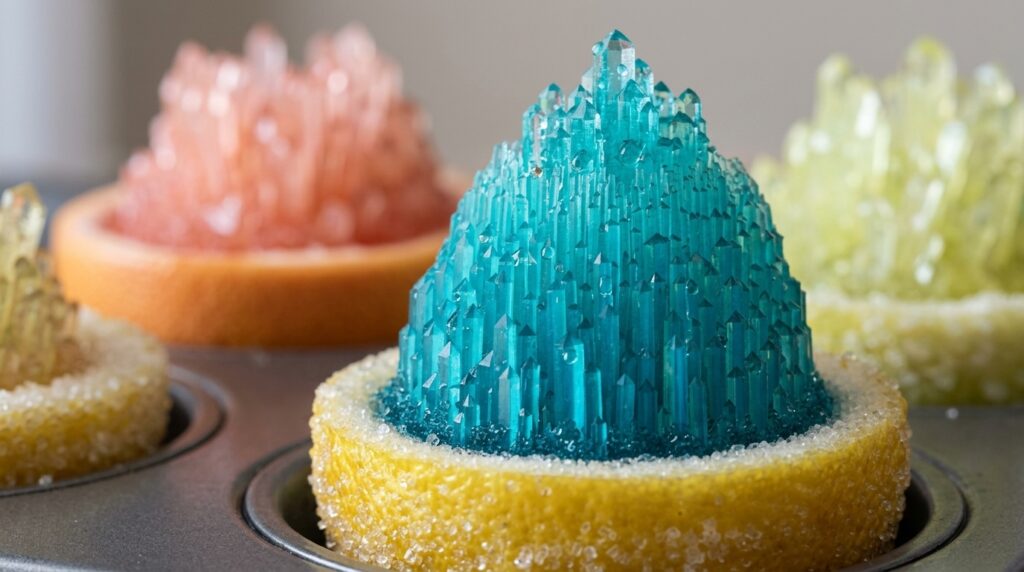
The Beauty and Texture of Sugar Crystals
We create crystals that are:
Transparent and sparkling
Geometrically structured
Crunchy and delicious
Each crystal reflects light, creating a brilliance that enhances its visual appeal.
Creative Options for Unique Results
We explore different ways to make each batch special:
1. Colorful Crystal Creations
Add various food colorings to produce vibrant and attractive crystals.
2. Flavored Rock Candy
Use flavor extracts to create delicious and aromatic sweets.
3. Layered Crystal Growth
Change colors midway through the process to create layered crystals.
4. Decorative Shapes
Use different shaped containers or molds to influence crystal formation.
Tips for Perfect Sugar Crystals
Follow these basic practices for success:
Use clean containers to avoid impurities.
Avoid moving the jar during the crystallization process.
Maintain a consistent room temperature.
Ensure the jar is fully saturated with sugar.
These steps help produce larger, clearer, and more precise crystals.
Common Mistakes to Avoid
We improve results by avoiding the following:
Using too little sugar, which prevents crystallization
Stirring or moving the solution during the crystallization process
Contacting the string or stick against the jar wall
Using dirty or wet tools
Avoiding these mistakes ensures consistent, high-quality results.
Educational and Creative Value
We understand that growing sugar crystals is not just a simple activity:
It demonstrates fundamental chemical concepts
It encourages patience and observation
It stimulates creativity and experimentation
It provides a hands-on learning experience
This process combines science and art, making it both fun and educational.