
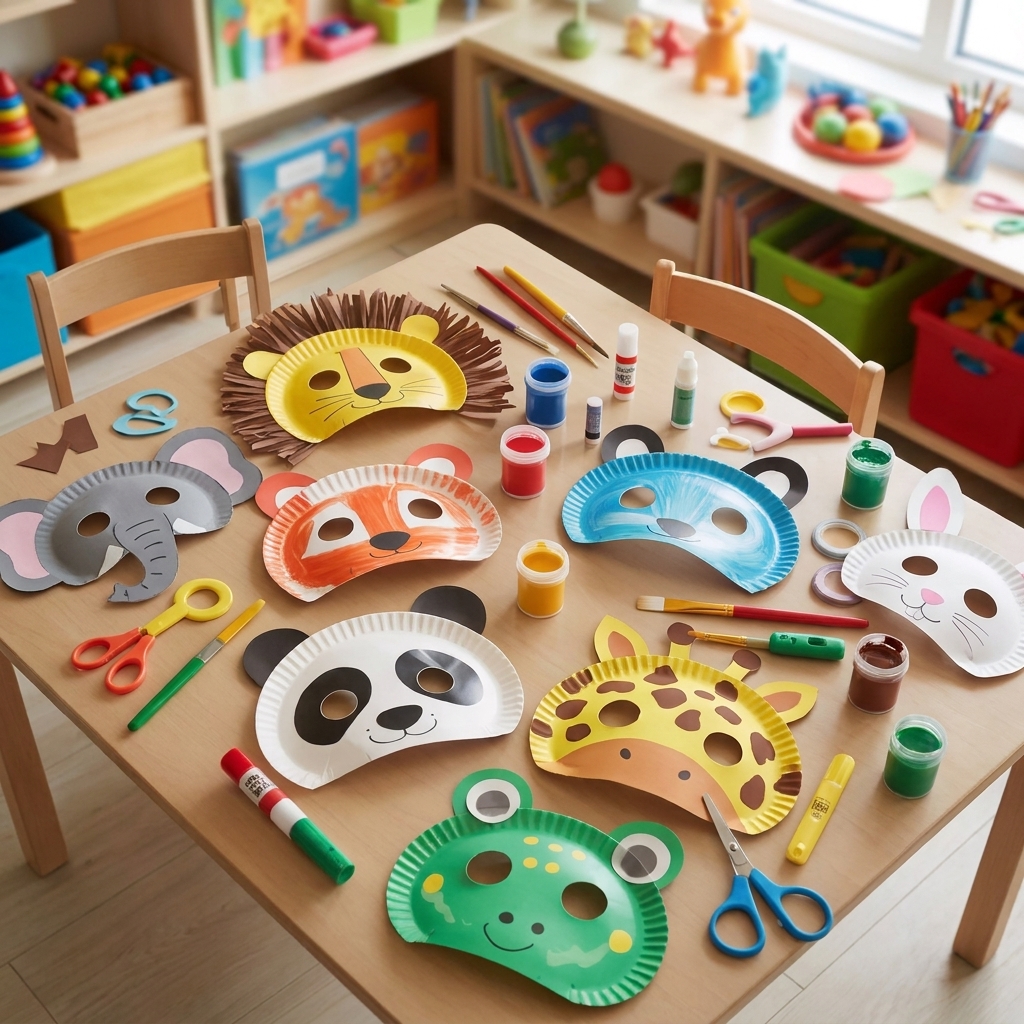
Paper masks are one of the most exciting and imaginative craft projects children can make. With only a few simple materials, kids can transform ordinary paper into colorful animals, superheroes, princesses, monsters, or their own original characters. Making paper masks combines creativity, art, storytelling, and hands-on learning in one enjoyable activity.
Whether you’re planning a classroom lesson, organizing a birthday party, celebrating Halloween, or simply looking for an engaging afternoon craft, paper masks are an excellent choice. They are inexpensive, easy to customize, and suitable for children of many ages.
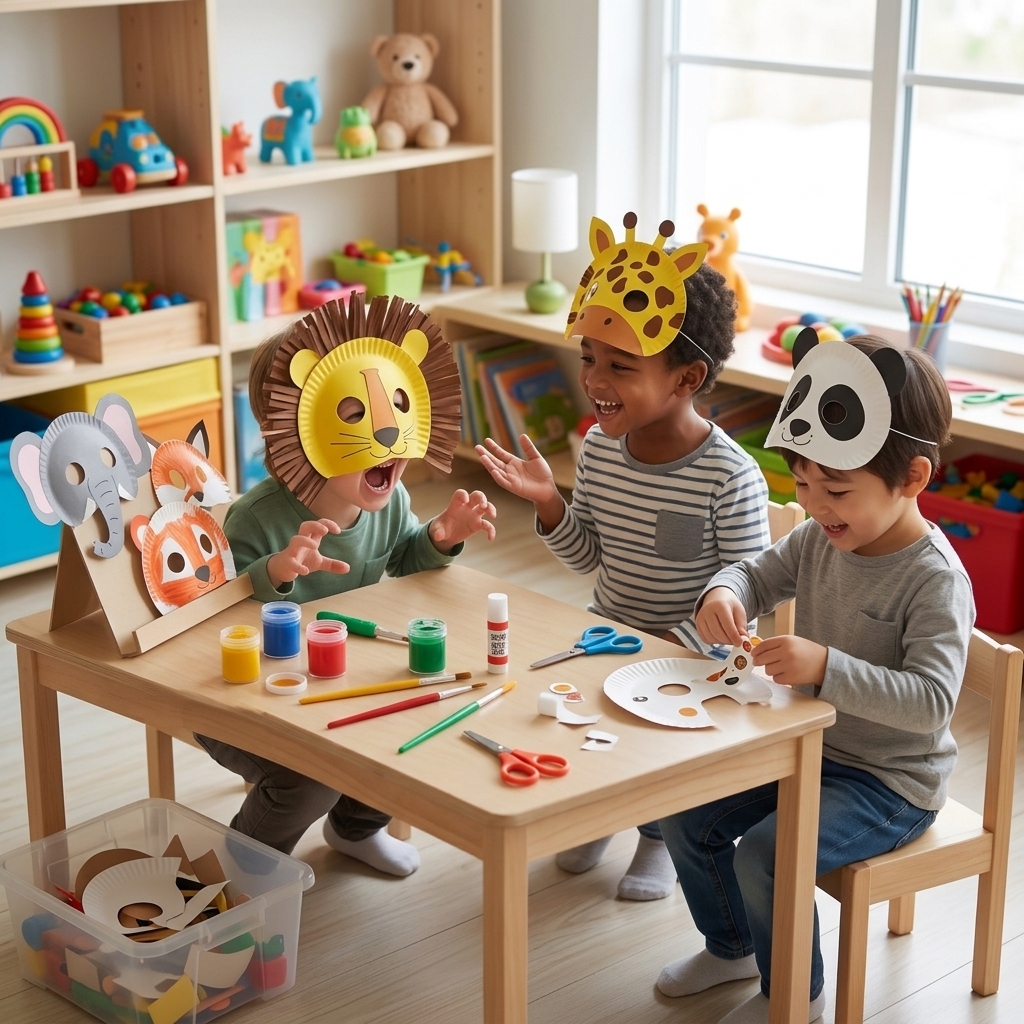
Beyond being fun to wear, handmade masks encourage pretend play, improve fine motor skills, and help children express their personalities through design and decoration. Every mask becomes a unique work of art that reflects a child’s imagination.
In this guide, you’ll discover everything you need to know about making paper masks, from gathering materials and following simple steps to decorating ideas, educational benefits, safety tips, and creative variations that will keep children entertained for hours.
Why Make Paper Masks?
Paper masks are much more than simple crafts. They encourage children to think creatively while developing important life skills.
Some of the biggest benefits include:
- Encourages imagination
- Develops artistic expression
- Improves fine motor skills
- Strengthens hand-eye coordination
- Supports problem-solving
- Builds confidence
- Encourages storytelling
- Promotes social interaction
- Provides screen-free entertainment
- Uses inexpensive materials
Children often enjoy pretending to become the character they have created, extending the fun long after the craft is finished.
Materials You’ll Need
One of the best things about making paper masks is that the supplies are affordable and easy to find.
Basic Materials
- Cardstock or construction paper
- White printer paper
- Pencil
- Eraser
- Child-safe scissors
- Glue stick
- Tape
- Hole punch
- Elastic string or ribbon
- Markers
- Colored pencils
- Crayons
- Paint
- Paintbrushes
Decorative Materials
- Googly eyes
- Feathers
- Glitter
- Tissue paper
- Foam stickers
- Sequins
- Buttons
- Yarn
- Pipe cleaners
- Colored paper scraps
- Washi tape
Using recycled materials can make the project even more environmentally friendly.
Safety Tips
Although paper mask crafts are simple, it’s important to keep safety in mind.
- Adults should supervise younger children.
- Use child-safe scissors.
- Avoid small decorations for toddlers.
- Use non-toxic glue and paint.
- Allow paint and glue to dry completely before wearing the mask.
- Make sure the eye holes are large enough for clear vision.
- Ensure elastic strings are not too tight.
Following these precautions helps everyone enjoy the activity safely.
Step-by-Step Guide to Making a Paper Mask
Step 1: Choose a Character
Ask children what kind of mask they would like to create.
Popular ideas include:
- Lion
- Tiger
- Cat
- Dog
- Owl
- Butterfly
- Dragon
- Dinosaur
- Superhero
- Princess
- Pirate
- Monster
Choosing their own design encourages creativity from the very beginning.
Step 2: Draw the Mask
Sketch the basic shape of the mask on cardstock.
Include:
- Eye openings
- Nose area
- Face outline
Keep the design simple for younger children.
Step 3: Cut Out the Mask
Carefully cut around the outline.
Next, cut out the eye holes.
Adults should assist younger children with detailed cutting.
Step 4: Decorate
Now comes the most exciting part.
Children can decorate using:
- Paint
- Markers
- Colored pencils
- Stickers
- Glitter
- Feathers
- Tissue paper
- Yarn
- Buttons
There are endless possibilities.
Step 5: Attach the String
Punch a hole on each side of the mask.
Tie elastic string or ribbon through the holes.
Test the fit before wearing.
Quick Overview Table
| Feature | Details |
| Project | Making Paper Masks |
| Difficulty Level | Easy |
| Recommended Age | 4–12 years (with adult supervision) |
| Time Required | 30–90 minutes |
| Materials Needed | Cardstock, scissors, glue, markers, paint, elastic string, decorations |
| Budget | Low-cost |
| Skills Developed | Creativity, fine motor skills, problem-solving, storytelling |
| Educational Benefits | Art, imagination, communication, role-playing |
| Best For | Home, classrooms, parties, holiday crafts |
| Eco-Friendly Option | Use recycled paper and leftover craft materials |
Creative Paper Mask Ideas
Children love having choices. Here are several fun themes to inspire their designs.
Animal Masks
Create masks featuring favorite animals such as:
- Bears
- Rabbits
- Foxes
- Penguins
- Frogs
- Elephants
- Monkeys
- Pandas
Animal masks are perfect for learning about wildlife and nature.
Superhero Masks
Simple eye masks can become amazing superhero disguises.
Children can invent:
- Super names
- Special powers
- Costumes
- Secret identities
This encourages imaginative storytelling.
Fantasy Masks
Fantasy themes include:
- Dragons
- Unicorns
- Fairies
- Wizards
- Elves
These magical designs inspire endless pretend adventures.
Monster Masks
Funny monsters are especially popular because there are no rules.
Add:
- Multiple eyes
- Colorful horns
- Silly teeth
- Bright hair
The crazier the design, the better.
Decorating Techniques
There are many ways to make every mask unique.
Try using:
- Layered paper
- Folded ears
- Paper flowers
- Glitter accents
- Feather borders
- Tissue paper mosaics
- Yarn hair
- Metallic markers
- Puffy paint
Combining different textures makes masks even more interesting.
Educational Benefits
Making paper masks supports learning across many areas.
Fine Motor Development
Children strengthen hand muscles through:
- Cutting
- Folding
- Coloring
- Gluing
These skills help prepare young learners for writing.
Creativity
There are no limits to what children can create.
Every artistic decision develops imagination.
Problem-Solving
Children learn to solve challenges such as:
- Balancing decorations
- Choosing colors
- Fixing mistakes
- Improving designs
Language Skills
Masks naturally encourage conversation.
Children often:
- Name their characters
- Tell stories
- Create dialogue
- Perform plays
This strengthens communication skills.
Social Skills
Group crafting encourages:
- Sharing materials
- Taking turns
- Giving compliments
- Working together
These experiences help build friendships.
Using Paper Masks for Learning
Teachers can include masks in many classroom subjects.
Reading
Students become story characters.
Science
Animal masks support wildlife lessons.
History
Children can recreate historical figures.
Geography
Masks from different cultures encourage global learning.
Drama
Simple masks become valuable theater props.
Learning becomes interactive and memorable.
Seasonal Paper Masks
Different holidays inspire exciting mask projects.
Halloween
- Ghosts
- Witches
- Pumpkins
- Bats
- Skeletons
Christmas
- Reindeer
- Santa
- Elves
- Snowmen
Easter
- Rabbits
- Chicks
- Lambs
Spring
- Butterflies
- Ladybugs
- Bees
Summer
- Tropical birds
- Fish
- Sun faces
Changing themes throughout the year keeps crafting fresh.
Encouraging Creativity
Instead of giving exact instructions, ask open-ended questions.
Examples include:
- What colors should your dragon have?
- How many eyes will your monster wear?
- What is your superhero’s special power?
- Can your animal have wings?
- What story does your character tell?
Children develop confidence when their ideas are valued.
Common Mistakes to Avoid
Avoid these frequent crafting problems:
- Making eye holes too small
- Using paper that is too thin
- Applying too much glue
- Decorating before cutting
- Rushing the drying process
- Overcomplicating designs for young children
Simple designs usually produce the best results.
Eco-Friendly Crafting
Paper masks provide an excellent opportunity to teach sustainability.
Reuse materials like:
- Cereal boxes
- Old greeting cards
- Magazine pages
- Scrap paper
- Gift wrap
- Paper bags
Children learn that creative projects don’t always require new supplies.
Making Craft Time More Enjoyable
Turn mask-making into a memorable family activity.
Ideas include:
- Play music while crafting.
- Read a story before making matching masks.
- Hold a mini costume parade.
- Create a puppet or mask show.
- Take photos of finished creations.
- Display masks on a craft wall.
These experiences create lasting family memories.
Caring for Finished Masks
To make paper masks last longer:
- Store them flat.
- Avoid moisture.
- Reinforce weak areas with tape.
- Keep decorations securely attached.
- Place masks in a folder or storage box after use.
With proper care, children can enjoy their handmade masks for many months.
Conclusion
Making paper masks is a fun, affordable, and educational craft that inspires creativity while helping children develop valuable artistic and practical skills. With simple materials like paper, scissors, glue, markers, and decorative items, kids can transform ordinary sheets into exciting characters ranging from playful animals and brave superheroes to magical creatures and funny monsters.
Beyond the finished craft, the process of designing, cutting, decorating, and wearing a handmade mask encourages imagination, storytelling, fine motor development, communication, and confidence. It also provides meaningful opportunities for family bonding, classroom learning, and creative play without relying on expensive supplies or electronic devices.
Whether you’re planning a rainy-day activity, a school art lesson, a birthday party, or a holiday celebration, paper masks offer endless possibilities for fun and self-expression. Gather your craft supplies, let children’s imaginations lead the way, and watch simple pieces of paper become colorful creations that spark smiles, stories, and unforgettable adventures.
