
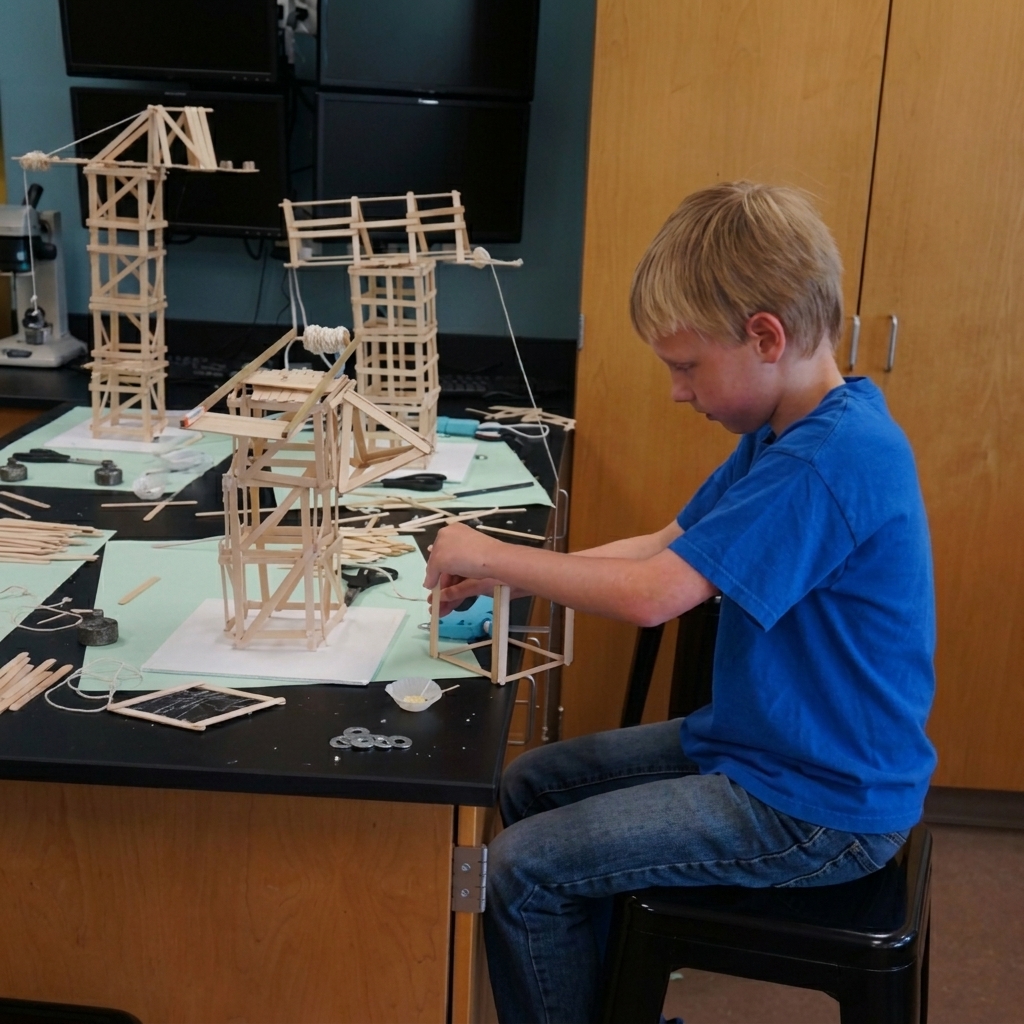
School projects are an important part of learning because they encourage students to apply classroom knowledge in creative and practical ways. Instead of only reading about science, mathematics, or engineering, students can experience these subjects by designing, building, testing, and improving real models. One engaging and educational project is building a small crane using wooden sticks. Although the materials are simple, the project introduces students to important engineering concepts such as balance, force, stability, and mechanical advantage.
A crane is a machine designed to lift and move heavy objects from one place to another. Construction workers use cranes to build tall buildings, bridges, stadiums, and other large structures. Through this classroom project, students gain a basic understanding of how cranes work by creating a miniature version using wooden craft sticks, string, glue, and simple lifting mechanisms.
Building a small crane is much more than a craft activity. It combines science, technology, engineering, art, and mathematics (STEAM) while developing creativity, teamwork, critical thinking, and problem-solving skills. Every stage of the project—from planning and construction to testing and redesign—helps students understand how engineers transform ideas into practical machines.
| Quick Overview | Details |
| Project Name | Small Wooden Stick Crane |
| Subject | Science, Engineering, STEAM |
| Difficulty | Moderate |
| Recommended Age | 10–16 years |
| Main Materials | Wooden craft sticks, glue, string, cardboard |
| Main Goal | Build a crane that can lift small objects |
| Skills Developed | Engineering, creativity, teamwork, problem-solving |
Why This Project Is Valuable
The crane project introduces students to real engineering challenges. Instead of simply constructing a model, they investigate how different parts of a machine work together to lift weight safely and efficiently.
Students quickly realize that a successful crane requires careful planning. A structure that looks strong may still collapse if the weight is not balanced properly. Likewise, a lightweight design can become surprisingly strong when reinforced correctly.
The project also demonstrates that engineering is a continuous process of designing, testing, improving, and learning from mistakes.
Learning Objectives
By completing this project, students should be able to:
- Understand the engineering design process.
- Explore how cranes lift heavy loads.
- Learn about balance and stability.
- Investigate simple machines.
- Practice accurate measuring and planning.
- Improve teamwork and communication.
- Record scientific observations.
- Develop creativity and confidence.
These objectives connect classroom learning with practical experience.
Materials Needed
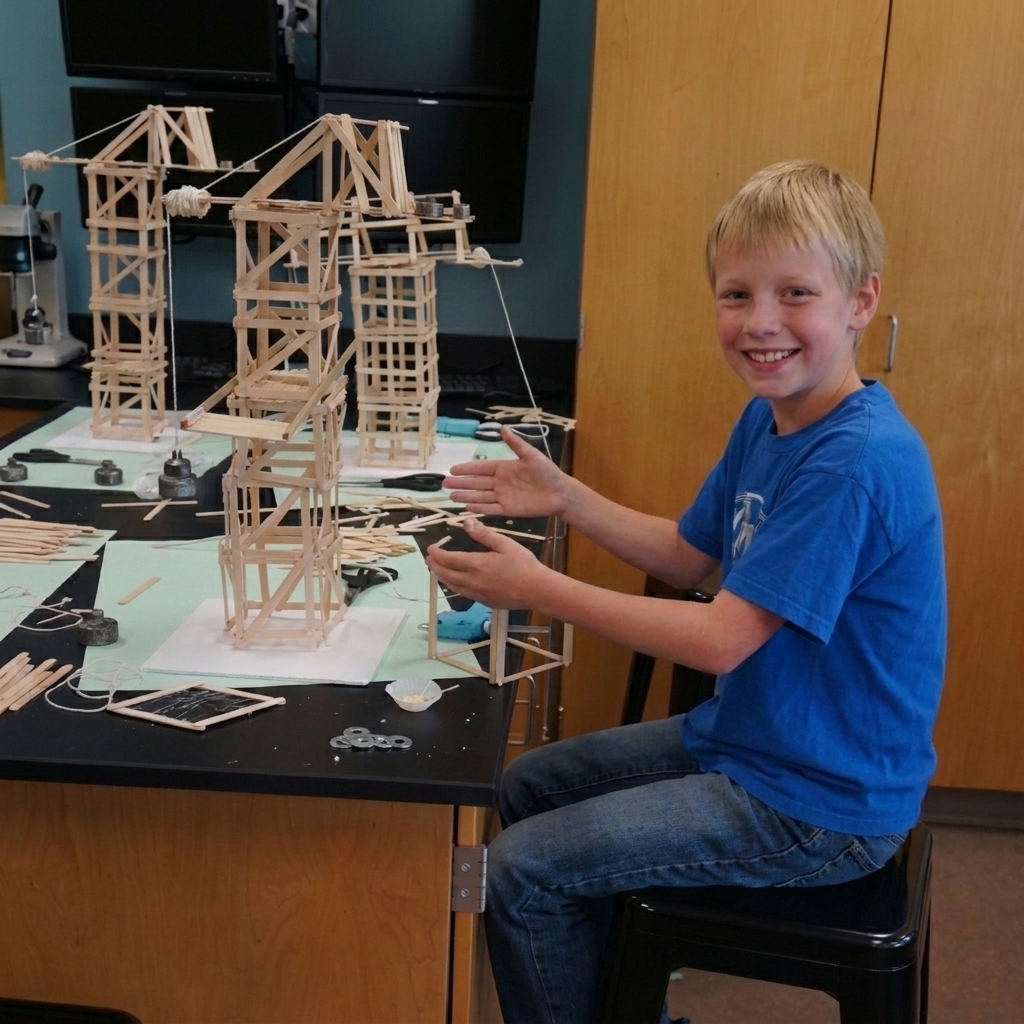
Most materials are inexpensive and readily available.
Students need:
- Wooden craft sticks
- White glue or hot glue (with supervision)
- Cardboard
- String
- Plastic spool or small reel
- Drinking straw
- Wooden skewer
- Rubber bands
- Tape
- Scissors
- Ruler
- Pencil
Optional materials include small paper cups, bottle caps, or toy hooks for lifting loads.
Understanding How Cranes Work
Before construction begins, students should learn about the basic purpose of a crane.
A crane lifts objects using several important components:
- Base
- Vertical tower
- Boom (lifting arm)
- Pulley
- Rope or string
- Hook
- Counterweight
Each part has a specific job, and all parts must work together safely.
Understanding these components helps students design a functional model.
Planning the Crane
Every engineering project starts with careful planning.
Students should draw a sketch showing:
- Height of the tower
- Length of the boom
- Position of the pulley
- Location of the counterweight
- Base dimensions
Planning helps students identify possible problems before construction begins.
Building a Strong Base
The base supports the entire crane.
A successful base should be:
- Wide
- Flat
- Strong
- Balanced
Students often attach craft sticks to a cardboard platform for extra stability.
A stable base prevents the crane from tipping while lifting objects.
Constructing the Tower
The tower holds the boom above the ground.
Students connect wooden sticks to create vertical supports.
Important construction tips include:
- Keep the tower straight.
- Reinforce each corner.
- Measure carefully.
- Build symmetrical sides.
A well-built tower distributes weight evenly.
Reinforcing the Structure
Simple wooden sticks become much stronger when arranged correctly.
Students can reinforce the crane by adding:
- Diagonal braces
- Cross supports
- Triangle shapes
- Double layers at stress points
Triangles are particularly important because they resist bending and twisting.
This demonstrates one of the fundamental principles of structural engineering.
Building the Boom
The boom is the long arm that extends from the tower.
Students should balance two important factors:
- Long booms reach farther.
- Short booms lift heavier loads more safely.
The boom should remain lightweight while maintaining enough strength to support the load.
Installing the Pulley
A pulley makes lifting easier.
Students can create a simple pulley using:
- A small spool
- A bottle cap
- A plastic wheel
String passes over the pulley and connects to a small hook.
This allows objects to be lifted smoothly.
Students discover that pulleys reduce the effort required to raise loads.
Adding a Counterweight
One of the most interesting engineering concepts is the counterweight.
A counterweight balances the heavy object being lifted.
Possible counterweights include:
- Coins
- Washers
- Small stones
- Modeling clay
Students experiment with different weights to determine the safest balance.
Testing the Crane
Testing is one of the most exciting stages.
Students gradually lift objects such as:
- Paper clips
- Erasers
- Small toy blocks
- Coins
- Mini paper cups
They carefully observe:
- Does the tower remain upright?
- Does the boom bend?
- Does the base move?
- Is the load lifted smoothly?
Testing reveals strengths and weaknesses in the design.
Recording Results
Scientific investigations require accurate observations.
Students may organize data in a table.
| Test | Load Lifted | Result | Improvement Needed |
| 1 | 20 grams | Stable | None |
| 2 | 40 grams | Slight bending | Reinforce boom |
| 3 | 60 grams | Base shifted | Widen foundation |
| 4 | 80 grams | Successful | Final design complete |
Keeping detailed records helps students compare different designs.
Common Challenges
Most first attempts reveal engineering problems.
Typical challenges include:
- Weak glue joints.
- Narrow bases.
- Boom bending.
- Loose string.
- Tower leaning.
- Counterweight too light.
Recognizing these issues helps students improve future designs.
Improving the Crane
Professional engineers rarely succeed perfectly on the first attempt.
Students may strengthen their crane by:
- Adding diagonal braces.
- Reinforcing joints.
- Widening the base.
- Adjusting the counterweight.
- Shortening the boom.
- Using stronger connections.
Each improvement increases lifting performance.
Engineering Concepts Learned
This project introduces several important engineering ideas.
Balance
Balanced structures remain stable while lifting.
Mechanical Advantage
Pulleys make lifting easier.
Center of Gravity
A lower center of gravity improves stability.
Compression
Vertical supports carry downward forces.
Tension
Strings experience pulling forces.
Structural Reinforcement
Extra supports increase strength.
Students discover that successful engineering depends on understanding these principles.
Teamwork Throughout the Project
Group work encourages cooperation.
Possible team roles include:
- Designer
- Builder
- Materials manager
- Tester
- Recorder
- Presenter
Working together allows students to combine ideas and solve problems more efficiently.
Creativity and Innovation
Although every group uses similar materials, every crane becomes unique.
Students may create:
- Tall cranes
- Mobile cranes
- Tower cranes
- Construction cranes
- Harbor cranes
Some teams may even decorate their cranes with paint, labels, or company logos.
Creativity makes engineering more enjoyable while encouraging original thinking.
Real-World Applications
The classroom model reflects real engineering challenges.
Construction engineers use cranes to build:
- Skyscrapers
- Bridges
- Wind turbines
- Ships
- Stadiums
- Factories
Real cranes also use pulleys, counterweights, and reinforced structures to lift enormous loads safely.
Students gain appreciation for the engineers who design these remarkable machines.
Presentation Day
After testing, each team presents its crane.
Students explain:
- Their original design.
- Construction process.
- Engineering challenges.
- Improvements made.
- Final lifting results.
- Lessons learned.
Presentations improve communication skills and allow students to compare different engineering solutions.
Skills Developed
Building a small crane strengthens many valuable abilities.
Students improve:
- Critical thinking
- Engineering knowledge
- Creativity
- Scientific observation
- Teamwork
- Communication
- Planning
- Fine motor skills
- Decision-making
- Problem-solving
These skills are valuable in school and future careers.
Environmental Awareness
Teachers can also discuss sustainable engineering.
Students may use:
- Recycled cardboard
- Reused wooden sticks
- Scrap string
- Recycled paper
This encourages responsible use of materials while reducing waste.
Students learn that modern engineering should consider both performance and environmental responsibility.
Reflection
Many students begin the project believing that simply adding more wooden sticks will make the crane stronger. However, testing often reveals that intelligent design is more important than using extra materials. A well-balanced crane with proper reinforcement and an effective counterweight can lift more weight than a larger but poorly designed structure.
Students also discover that engineering requires patience. Every failed lift, loose joint, or unstable tower provides useful information for improving the next version. This process of testing, analyzing, and redesigning mirrors the work of professional engineers who continually refine machines to make them safer and more efficient.
Perhaps the most valuable lesson is that creativity and science work together. By combining careful planning with imaginative ideas, students transform ordinary wooden sticks into a functioning machine capable of lifting objects successfully.
Conclusion
Building a small crane using wooden sticks is an engaging and educational school project that introduces students to the exciting world of engineering. Through planning, construction, testing, and redesign, students learn how cranes use balance, pulleys, counterweights, and structural reinforcement to lift loads safely and efficiently. The project transforms simple classroom materials into a working model while demonstrating important scientific and engineering principles.
Beyond the technical knowledge, this activity develops teamwork, creativity, communication, patience, resilience, and critical thinking. Students learn that successful engineering depends on careful observation, thoughtful planning, and continuous improvement rather than perfection on the first attempt. By the end of the project, they not only build a functioning miniature crane but also gain confidence in their ability to solve real-world problems and think like engineers. This memorable experience inspires curiosity, innovation, and a lifelong appreciation for how simple ideas can become practical solutions through creativity and determination.
