
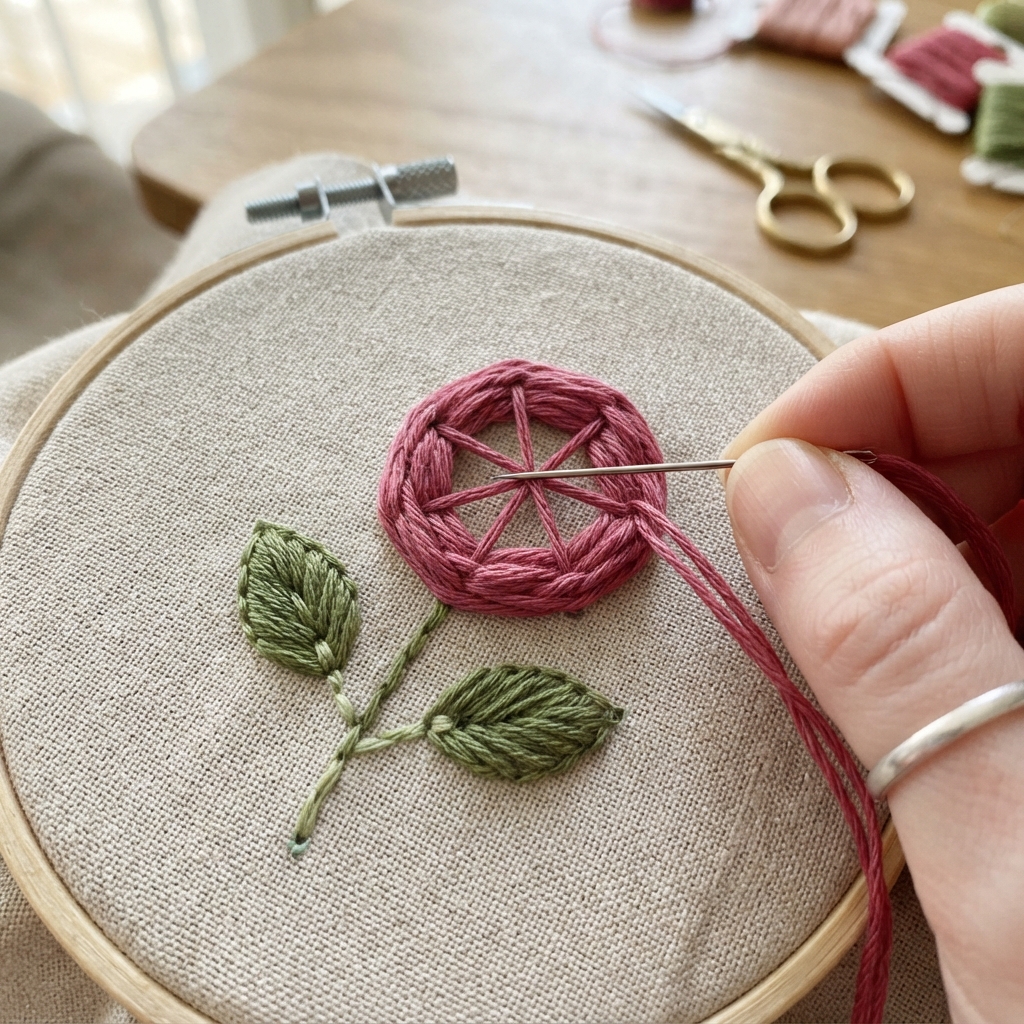
Embroidering a simple rose is a beautiful project for beginners who want to learn hand embroidery. With a few basic stitches, colorful embroidery thread, and a piece of fabric, you can create a charming floral design without a sewing machine.
A small embroidered rose can be used to decorate clothing, tote bags, pillow covers, fabric bookmarks, handkerchiefs, wall art, and handmade gifts.
This step-by-step guide will show you how to embroider a simple rose using beginner-friendly stitches.
Why Embroider a Rose?
Roses are excellent embroidery subjects because their petals can be created with simple lines, curves, and stitches.
A rose project allows you to practice:
- Drawing a simple embroidery design
- Threading a needle
- Making small stitches
- Creating curved lines
- Combining different stitch types
- Choosing complementary colors
- Adding decorative details
You can make the rose small and simple or gradually add more petals and leaves as your skills improve.
Materials You Will Need
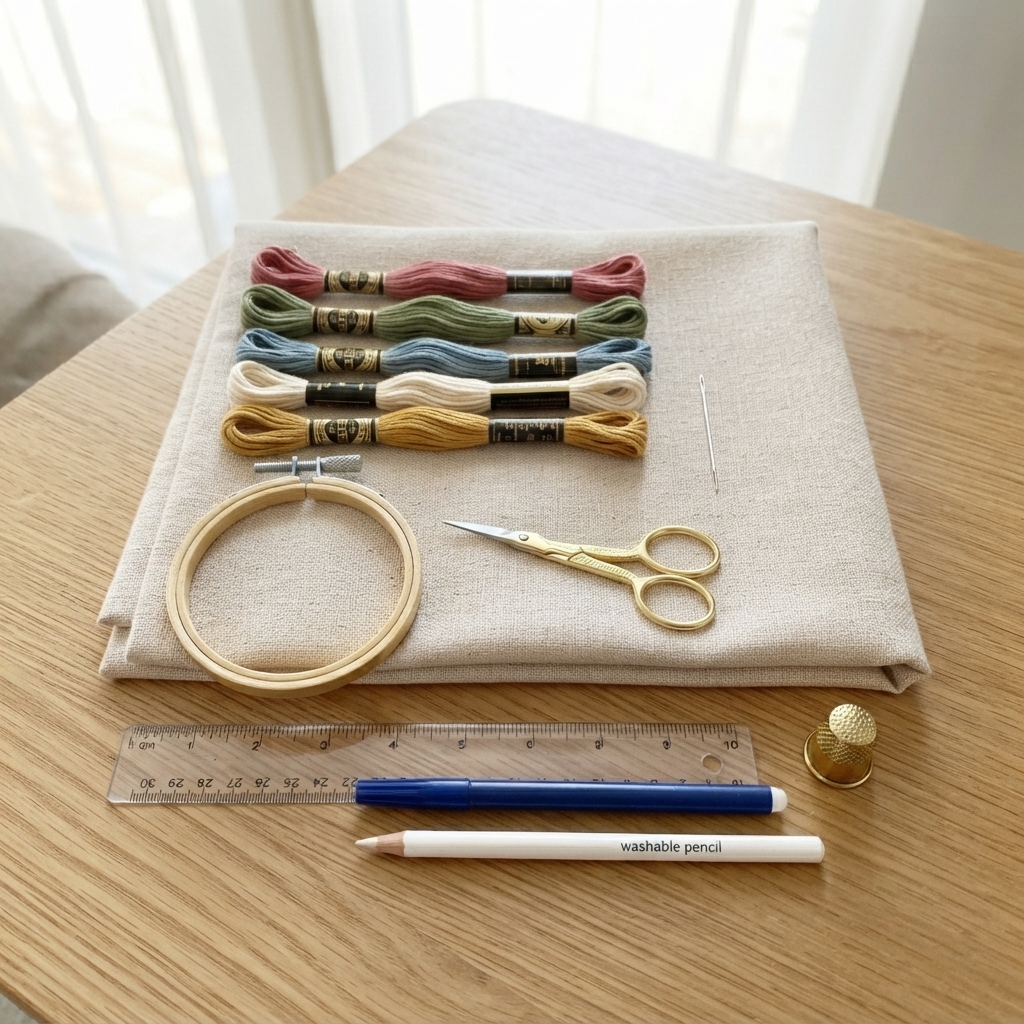
Gather these basic supplies:
- A piece of cotton or linen fabric
- Embroidery needle
- Embroidery floss
- Small scissors
- Embroidery hoop
- Fabric marker or washable pencil
- Ruler
- Optional thimble
Choose medium-weight cotton fabric for your first project. It is stable and easy to stitch.
Choosing Your Colors
A traditional rose can be embroidered with red, pink, or white thread.
You can also experiment with unusual colors such as:
- Purple
- Orange
- Yellow
- Blue
- Coral
- Multicolor thread
For the leaves, green thread works well.
Using two shades of the same color can add depth to the petals.
Step 1: Prepare the Fabric
Cut a piece of fabric large enough for your rose and leave several centimeters of extra space around the design.
Place the fabric inside an embroidery hoop.
Pull the fabric gently until it is smooth and reasonably taut.
Do not stretch it excessively.
Step 2: Draw the Rose Design
Use a washable fabric marker or pencil to draw a simple rose.
You do not need to create a detailed botanical drawing.
Start with a small spiral in the center.
Then draw several curved lines around it to suggest overlapping petals.
Add a few leaves beneath or beside the flower.
Keep the design simple because it will be easier to stitch.
Step 3: Thread the Needle
Cut approximately 40–50 centimeters of embroidery floss.
Separate the floss into the number of strands you want to use.
For a delicate design, use one or two strands.
For a bolder rose, use three or four strands.
Thread the needle and tie a small knot at the back.
Step 4: Embroider the Rose Center
The center of the rose can be made using a simple chain stitch or backstitch.
Start at the center of the spiral.
Follow the drawn line carefully.
Use small stitches around the curves.
Keep the thread tension gentle so the fabric stays flat.
Step 5: Create the Petal Lines
Use a backstitch to outline several curved sections of the rose.
Start from the center and work outward.
The lines do not need to be perfectly symmetrical.
Natural-looking curves can make the flower appear more realistic.
Try to follow the shape of the petals rather than creating random lines.
Step 6: Add Chain Stitch Details
Chain stitch is excellent for creating decorative curved petal lines.
Bring the needle up through the fabric.
Insert it near the starting point and bring it back up farther along the design while keeping the thread underneath the needle.
Pull gently to create a loop.
Continue along the curved petal line.
The linked loops create a beautiful textured effect.
Step 7: Add More Petals
Continue adding curved lines around the center.
Use different stitch lengths to create the appearance of overlapping petals.
You can use:
- Backstitch
- Chain stitch
- Running stitch
- Stem stitch
Do not try to fill every part of the flower.
Leaving small areas of fabric visible can make the design look lighter and more natural.
Step 8: Add Rose Leaves
Switch to green embroidery floss.
Draw two or three simple leaves around the flower.
Use a stem stitch or backstitch to outline the leaves.
You can fill the leaves with simple satin stitches or closely spaced long stitches.
For a beginner project, a simple outline is enough.
Step 9: Add the Stem
Use green embroidery floss to create the stem.
A stem stitch is a particularly attractive choice because it creates a smooth curved line.
Alternatively, use a simple backstitch.
Make the stem slightly curved rather than perfectly straight.
Step 10: Add Decorative Details
Once the main rose is finished, you can add small details.
Try adding:
- Tiny French knots
- Extra petal lines
- Small leaves
- Dots around the flower
- Additional colors
- A decorative border
Keep the details simple so the rose remains the main focus.
How to Make the Rose Look More Realistic
You can create more depth by using different shades of thread.
For example, use a darker shade for the center and inner petals and a lighter shade for the outer petals.
You can also vary the stitch direction.
Follow the natural curve of each petal rather than stitching everything in the same direction.
Easy Stitches for a Rose
Several basic embroidery stitches work well for this project.
Backstitch
Backstitch creates clear, continuous lines and is excellent for outlining petals and stems.
Chain Stitch
Chain stitch creates linked loops and adds a decorative texture to the petals.
Stem Stitch
Stem stitch is ideal for curved stems and flower outlines.
Satin Stitch
Satin stitch can be used to fill small petals or leaves.
French Knots
French knots are useful for tiny decorative details and flower centers.
A Simple Rose Embroidery Project
Once you have learned the basic technique, you can use your embroidered rose on a practical item.
A fabric bookmark is a simple choice.
Cut two pieces of fabric.
Embroider a small rose on one piece.
Sew the pieces together around the edges.
Finish the edges with blanket stitch.
You now have a personalized handmade bookmark.
Other Places to Use Rose Embroidery
A small embroidered rose can decorate many projects, including:
- Tote bags
- Pillow covers
- Clothing
- Handkerchiefs
- Fabric wallets
- Pencil cases
- Aprons
- Fabric pouches
- Table linens
- Wall decorations
You can also embroider several small roses to create a floral border.
Common Beginner Mistakes
Using Too Much Thread
Long pieces of thread can become tangled.
Use shorter lengths while practicing.
Pulling the Thread Too Tightly
Excessive tension can cause puckering.
Pull gently until each stitch lies flat.
Making the Design Too Complicated
Start with a simple rose.
You can add more detail as your skills improve.
Making Stitches Too Large
Small stitches generally work better around curves.
Skipping the Hoop
An embroidery hoop is not absolutely necessary, but it can help beginners keep the fabric stable.
Tips for Better Rose Embroidery
Practice each stitch on scrap fabric first.
Use a washable marker for your design.
Keep your thread tension consistent.
Work slowly around curves.
Change thread colors to create depth.
Do not worry about making the rose perfectly symmetrical.
Hand embroidery is beautiful partly because it has a handmade character.
Final Thoughts
Embroidering a simple rose is a lovely beginner project that combines creativity with basic hand-sewing skills. You can create the flower using just a few stitches, such as backstitch, chain stitch, stem stitch, and satin stitch.
Start with a small design and practice on cotton fabric. Once you become comfortable with the stitches, experiment with different colors, petal shapes, leaves, and decorative details.
With patience and practice, you can turn a simple piece of fabric into a beautiful embroidered rose that can be used to personalize clothing, accessories, home décor, and handmade gifts.
