
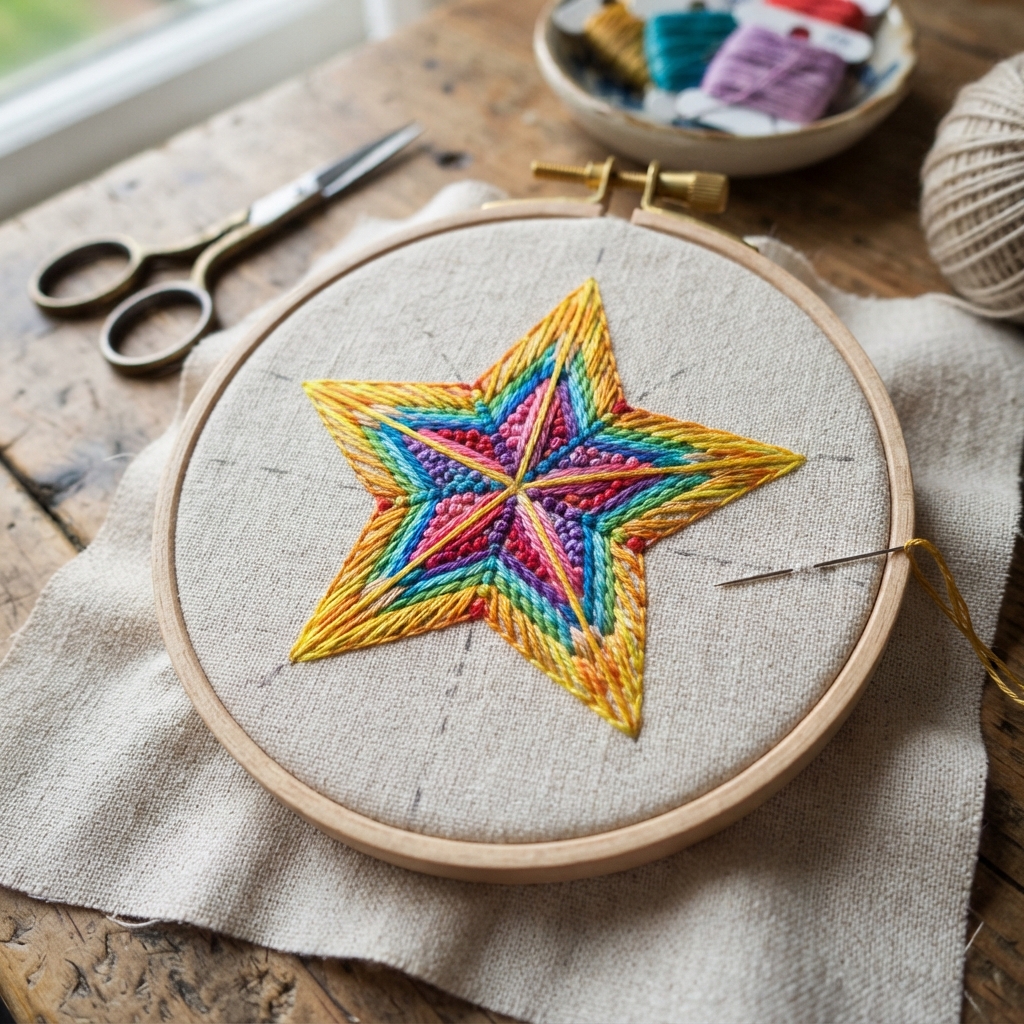
Embroidering a colorful star is a fun and creative project for beginners. With a piece of fabric, embroidery thread, a needle, and a few simple stitches, you can create a bright star that adds personality to clothing, bags, pillows, wall art, and handmade gifts.
A star is also an excellent design for practicing basic embroidery because it has simple points and straight lines. You can make a classic five-pointed star, a rainbow star, or a star filled with different colorful patterns.
This step-by-step guide will show you how to embroider a colorful star by hand.
Why Embroider a Colorful Star?
A colorful star is an easy project that allows beginners to practice several useful embroidery skills.
You can learn how to:
- Transfer a simple design to fabric
- Use an embroidery hoop
- Thread an embroidery needle
- Make basic stitches
- Outline a shape
- Fill small sections
- Combine different colors
- Add decorative details
The project is small enough to finish in one sitting, making it a great choice for beginners.
Materials You Will Need
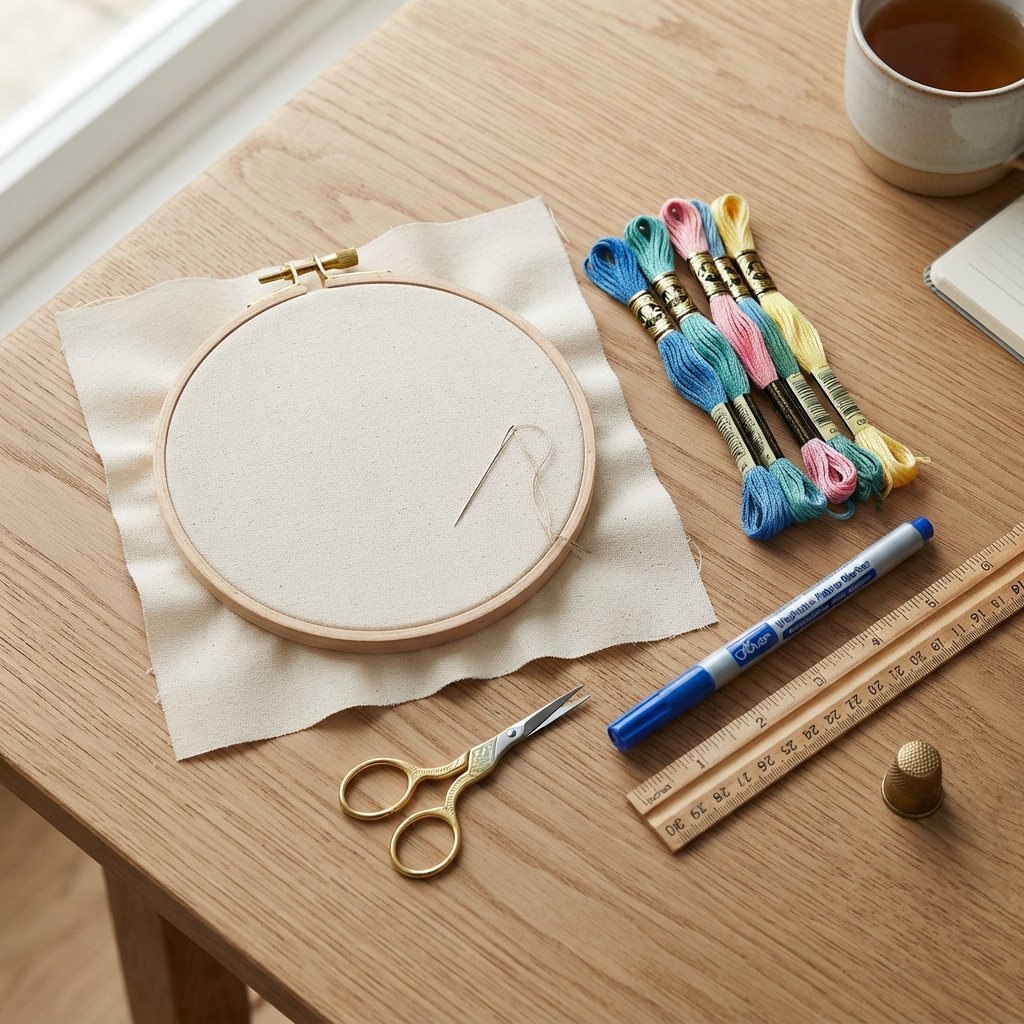
Before starting, gather these supplies:
- A piece of cotton or linen fabric
- Embroidery hoop
- Embroidery needle
- Embroidery floss in several colors
- Small scissors
- Washable fabric marker or pencil
- Ruler
- Optional thimble
Medium-weight cotton is a good fabric choice because it is easy to handle and provides a stable surface for embroidery.
Choosing Your Colors
The most exciting part of making a colorful star is choosing the thread colors.
You can use:
- Red
- Orange
- Yellow
- Green
- Blue
- Purple
- Pink
For a rainbow effect, use several colors around the star.
You can also choose two or three colors that complement each other. For example, blue, purple, and pink can create a soft and colorful design.
Step 1: Prepare the Fabric
Cut a piece of fabric large enough for your star.
Leave several centimeters of extra fabric around the design so you can place it comfortably in the embroidery hoop.
Iron the fabric if necessary to remove wrinkles.
Place it inside the hoop and gently tighten the fabric.
The fabric should be smooth and slightly taut, but do not stretch it excessively.
Step 2: Draw the Star
Use a washable fabric marker or pencil to draw a simple five-pointed star.
You can use a ruler to create straight lines.
For a simple star, draw five points connected by straight lines.
You can make the star small or large depending on your project.
If you want a more playful design, draw several smaller stars around the main star.
Step 3: Thread the Needle
Cut a piece of embroidery floss approximately 40–50 centimeters long.
You can separate the floss into individual strands depending on the thickness you want.
Use fewer strands for delicate outlines and more strands for bold designs.
Thread the needle and secure the thread at the back of the fabric.
Avoid using an extremely long piece of thread because it can become tangled while you work.
Step 4: Outline the Star
Begin by outlining the star.
Backstitch is one of the easiest stitches for this step.
Bring the needle up through the fabric.
Insert it back down a short distance along the drawn line.
Bring the needle up again and continue following the outline.
Keep the stitches small and relatively even.
Follow each point carefully so the star keeps its clear shape.
Step 5: Add the First Color
Choose your first embroidery color.
You can divide the star into sections and give each section a different color.
For example, use yellow for the top point, orange for the next section, pink for another section, and blue and purple for the remaining areas.
You can also use one color for the outline and several colors inside.
Step 6: Fill the Star
If you want a solid colorful star, use satin stitch to fill the sections.
Make long, parallel stitches close together.
Try to keep the stitches inside the outline.
For small areas, use shorter stitches.
If satin stitch feels difficult, you can use running stitch instead and create colorful lines across the star.
Step 7: Create Rainbow Stripes
A simple way to make the star colorful is to add rainbow stripes.
Draw several lines across the inside of the star.
Assign a different color to each line.
You could arrange them in this order:
- Red
- Orange
- Yellow
- Green
- Blue
- Purple
Use backstitch or running stitch to sew along each line.
This creates a cheerful rainbow effect without requiring complicated filling techniques.
Step 8: Add Chain Stitch Details
Chain stitch can give your star a decorative appearance.
Use it to create small curved lines or borders inside the star.
To make a chain stitch, bring the needle up through the fabric and insert it close to the starting point.
Bring the needle back up a short distance away while keeping the thread under the needle.
Pull gently to form a loop.
Continue making connected loops along your design.
Step 9: Add French Knots
French knots are useful for adding small colorful dots.
Place several knots inside the star or around its edges.
You can use one color for all the dots or make each knot a different color.
These tiny details can make a simple star look more playful.
Step 10: Add a Decorative Border
For an extra colorful effect, add a border around the star.
Use a contrasting thread color.
You can outline the star a second time with:
- Running stitch
- Backstitch
- Chain stitch
- Blanket stitch
A contrasting border helps the star stand out against the fabric.
Step 11: Embroider Small Stars Around It
For a larger design, add tiny stars around the main star.
Use different colors and sizes.
Small stars can be made with simple straight stitches.
You can also add dots, hearts, moons, or tiny flowers to create a magical pattern.
Step 12: Finish the Embroidery
When your colorful star is complete, check the front and back of the fabric.
Secure loose threads with small knots or securing stitches.
Trim excess thread with small scissors.
Remove the fabric from the embroidery hoop.
If necessary, gently press the fabric from the back using an iron suitable for the fabric.
Your colorful star embroidery is now finished.
Easy Embroidery Stitches for a Colorful Star
You do not need many stitches to create a beautiful star.
Backstitch
Use backstitch for the star outline and straight decorative lines.
Running Stitch
Running stitch is simple and works well for rainbow stripes.
Satin Stitch
Use satin stitch to fill sections of the star with solid colors.
Chain Stitch
Chain stitch creates a textured border and decorative curves.
French Knots
Use French knots for small dots and colorful accents.
How to Make a Rainbow Star
A rainbow star is especially fun for children and beginners.
Choose six or seven bright colors.
Divide the star into sections or stripes.
Stitch each section with a different color.
For a softer appearance, use pastel shades instead of bright colors.
You can also embroider a rainbow border around the outside of the star.
Where to Use Your Star Embroidery
A colorful embroidered star can decorate many handmade projects.
Try adding it to:
- Tote bags
- Fabric wallets
- Pencil cases
- Pillow covers
- Kitchen aprons
- Clothing
- Fabric bookmarks
- Children’s room decorations
- Hand-sewn gifts
- Fabric pouches
You can embroider several stars together to create a larger pattern.
Tips for Beginners
Start with a simple star design.
Use a washable marker so your guide lines can be removed later.
Keep your stitches small around the points.
Avoid pulling the thread too tightly.
Use shorter pieces of thread to reduce tangling.
Practice unfamiliar stitches on scrap fabric first.
Do not worry about making every stitch perfect. Small variations are part of handmade embroidery.
Common Mistakes to Avoid
Using Too Much Thread
Long thread can become tangled and difficult to control.
Pulling the Thread Too Tightly
Too much tension can cause the fabric to pucker.
Making the Star Too Detailed
A simple design is easier to embroider and can still look beautiful.
Using Too Many Colors
Although colorful embroidery is fun, too many unrelated colors can make the design look busy. Choose a small group of colors that work well together.
Forgetting to Secure the Thread
Always secure the thread when finishing each section.
Fun Star Embroidery Ideas
Once you finish your first colorful star, try different variations.
Make a glitter-inspired star using metallic embroidery thread.
Create a night-sky design with stars, moons, and clouds.
Make a rainbow collection with stars in different colors.
Try personalized stars with initials embroidered in the center.
You can also create a border of tiny colorful stars around a larger piece of fabric.
Final Thoughts
Embroidering a colorful star is a simple and enjoyable project for anyone learning hand embroidery. It allows you to practice basic stitches while experimenting with bright colors and creative patterns.
Start with a simple five-pointed star and outline it with backstitch. Then add colorful sections, rainbow stripes, French knots, or chain stitch details.
Once you become comfortable with the basic technique, use your embroidered stars to decorate bags, pillows, clothing, aprons, bookmarks, and handmade gifts. With a little practice and imagination, a simple piece of fabric can become a bright and beautiful work of art.
