
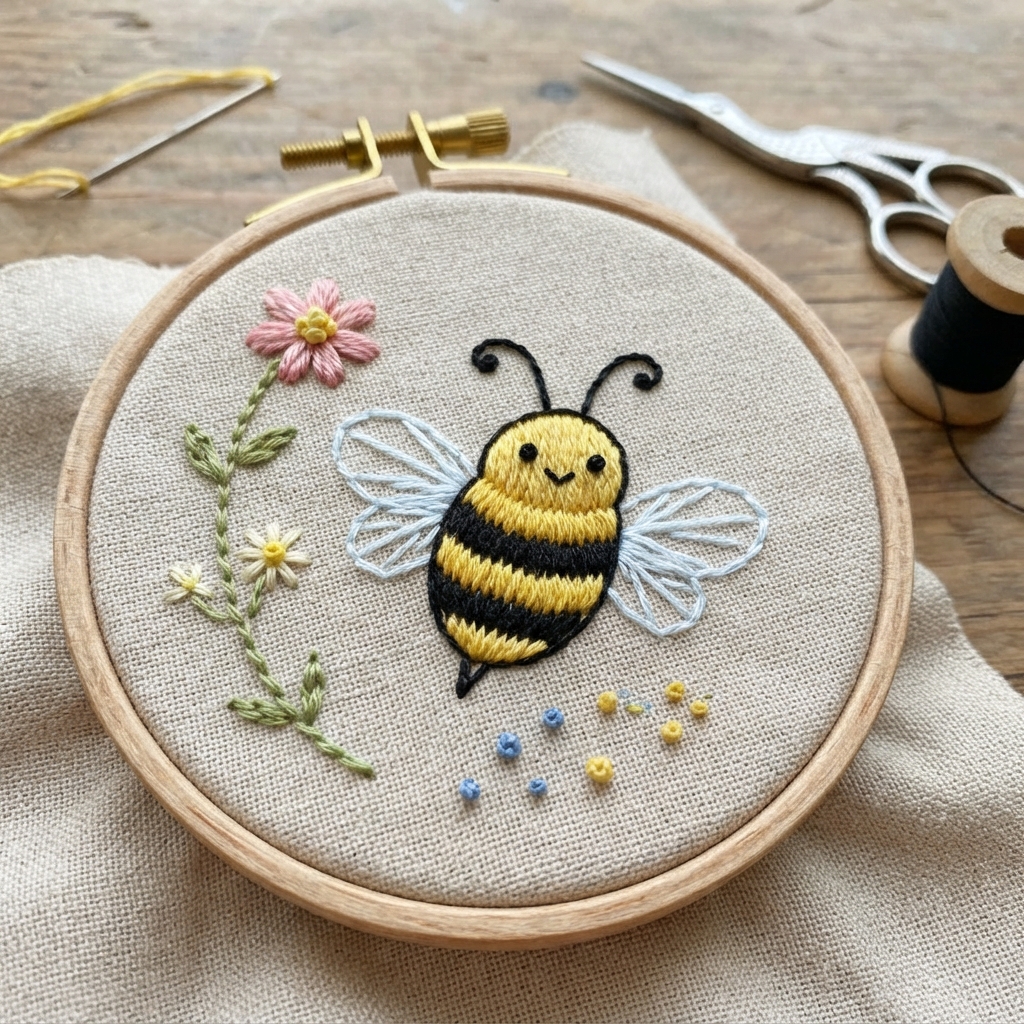
Embroidering a small bee is a fun and charming project for beginners. A tiny bee can be created with just a few basic embroidery stitches and a small selection of colorful threads. The design is simple enough for beginners but can also be expanded with flowers, leaves, and other garden details.
A small embroidered bee can decorate clothing, tote bags, pencil cases, fabric wallets, pillow covers, aprons, bookmarks, and handmade gifts. It is also a great project for practicing outlines, small shapes, and simple decorative stitches.
In this guide, you will learn how to draw and embroider a small bee step by step.
Why Embroider a Small Bee?
A bee is an excellent beginner embroidery design because it uses simple shapes.
This project helps you practice:
- Drawing a simple pattern
- Using an embroidery hoop
- Threading a needle
- Creating outlines
- Filling small areas
- Making simple curves
- Combining colors
- Adding tiny decorative details
You can make the bee realistic or create a cute cartoon-style design.
Materials You Will Need
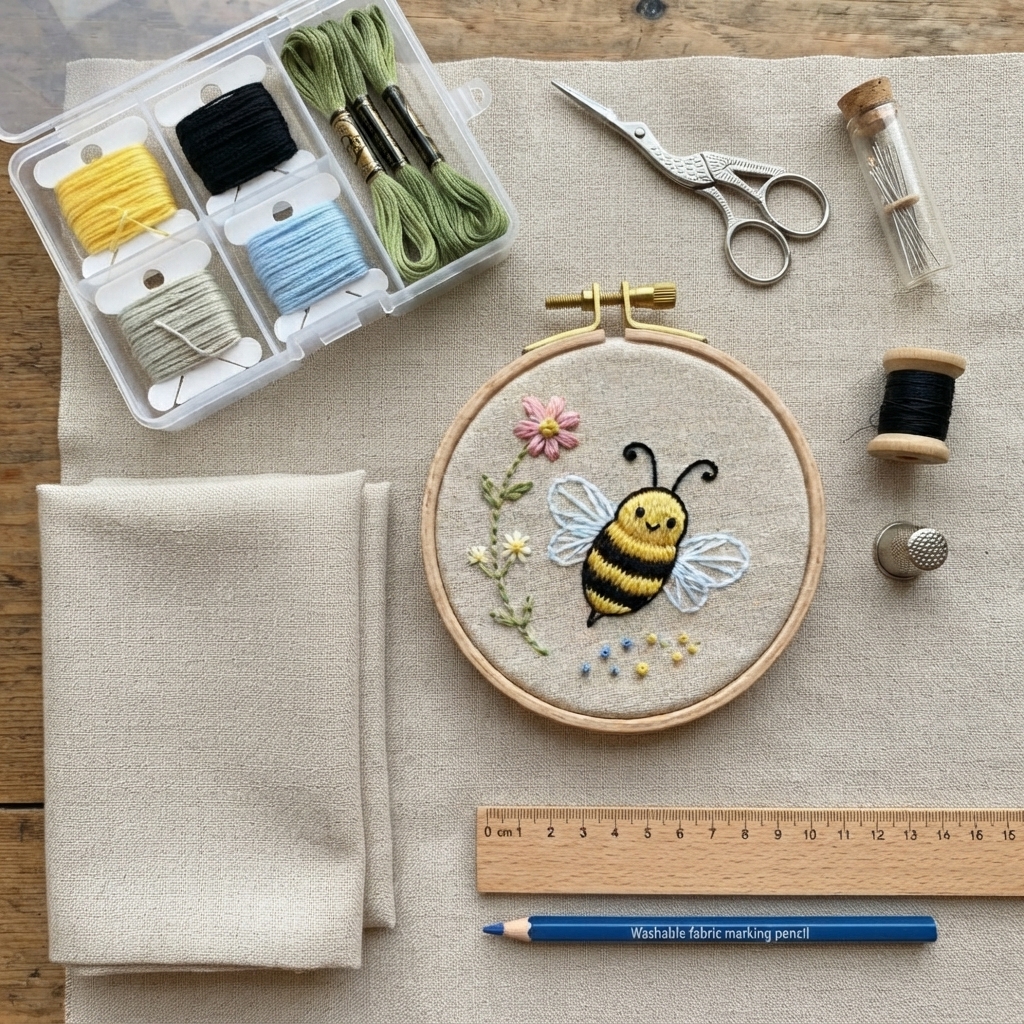
Gather these basic supplies:
- Cotton or linen fabric
- Embroidery hoop
- Embroidery needle
- Yellow embroidery floss
- Black embroidery floss
- White or light-blue embroidery floss
- Small scissors
- Washable fabric marker or pencil
- Ruler
- Optional green embroidery floss for leaves and stems
Medium-weight cotton is a good choice for beginners because it is easy to stitch and holds its shape well.
Choosing Your Bee Colors
The classic bee colors are yellow and black.
You can use:
- Bright yellow
- Golden yellow
- Black
- White
- Light blue
- Brown
For a playful design, try adding pink, purple, or green flowers around the bee.
Step 1: Prepare the Fabric
Cut a piece of fabric large enough for your bee design.
Leave a few centimeters of extra fabric around the embroidery.
Place the fabric in an embroidery hoop.
Gently tighten the hoop until the fabric is smooth and slightly taut.
Avoid stretching the fabric too much.
Step 2: Draw the Bee
Use a washable fabric marker or pencil to draw a small bee.
Start with a simple oval body.
Add:
- A small head
- Two wings
- Two antennae
- Two or three stripes
You can also draw six tiny legs.
Keep the design simple because very small details can be difficult to embroider.
Step 3: Thread the Needle
Cut approximately 40–50 centimeters of embroidery floss.
Use one or two strands for very small details and more strands for thicker sections.
Thread your embroidery needle.
Avoid using very long pieces of thread because they can become tangled.
Step 4: Outline the Bee
Start by outlining the body with black embroidery floss.
Backstitch is a good choice for the outline.
Bring the needle up through the fabric.
Insert it back down a short distance away.
Bring it up again and continue following the drawn line.
Keep your stitches small, especially around the curves.
Step 5: Stitch the Bee’s Head
Use black thread to outline the head.
You can leave the inside empty or fill it with small black stitches.
For a cute cartoon-style bee, you can make the head slightly larger.
Step 6: Add the Yellow Stripes
Switch to yellow embroidery floss.
Fill the bee’s body with yellow sections.
You can use satin stitch to fill the small stripes.
Make the stitches close together and follow the shape of the body.
For an easier version, use yellow backstitch or running stitch to create horizontal stripes instead of filling the entire body.
Step 7: Add the Black Stripes
Switch back to black thread.
Add two or three horizontal stripes across the yellow body.
Backstitch is simple and works well for this step.
Make sure the stripes follow the curve of the body.
The contrast between yellow and black will make the bee easy to recognize.
Step 8: Embroider the Wings
Choose white, pale blue, or another light color for the wings.
Outline each wing with backstitch.
For a simple bee, you can leave the wings unfilled.
If you want more texture, use satin stitch to fill the wings with light-colored thread.
You can also add a few small running stitches inside each wing to suggest wing details.
Step 9: Add the Antennae
Use black embroidery floss for the antennae.
Backstitch works well for these thin lines.
Make each antenna slightly curved.
Because the antennae are small, use fewer strands of thread and tiny stitches.
Step 10: Add the Face
Give your bee a cute face using simple embroidery.
You can add:
- Two small eyes
- A tiny smile
- Small cheeks
French knots can create tiny eyes.
Use backstitch for a small smile.
For children or projects intended for very young users, embroidered facial features are preferable to loose beads or buttons.
Step 11: Add the Bee’s Legs
Use black embroidery floss to create six small legs.
Keep them simple.
You can use backstitch or individual straight stitches.
If your bee is very small, you can skip the legs completely.
The body, wings, stripes, and antennae are enough to make the design recognizable.
Step 12: Add a Flower
A flower beside the bee can make the embroidery more interesting.
Use green thread for the stem.
Add a few leaves using green embroidery floss.
Then use pink, purple, yellow, or red thread for the flower petals.
Simple chain stitches or satin stitches work well for small flowers.
Step 13: Add Tiny Decorative Details
You can create a small garden scene around your bee.
Try adding:
- Tiny flowers
- Leaves
- Dots
- Small hearts
- Stars
- Grass
- More bees
Keep the surrounding details smaller than the main bee so the design remains easy to see.
Easy Embroidery Stitches for a Small Bee
You only need a few basic stitches.
Backstitch
Use backstitch for the bee outline, stripes, antennae, and legs.
Running Stitch
Use running stitch for simple wing details and decorative lines.
Satin Stitch
Satin stitch is useful for filling the yellow body sections or wings.
French Knots
French knots can create tiny eyes, flower centers, or decorative dots.
Chain Stitch
Chain stitch works well for flower stems, curved borders, and decorative details.
How to Make a Cute Cartoon Bee
For a playful bee design, make the body slightly rounder.
Use bright yellow thread and thick black outlines.
Add large embroidered eyes and a small smile.
You can also give the bee rosy cheeks using pink embroidery floss.
Surround it with colorful flowers to create a cheerful children’s design.
Where to Use Small Bee Embroidery
A small bee design can be added to many handmade projects.
Try embroidering it on:
- Tote bags
- Pencil cases
- Fabric wallets
- Aprons
- Pillow covers
- Clothing
- Fabric bookmarks
- Hand-sewn pouches
- Kitchen towels
- Children’s room decorations
Several tiny bees can also create a repeating pattern.
Bee and Flower Embroidery Design
For a larger project, create a simple garden scene.
Place one or two bees among flowers.
Use green thread for stems and leaves.
Add different colored flowers around the design.
You can use French knots for flower centers and chain stitch for curved stems.
This makes a beautiful spring or summer-inspired embroidery.
Tips for Beginners
Start with a larger bee before attempting a very tiny design.
Use a washable fabric marker to create clear guidelines.
Choose a small number of colors.
Use short lengths of thread to prevent tangling.
Keep your stitches small around curves.
Pull the thread gently rather than tightly.
Practice unfamiliar stitches on scrap fabric before working on the final design.
Common Mistakes to Avoid
Making the Bee Too Small
Extremely tiny designs can be difficult for beginners.
Start with a bee that is large enough to see and stitch comfortably.
Using Too Much Thread
Long thread can become tangled.
Work with manageable lengths.
Pulling the Thread Too Tightly
Excessive tension can make the fabric pucker.
Adding Too Many Details
A simple bee can look beautiful without lots of tiny details.
Forgetting to Secure the Thread
Secure the thread at the back when finishing each section.
A Simple Bee Embroidery Project
For your first project, keep the design easy.
Draw a small oval bee with:
- A black outline
- Yellow body sections
- Black stripes
- Two light-colored wings
- Black antennae
- Two embroidered eyes
- A tiny smile
Once the bee is finished, add one or two flowers beside it.
This simple design is enough to create a charming piece of handmade embroidery.
Final Thoughts
Embroidering a small bee is a delightful project for beginners. It combines simple shapes with bright colors and allows you to practice several basic embroidery stitches.
Start with backstitch for the outline, use yellow and black thread for the body, and add light-colored wings and small facial details. As your skills improve, experiment with flowers, leaves, garden scenes, and different bee designs.
A tiny embroidered bee can turn an ordinary piece of fabric into something cheerful and unique. With a little patience and creativity, you can use this simple design to personalize clothing, bags, pillows, accessories, and handmade gifts.
