
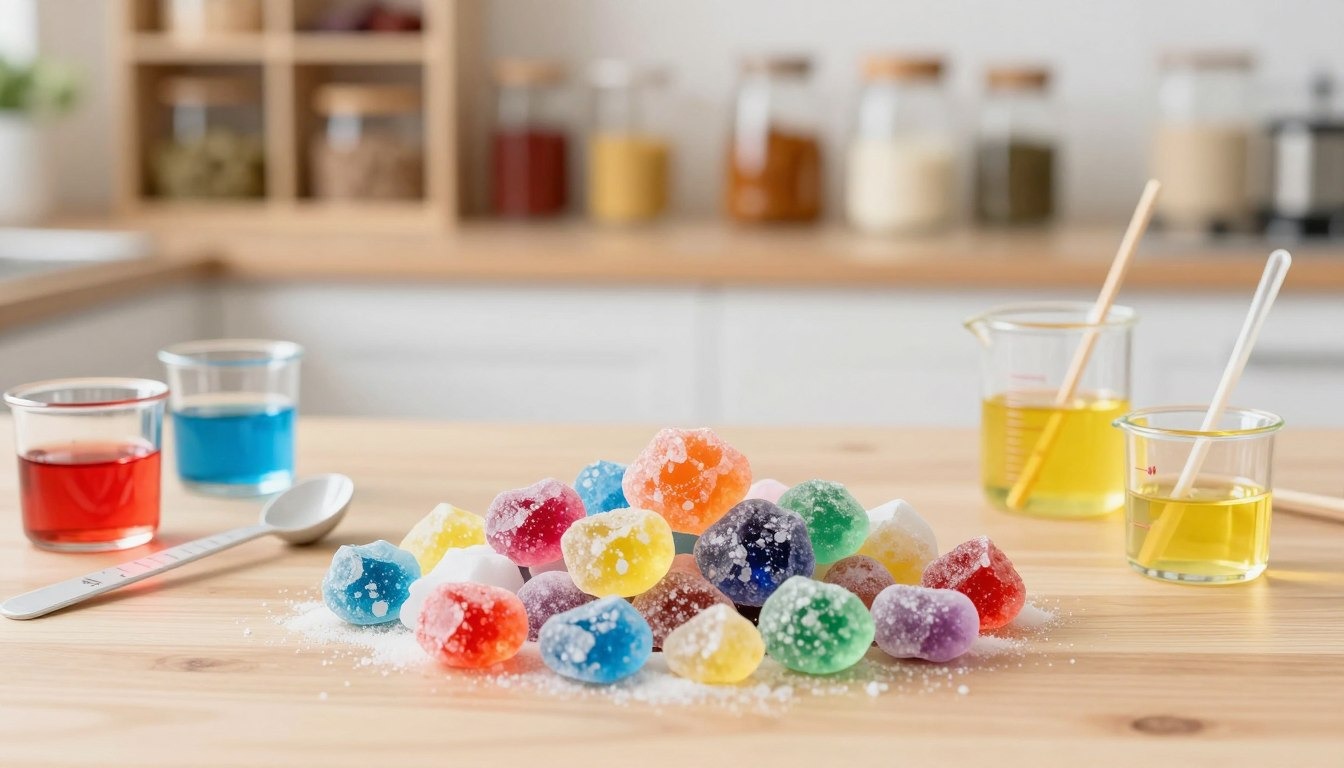
Welcome to the world of chemistry, where science and creativity meet in your kitchen. Doing a Baking Soda Crystal Experiment is a great way to learn about molecules and see amazing results.
This easy project lets you make beautiful diy baking soda crystals with things you have at home. You’ll see how solutions can become supersaturated and watch crystals grow.
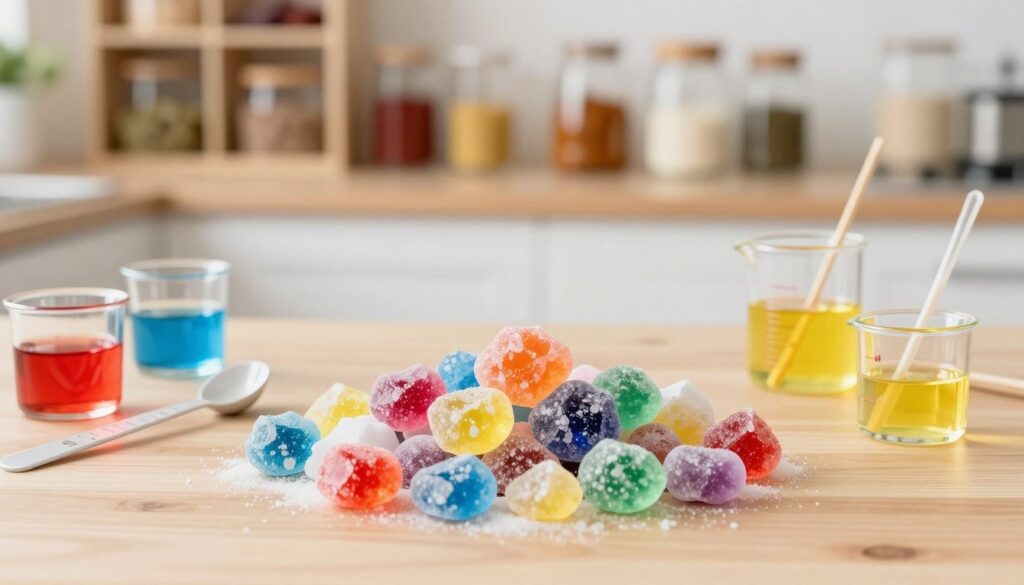
Seeing these chemical reactions up close is very educational for everyone. Get ready to turn simple ingredients into a beautiful science project that shows the wonders of nature.
Key Takeaways
- Learn the basic ideas of chemical saturation.
- Find out how to use kitchen items for science.
- Watch the growth of unique mineral shapes.
- Practice patience and observation by doing it yourself.
- Learn the science behind colorful, geometric shapes.
Understanding the Science Behind Crystal Growth
To master your baking soda crystal science project, you need to know the science. It’s not magic, but a clear show of solubility and bonding. Watching these changes lets you see the amazing world of chemistry up close.
The Role of Supersaturated Solutions
The key to crystal growth with baking soda is a supersaturated solution. Water can only hold so much solute at room temperature. Heating the water lets it dissolve more baking soda than usual.
When the water cools, it becomes unstable. It holds more solute than it can keep. This forces the baking soda to precipitate out of the liquid. As it cools, the molecules bond, forming solid shapes.
How Baking Soda Molecules Arrange Themselves
When the solution is saturated, molecules start to arrange in a repeating geometric pattern. This is called crystallization. It’s how tiny particles form a solid structure.
Each molecule lines up to save energy and stay stable. As more molecules join, the crystals grow. Knowing how molecules arrange is key for a successful baking soda crystal project.
Essential Materials for Your Baking Soda Crystal Experiment
Starting your home lab is easy with the right baking soda crystal experiment materials. Choose top-quality stuff to avoid cloudy crystals. Getting everything ready right is key to great results.
Gathering Your Household Supplies
First, grab pure baking soda and distilled water. Distilled water is key because it doesn’t have tap water’s minerals. You’ll also need a clean glass jar or container.
Don’t forget a stirring spoon, yarn or pipe cleaner, and a pencil. Make sure all tools are clean to avoid mess in your mix.
Selecting the Right Food Coloring for Vibrant Results

Coloring is the fun part. Use liquid food coloring for a perfect mix. Gel-based dyes can be too thick and ruin your crystal’s edges.
Tips for Achieving Deep, Saturated Colors
For bright colors, add lots of dye. Use warm water to mix it well. Be consistent to see how different colors look.
| Material | Recommended Type | Impact on Growth |
| Baking Soda | Pure Sodium Bicarbonate | High purity ensures clear crystals |
| Water | Distilled | Prevents mineral contamination |
| Coloring | Liquid Food Dye | Provides vibrant, uniform saturation |
Preparing Your Supersaturated Solution
Creating a supersaturated solution is key to a great project. This liquid is the base of your experiment. Following the right steps for baking soda crystals makes your product look good and work well.
Measuring Water and Baking Soda Ratios
When mixing, being precise is important. Aim for three tablespoons of baking soda per cup of hot water for a supersaturated solution.
Too little powder means your solution won’t form crystals. Too much can make it cloudy and messy. Always use a standard measuring spoon for consistent ratios.
Heating the Mixture for Maximum Solubility
Heating water lets it hold more solute than at room temperature. Start by heating your water almost to boiling on the stove or in a microwave-safe container.
Slowly add the baking soda while stirring until it dissolves. When a bit of powder settles at the bottom, you’ve hit the saturation point. This is when your crystals will start to grow.
Safety Precautions When Handling Hot Liquids
Be careful with near-boiling water to avoid burns. Wear heat-resistant gloves or use a thick towel when moving your container.
Keep your workspace clean to avoid spills. If you’re working with kids, adult supervision is mandatory when the mixture is hot. Safety first lets you enjoy the science of crystal formation.
Setting Up the Crystal Growth Environment
Creating a stable space is key for great results. By following the right steps for baking soda crystals, you keep the process smooth. A calm area lets the molecules arrange neatly.
Choosing the Best Containers for Growth
The right container is crucial for your crystals. Pick a glass jar with a wide mouth for easy access. A clear glass lets you watch your experiment grow.
| Container Type | Pros | Cons |
| Glass Mason Jar | Durable and clear | Heavy |
| Plastic Cup | Lightweight | Can tip easily |
| Ceramic Bowl | Very stable | Opaque |
Using Yarn or Pipe Cleaners as Nucleation Sites
Nucleation sites are where crystals start. A rough surface helps baking soda molecules attach. Yarn or pipe cleaners are great for a dense look.
Preparing Your String or Pipe Cleaner Base
Cut a piece of string or pipe cleaner to fit your container. Make sure it doesn’t touch the bottom or sides. You can twist the pipe cleaner for a fun shape.
“Patience is the companion of wisdom, and in the world of chemistry, it is the key to unlocking the beauty of crystal growth.”
— Anonymous Scientist
Positioning Your Setup for Optimal Stability
Place your setup in a quiet spot. Avoid areas with vibrations. A still spot for a few days will give you the best results.
Monitoring the Crystal Formation Process
Once your setup is ready, the magic starts. Watch your experiment closely to see the baking soda crystal formation process unfold. Making small changes can greatly improve your results.
What to Expect During the First 24 Hours
In the first day, you’ll see tiny, needle-like structures forming. This is the start of crystal growth with baking soda. If the liquid looks cloudy, it’s working right.
Keep the container still. Any movement can mess up the crystals. Place it in a quiet spot where it won’t be disturbed.
Managing Evaporation Rates for Larger Crystals
The speed of evaporation affects crystal size. Fast evaporation leads to small, powdery crystals. Adjust the airflow to slow it down.
If the liquid evaporates too fast, cover the container. Use a piece of paper or a light cloth. This slows evaporation and helps crystals grow bigger and clearer.
Troubleshooting Common Issues Like Mold or Lack of Growth
Experiments don’t always go as planned. Mold on the surface means it’s too humid. If growth stops, your solution might not be saturated enough.
| Issue | Likely Cause | Recommended Action |
| Mold growth | High humidity | Discard and restart in a drier area |
| No growth | Low saturation | Add more baking soda and reheat |
| Tiny, powdery crystals | Fast evaporation | Cover container to slow airflow |
Stay alert to keep your crystal growth with baking soda on track. Science is about trying and learning. Each step brings you closer to success.
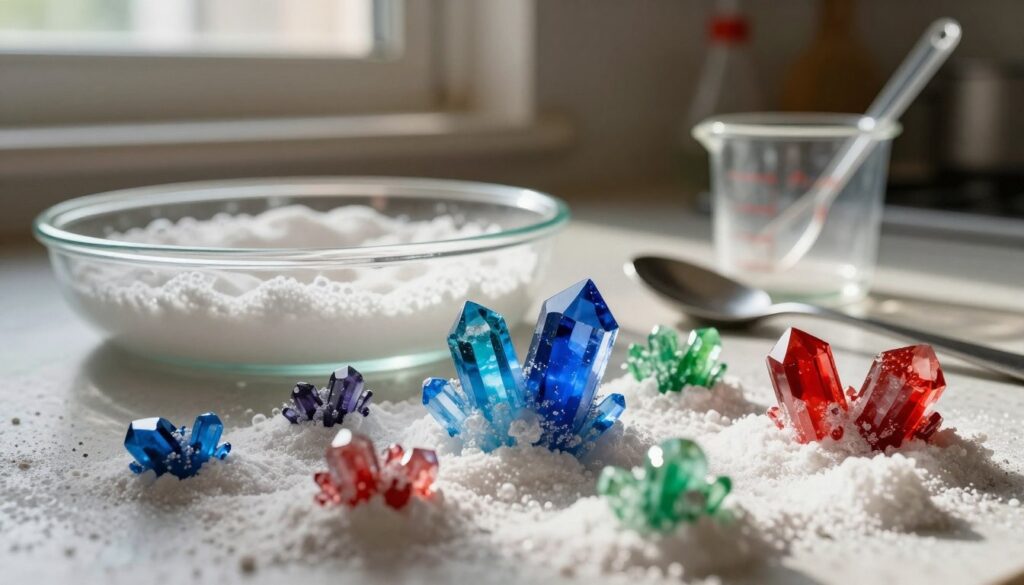
Analyzing Your Baking Soda Crystal Experiment Results
Looking at your baking soda crystal experiment results helps you learn about saturation. After the liquid dries up, you can dive into your project. This lets you see how different things affected your crystals.
Examining Crystal Structure and Clarity
First, look at how your crystals look. Use a magnifying glass to see the geometric patterns and how clear they are.
Place your container in a bright light. This will show how the crystals bend light. You might see some parts are dark, while others are very clear. This usually means the evaporation was slower.
Comparing Different Color Concentrations
If you used different amounts of food coloring, now’s the time to compare. More dye usually means brighter colors in your crystals.
See if the dye changed how big your crystals grew. Too much dye can affect how fast they grow or their texture.
Documenting Your Findings for Future Projects
Writing down what you see is important for any scientist. Note the dye amounts, room temperature, and how long it took for each sample to grow.
This helps you remember what worked and what didn’t. It lets you improve your next experiment.
Creative Ways to Display Your DIY Baking Soda Crystals
Turning your lab work into home decor is rewarding. After making diy baking soda crystals, you’ll want to keep them perfect. Taking good care lets you enjoy your hard work for a long time.
Preserving Your Crystals for Long-Term Display
Be very careful with your crystals once they dry. A light spray of clear acrylic can seal the surface. This keeps moisture out and helps your crystals stay intact.
Incorporating Crystals into Home Decor Projects
Make your baking soda crystal science project a beautiful centerpiece. Use a glass cloche or shadow box to protect them. These containers also make your crystals look like art. Adding small LED lights can make them glow, showing off their beauty.
Sharing Your Science Project with Others
Sharing your work can spark curiosity in others. You could make a photo album or a video. Joining online science groups lets you share your success and learn from others.
| Display Method | Best For | Protection Level |
| Glass Cloche | Centerpieces | High |
| Shadow Box | Wall Art | Very High |
| Open Tray | Temporary Study | Low |
Conclusion
Your journey into crystal chemistry shows how simple items become complex. Now, you know how to make art from baking soda.
Success in these projects needs patience and precision. Changing water temperature or how saturated it is can change your art. You learn about science by seeing these changes.
Try different food coloring brands like McCormick to see how they affect your crystals. You can also try new shapes or bigger containers. Each project teaches you about molecules and how they evaporate.
Share your work with friends or family to get them interested in chemistry. Your hard work turns a kitchen into a lab. Keep trying new things to learn more about DIY science.
FAQ
What is the fundamental science behind a baking soda crystal science project?
The science is simple. First, heat distilled water to make it hold more baking soda than usual. Then, as it cools and water evaporates, the baking soda starts to form crystals. These crystals grow in repeating patterns.
Which baking soda crystal experiment materials are necessary for the best results?
For clear crystals, use Arm & Hammer baking soda and distilled water. Glass containers like Ball Mason jars are best. Add McCormick food coloring for color. Use Crayola pipe cleaners or cotton yarn for the crystals to start growing.
What are the primary steps for baking soda crystals to begin growing?
Start by boiling water and adding baking soda until it can’t dissolve more. Then, pour the solution into jars and add your yarn or pipe cleaner. Place it in a quiet, still spot for the crystals to grow.
How can I ensure my diy baking soda crystals have deep, vibrant colors?
Use lots of food coloring, like Wilton gel or McCormick liquid dyes. Add it to the hot solution for even color. Remember, the crystals will look a bit lighter than the liquid once they dry.
When should I expect to see my first baking soda crystal experiment results?
You’ll see growth in 24 to 48 hours. But for the best results, wait about a week. This lets the crystals grow bigger and clearer.
What should I do if my experiment shows no signs of crystal growth?
If there’s no growth, your solution might not be saturated enough. Reheat it and add more baking soda. Also, check your nucleation sites. If they’re too smooth, the crystals can’t form.
How can I preserve my finished crystals for long-term display?
After they’re dry, seal them with a clear spray like Krylon Crystal Clear. This keeps them from getting damaged by humidity or crumbling.