
Changing your home’s look starts with soft, warm light. Many people find making pearled candle wax at home a great way to improve decor. It lets you create beautiful pieces that show off your style.

Working with diy candle wax opens up a world of creativity. You can make simple or colorful designs. Our candle making guide helps you learn the basics.
Using granulated wax is fun and easy. It’s rewarding to make professional-looking candles at home.
Key Takeaways
- Granulated wax gives a modern, textured look for any home decor project.
- Mastering basic techniques allows for complete creative freedom in design.
- The process is accessible for beginners and experienced crafters alike.
- Proper preparation of raw materials is essential for a high-quality finish.
- Customizing your projects adds a personal touch to your living environment.
The Aesthetic and Practical Appeal of Pearled Candle Wax
Modern interior design loves clean lines and flexible textures. Granulated wax fits this bill perfectly. It makes candle making more precise and adaptable than before. This change lets decorators create a more minimalist look.
Why Granulated Wax is Trending in Modern Decor
Granulated wax is popular for its versatility and personalization. It lets you use any heat-safe vessel, from old glassware to new ceramic bowls. This makes it perfect for homes where style changes often.
The wax’s texture also adds a fancy look to any room. It lights up in a special way, giving a soft glow. Many designers see pearled candle making as key for keeping spaces tidy and stylish.
“The beauty of granulated wax lies in its ability to transform a simple container into a bespoke lighting piece in seconds. It is the ultimate tool for the modern minimalist.”
Benefits of Using Pearled Wax Over Traditional Pillars
Granulated wax is easier to care for than traditional pillar candles. It doesn’t have messy wax pools or the hassle of melting down old pillars.
If a candle burns down, just add more granules. This way, your decor stays fresh without the waste of old wax.
| Feature | Traditional Pillar | Pearled Wax |
| Customization | Fixed Shape | Infinite Shapes |
| Maintenance | Difficult to Refill | Instant Refill |
| Aesthetic | Classic/Formal | Modern/Minimalist |
| Waste | High | Low |
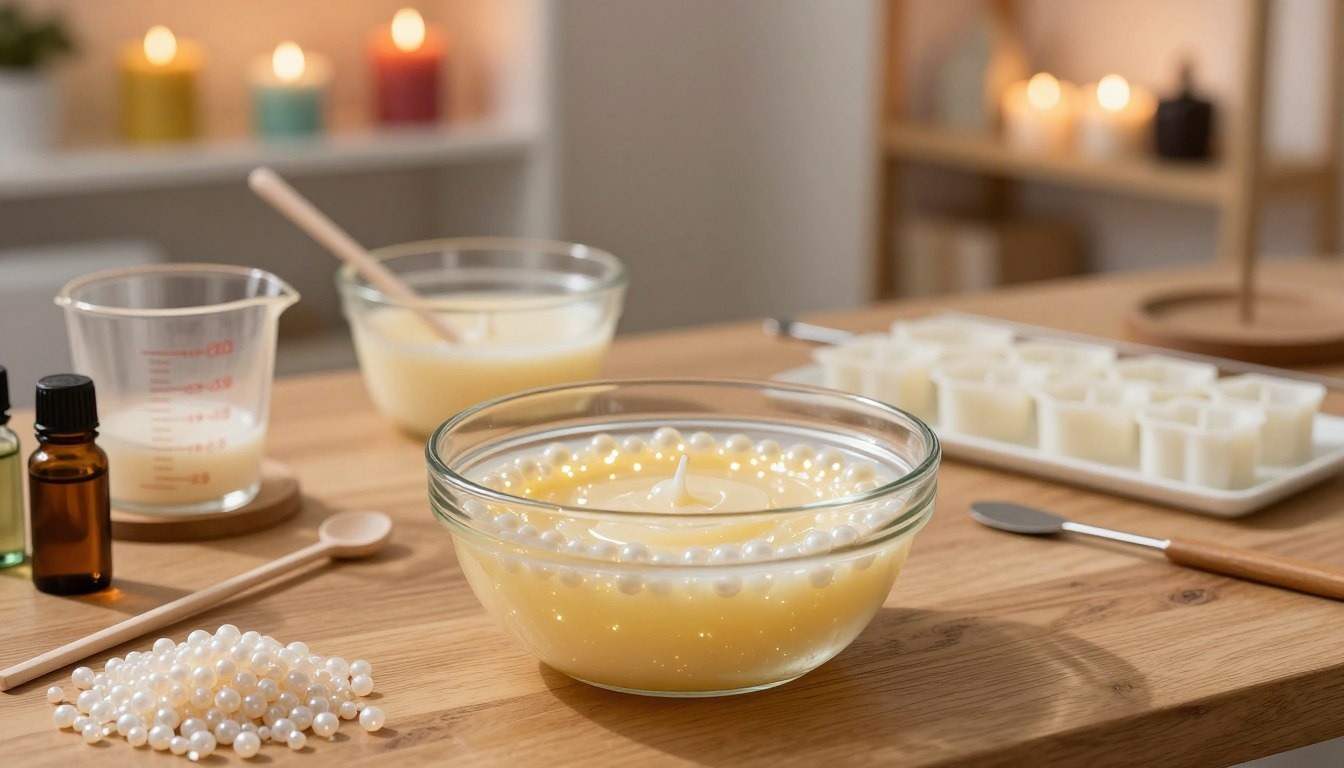
Essential Materials and Safety Precautions for Your Workspace
Learning candle making starts with the right materials and a safe work area. A clean space helps you focus on your craft. It ensures your candle wax tutorial results are top-notch.
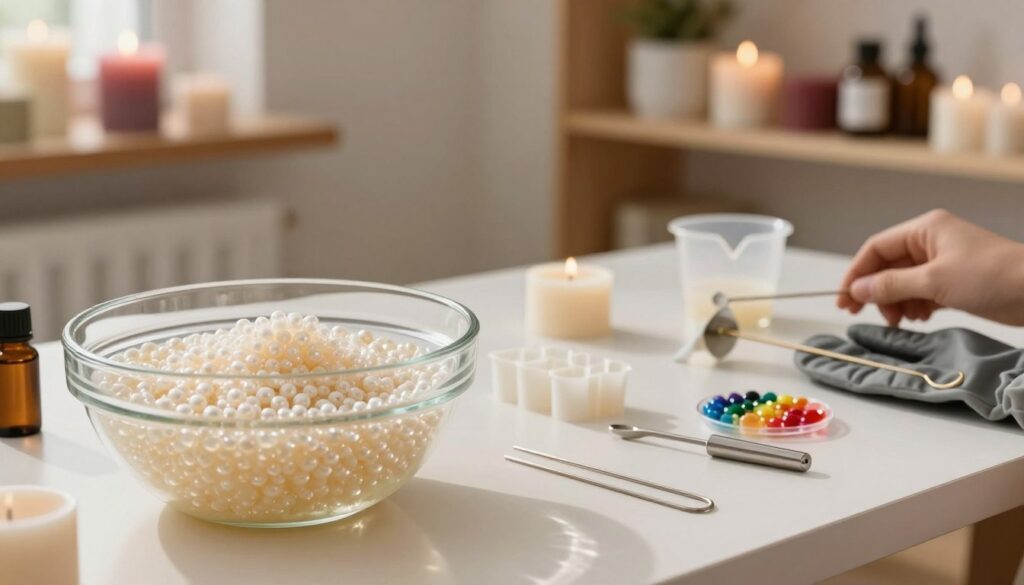
Selecting the Right Type of Wax Beads
The quality of your candles depends on the wax you choose. For pearled candles, use vegetable waxes that are made into beads. These beads make your candles burn well and look nice.
Choose sustainably harvested soy or palm wax for your supplies. These waxes hold fragrance well and look great. See the table below for wax type differences.
| Wax Type | Melting Point | Best Use |
| Soy Wax Beads | 120°F – 130°F | Eco-friendly projects |
| Palm Wax Beads | 140°F – 150°F | Hard, crystalline finish |
| Paraffin Beads | 130°F – 140°F | Strong scent throw |
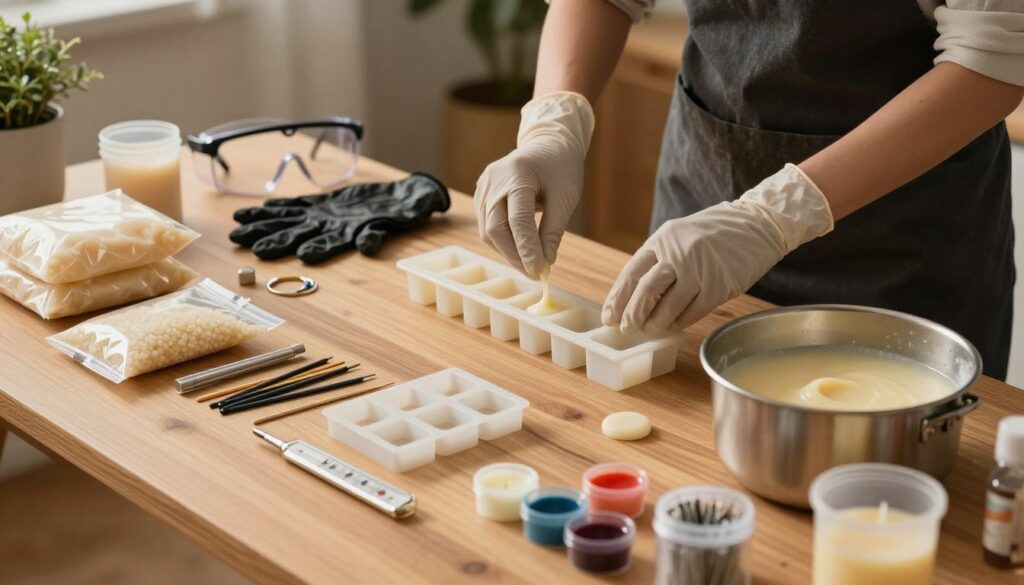
Safety Gear and Workspace Preparation
Clear your workspace of flammable stuff and mess. Wear heat-resistant gloves and safety glasses to avoid burns. A clean area helps you work with wax beads better.
Fire Safety and Ventilation Requirements
Good air flow is key for candle wax tutorials. Work in a well-ventilated area or use a good air filter. Never leave your wax melting station alone. Keep a fire extinguisher nearby.
Safety protocols are crucial for candle making. A clean workspace and following safety rules protect you and your home. Staying safe makes your creative work more enjoyable and productive.
How to Make Pearled Candle Wax at Home: A Step-by-Step Guide
Making pearled candle wax at home lets you customize your projects. You can pick the melting points and textures you want. This is different from what you find in stores.
Preparing the Raw Wax Material
To start making homemade candle wax, pick high-quality paraffin or soy wax flakes. Make sure your workspace is clean. Small particles can mess up your wax.
Always measure your wax carefully before melting. Starting with the same amount is key to a good batch.
The Process of Creating Uniform Granules
This candle wax tutorial shows how to turn liquid wax into solid beads. You want beads that burn evenly and look professional.
Temperature Control for Perfect Texture
Keeping the wax at the right temperature is crucial. If it’s too hot, you won’t get granules. If it’s too cool, it will harden too fast.
Keep the wax at a steady temperature just above its melting point. A digital thermometer helps you stay in the right range.
Cooling and Sifting Techniques
After preparing the wax, cool it quickly to form crystals. Then, use a fine-mesh sieve to sort the granules by size.
This makes your product uniform and dust-free. You can melt any big chunks again to save time.
| Wax Type | Melting Point | Best Use |
| Soy Wax | 120°F – 130°F | Eco-friendly candles |
| Paraffin Wax | 130°F – 145°F | Strong scent throw |
| Beeswax | 144°F – 147°F | Natural aesthetic |
Adding Fragrance and Color to Your Pearled Wax
Adding scent and color is the last step in your candle wax recipe. Add fragrance oils when the wax is liquid, just before making granules.
“The secret to a perfect candle lies in the balance of temperature and the quality of your additives.”
Master Chandler
Mix the color and scent gently. This step-by-step candle wax tutorial will help you make beautiful, functional, and personalized pearled wax.
Creative Design Techniques for Granulated Candles
Once your wax is ready, the fun starts with your containers. Learning to use diy candle wax turns simple glass into fancy decor.
Layering Colors for Visual Impact
Adding depth to candles is easy with layered colors. Pour different shades in bands or tilt for cool patterns.
Here are some tips for great designs:
- High-contrast colors make layers stand out.
- Mix two colors for a gradient in the middle.
- Tap the container to level the layers.
Incorporating Natural Elements and Botanicals
Adding organic textures makes your pearled candle making look pro. Try dried flowers, herbs, or cinnamon bark between wax layers.
Place botanicals near the glass edge. This makes a pretty silhouette when lit, keeping the center clear for the wick.
Choosing the Right Wicks for Granulated Wax
Finding the right wick is key for a good burn. Granulated wax needs a wick that fits its melt pool size.
Calculating Wick Size for Optimal Burn
Match the wick to your container size for best burn. Here’s a guide for your diy candle wax projects:
| Container Diameter | Recommended Wick Type | Burn Performance |
| 2 to 3 inches | Small Cotton Core | Steady and Clean |
| 3 to 4 inches | Medium Wood Wick | Wide Melt Pool |
| 4+ inches | Double Wick Setup | Even Consumption |
Good pearled candle making needs patience with wick placement. Center your wick well before adding wax for a stable flame.
Troubleshooting Common Issues with Pearled Wax
Working with loose wax is fun but can be tricky. Even with a good homemade candle wax recipe, things can go wrong. Knowing how to fix these problems helps keep your work looking great.
Preventing Uneven Melting and Tunneling
Tunneling happens when wax burns down the middle, leaving wax on the sides. Make sure your wick is in the middle at the start. Proper wick sizing is key; a small wick can’t melt wax evenly.
To fix tunneling, scrape off excess wax and add it back. Make sure the wax melts fully the first time you light it.
Managing Fragrance Load for Better Scent Throw
Getting a strong scent is all about the right mix of fragrance and wax. Too much oil can ruin the wax. Use a tested candle wax recipe to get it right.
- Always measure fragrance by weight, not volume.
- Let the fragrance mix with the wax for at least 24 hours before lighting.
- Don’t use more fragrance than the wax can handle.
Fixing Clumping or Melted Granules
Granulated wax can clump if it gets too hot or humid. If it clumps, gently break it apart with a dry tool. Keep your wax in a cool, dark spot to avoid melting or getting wet.
If the wax melts, you can still use it. Just melt it down to make a regular candle. Keep your homemade candle wax recipe the same and store it well to keep quality high.
Conclusion
Turning raw materials into beautiful home decor takes patience and attention to detail. This guide gives you the basics to improve your craft. Now, you can play with texture and scent to make unique candles.
Every project is a chance to show off your style. Try new things like adding plants or colors to find your unique look. If you forget a step, just look back at this guide.
Getting better at candle making means practicing and using the best materials. Companies like CandleScience or Lone Star Candle Supply have great stuff for you. Your hard work will make each candle a masterpiece.
Show off your candles to others to share ideas. Your growth helps the whole candle-making community. Keep trying new things with granulated wax to see what you can do.
FAQ
How to make pearled candle wax at home that looks professional?
To make pearled candle wax at home, start with quality materials like Cargill NatureWax C-3 or American Soy Organics beads. You need to control the temperature well. This keeps the granules separate and looking good.
Follow a step-by-step candle wax tutorial to learn how to sift and cool the wax. This way, you get that cool “pearled” look that’s popular in home decor.
What are the main benefits of using granulated wax over traditional pillars?
Homemade candle wax in granulated form is very versatile. It doesn’t need a full melt pool to look good, unlike traditional pillars. This makes it perfect for a clean, simple look.You can refill it easily by pouring the granules into a Libbey glass container. Just add a new wick, and it looks like a new candle. No need to melt down old stubs.
What is the ideal candle wax recipe for a long-lasting scent throw?
A good candle wax recipe balances wax base and fragrance. Experts say use 6% to 10% fragrance with premium oils from CandleScience. Add the fragrance when the wax is liquid and ready for granulation.This locks the scent into every pearl, making the candle smell great for a long time.
How do I choose the correct wick for my pearled candle making project?
Choosing the right wick is key for a clean burn. For granulated wax, use wicks like CD Series or Eco Series from Wick It Performance Wicks. The wick size must match the container’s diameter to avoid problems.A good candle wax tutorial will tell you to use a wick bar to hold the wick in place at first.
How can I prevent clumping in my diy candle wax?
Clumping happens when moisture or heat gets to the wax. Keep it in a cool, dry place. Use a stainless steel sifter to break up any clusters.Adding a bit of stearic acid can also help make the wax pearls harder and more distinct, as a candle making guide will suggest.
Can I add color to my granulated wax without melting the entire batch?
Yes, you can add color to your wax using color blocks or liquid dyes from Bramble Berry. This creates stunning visual effects. Once colored, layer the wax in glass vessels for gradients or patterns.This advanced technique is a highlight of any candle wax tutorial, making your candles look like luxury decor.
What safety precautions are necessary for a home candle making guide?
Fire safety and good ventilation are crucial for how to make pearled candle wax at home. Use a double boiler or wax melter like the Presto Kitchen Kettle to avoid heat. Make sure your workspace is safe and has a Class B fire extinuisher nearby.