
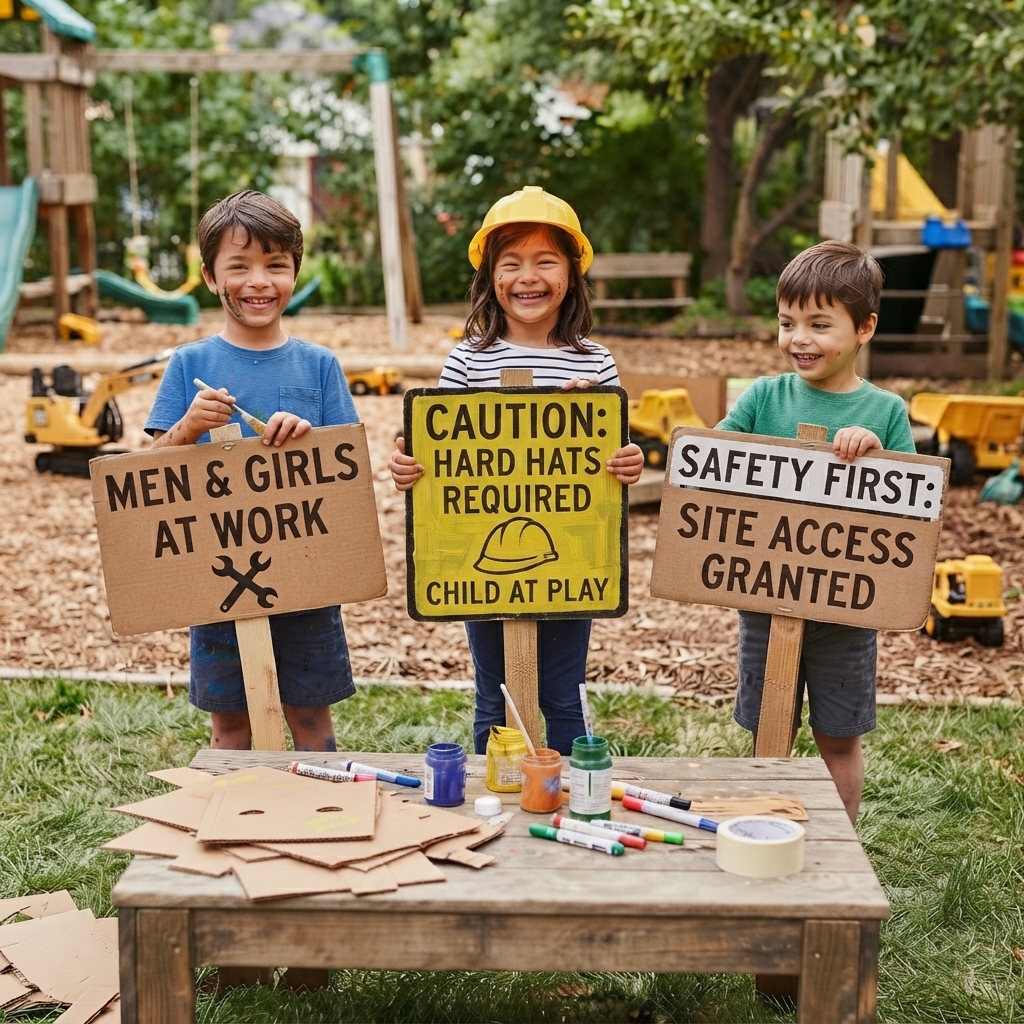
Create Your Own Construction Site Signs!
Have you ever noticed the colorful signs at a construction site? They help workers stay safe, guide vehicles, and show where important work is taking place. Now you can make your own construction site signs from cardboard using simple recycled materials!
This fun craft is perfect for children who enjoy construction vehicles, building projects, and imaginative play. With a little cardboard, paper, and creativity, kids can design realistic signs for a pretend construction site at home or in the classroom.
Why Kids Love This Project
Children love construction-themed crafts because they can build an entire world for their handmade vehicles. Cardboard construction signs make paper bulldozers, dump trucks, cranes, and forklifts even more exciting to play with.
Every child can design different signs using bright colors, symbols, and creative ideas, making each construction site unique.
Materials You’ll Need
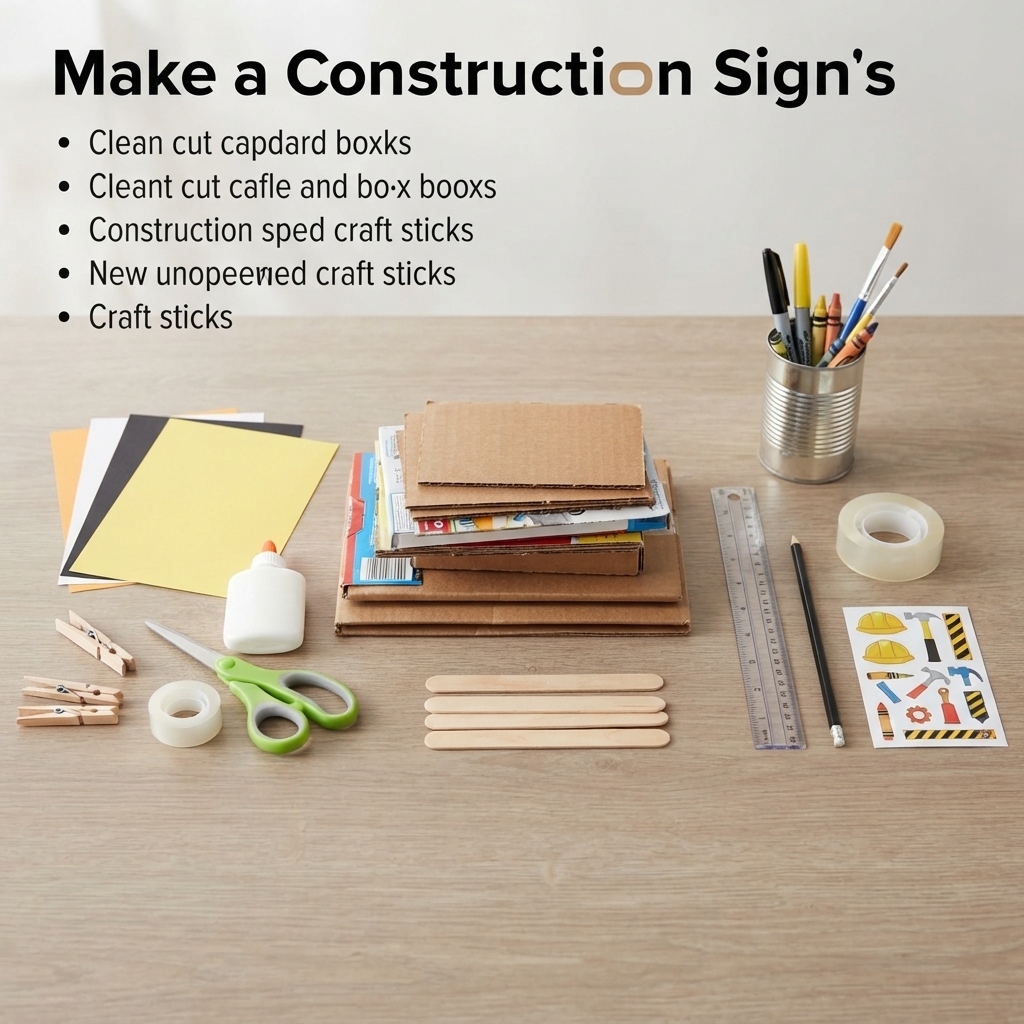
Before you begin, gather these simple supplies:
- Cardboard from cereal boxes or shipping boxes
- Colored construction paper
- Child-safe scissors
- Glue or double-sided tape
- Pencil and ruler
- Markers, crayons, or paint
- Craft sticks or paper straws
- Wooden clothespins (optional)
- Stickers (optional)
- Clear tape for extra strength
Most of these materials can be recycled from around the house, making this project affordable and eco-friendly.
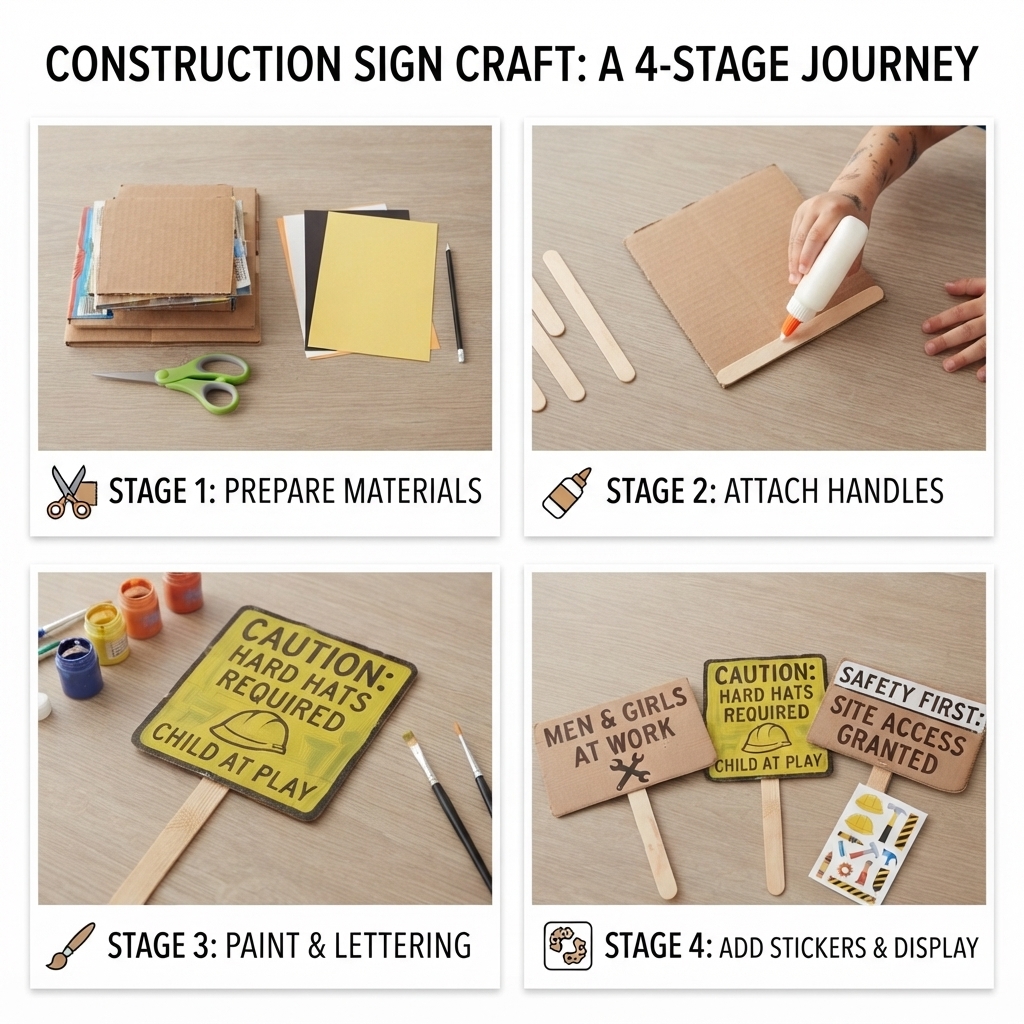
Step 1: Cut the Sign Shapes
Draw different sign shapes onto the cardboard using a ruler and pencil.
Try making:
- Circles
- Squares
- Rectangles
- Triangles
- Diamonds
- Arrows
Carefully cut out each shape using child-safe scissors.
Step 2: Cover the Cardboard
Glue colorful paper onto the front of each sign.
Bright colors like yellow, orange, red, white, and black make the signs easy to see, just like real construction signs.
Step 3: Draw the Symbols
Use markers or crayons to create simple construction symbols, such as:
- Hard hats
- Traffic cones
- Excavators
- Bulldozers
- Cranes
- Safety vests
- Stop symbols
- Arrows
- Roadwork icons
- Building tools
Children can also invent their own fun construction symbols.
Step 4: Add the Sign Posts
Glue each cardboard sign onto a craft stick or paper straw to create a sturdy post.
You can also attach the signs to small cardboard bases so they stand on their own.
Step 5: Decorate Your Construction Site
Now it’s time to bring your construction zone to life!
Children can create signs such as:
- Construction Ahead
- Stop
- Slow
- Road Closed
- Workers at Play
- Hard Hat Area
- Detour
- Keep Out
- Safety First
- Loading Zone
Decorate the signs with bright borders, stickers, and colorful designs.
Fun Ways to Play
After finishing the signs, children can use them to:
- Build a pretend construction site
- Direct toy construction vehicles
- Create safe roadways
- Organize traffic for toy trucks
- Design a miniature city
- Build obstacle courses
- Tell construction stories
- Play with friends
The signs make imaginative play even more realistic and exciting.
Skills Children Develop
This project helps children improve many important skills, including:
- Creativity
- Fine motor skills
- Hand-eye coordination
- Measuring and cutting
- Problem-solving
- Color recognition
- Symbol recognition
- Imaginative thinking
- Teamwork
- Recycling awareness
Turn It into a STEM Activity
Add educational challenges such as:
- Can you design a brand-new construction sign?
- Which sign is easiest to understand?
- Can you organize a safe construction road?
- Can you build matching signs for different vehicles?
- How many signs are needed for a busy construction site?
These activities encourage observation, communication, and logical thinking.
Classroom Extension Ideas
Teachers can expand the activity by asking students to:
- Design their own safety symbols.
- Match signs to different construction vehicles.
- Count how many signs they created.
- Write a short explanation of what each sign means.
- Work together to build a classroom construction zone.
This combines art, language, safety awareness, engineering, and creative thinking in one enjoyable lesson.
Safety Tips
Remember these simple crafting rules:
- Always use child-safe scissors.
- Ask an adult for help with thick cardboard.
- Work on a clean, flat surface.
- Allow glue and paint to dry before playing.
- Handle scissors carefully and store them safely after use.
Build an Entire Construction World
After making your construction signs, continue the fun by creating:
- Paper bulldozers
- Dump trucks
- Forklifts
- Cement mixer trucks
- Tower cranes
- Excavators
- Road rollers
- Cardboard buildings
- Paper traffic cones
- Building blocks made from cardboard
Together, these crafts create an exciting miniature construction site where children can learn, build, and imagine for hours.
Conclusion
Making construction site signs from cardboard is a fun, creative, and educational project that transforms recycled materials into colorful tools for imaginative play. As children design, cut, decorate, and display their signs, they develop creativity, fine motor skills, problem-solving abilities, and an understanding of safety and communication. Best of all, these handmade signs make every paper construction site feel realistic, exciting, and full of adventure.
