
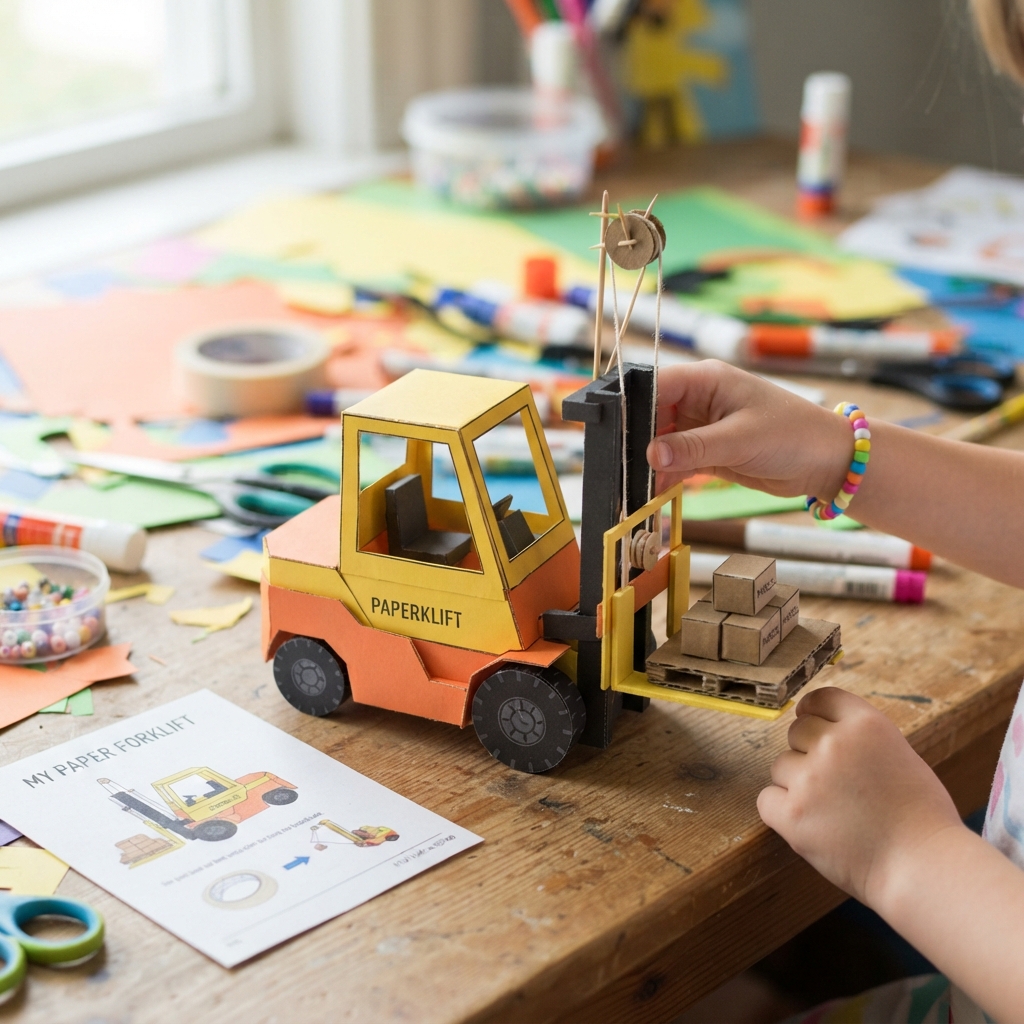
Build Your Own Paper Forklift!
Have you ever seen a forklift lifting heavy boxes in a warehouse or on a construction site? A forklift is a special vehicle that helps move materials safely and quickly. Now you can build your very own paper forklift using simple paper, cardboard, and recycled materials!
This fun craft project is perfect for children at home, in the classroom, or during art activities. As kids cut, fold, glue, and decorate their forklift, they learn about construction vehicles, recycling, and basic engineering while enjoying hours of creative play.
Why Kids Love This Project
Children enjoy making paper vehicles because they can play with them after the craft is finished. A paper forklift can carry small paper boxes, toy blocks, or other lightweight objects, making pretend warehouse and construction games even more exciting.
Every child can choose different colors, decorations, and designs, so each forklift becomes a unique creation.
Materials You’ll Need
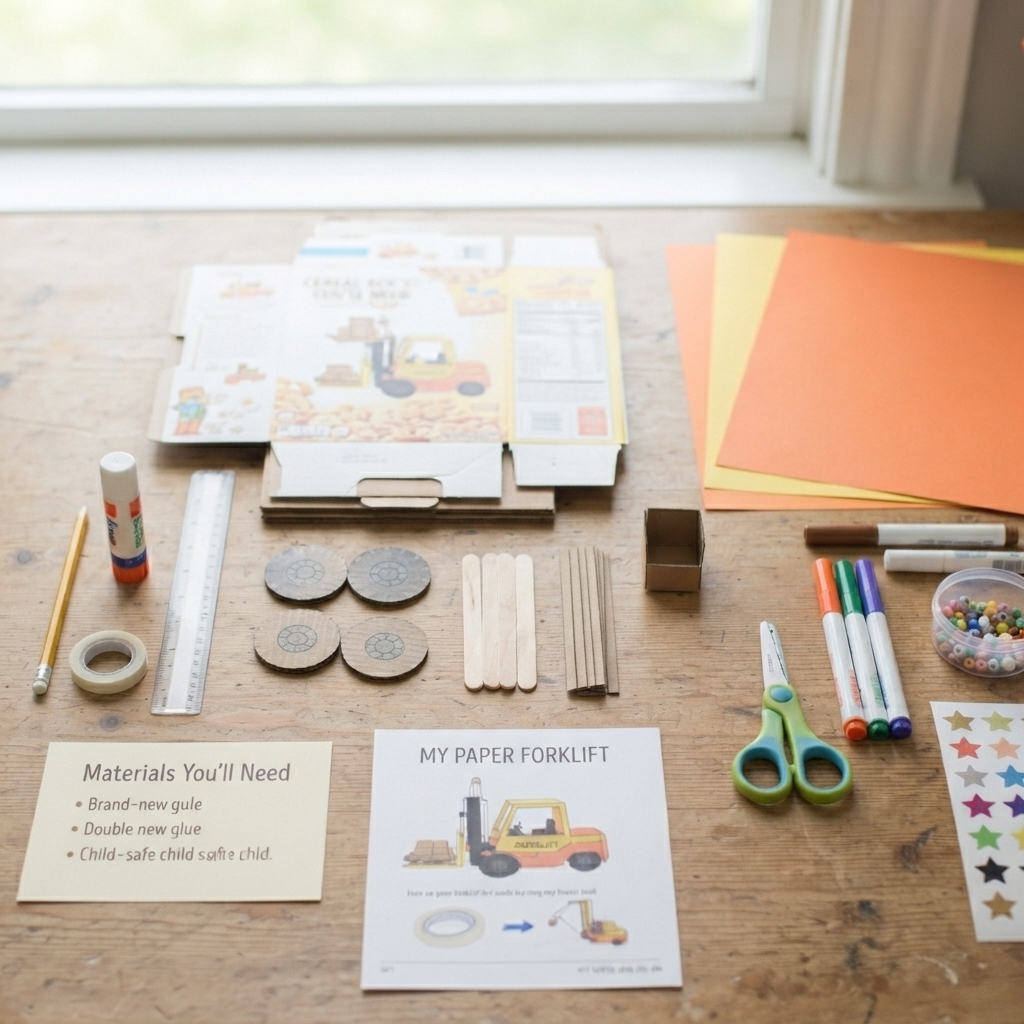
Gather these simple supplies before you begin:
- Cardboard from cereal boxes or shipping boxes
- Colored paper or construction paper
- Child-safe scissors
- Glue or double-sided tape
- Pencil and ruler
- Markers, crayons, or paint
- Four cardboard circles for the wheels
- Craft sticks or paper straws
- Thin strips of cardboard for the lifting forks
- Small cardboard box for the driver’s seat
- Stickers (optional)
Most of these materials can be recycled from around the house, making this project inexpensive and eco-friendly.
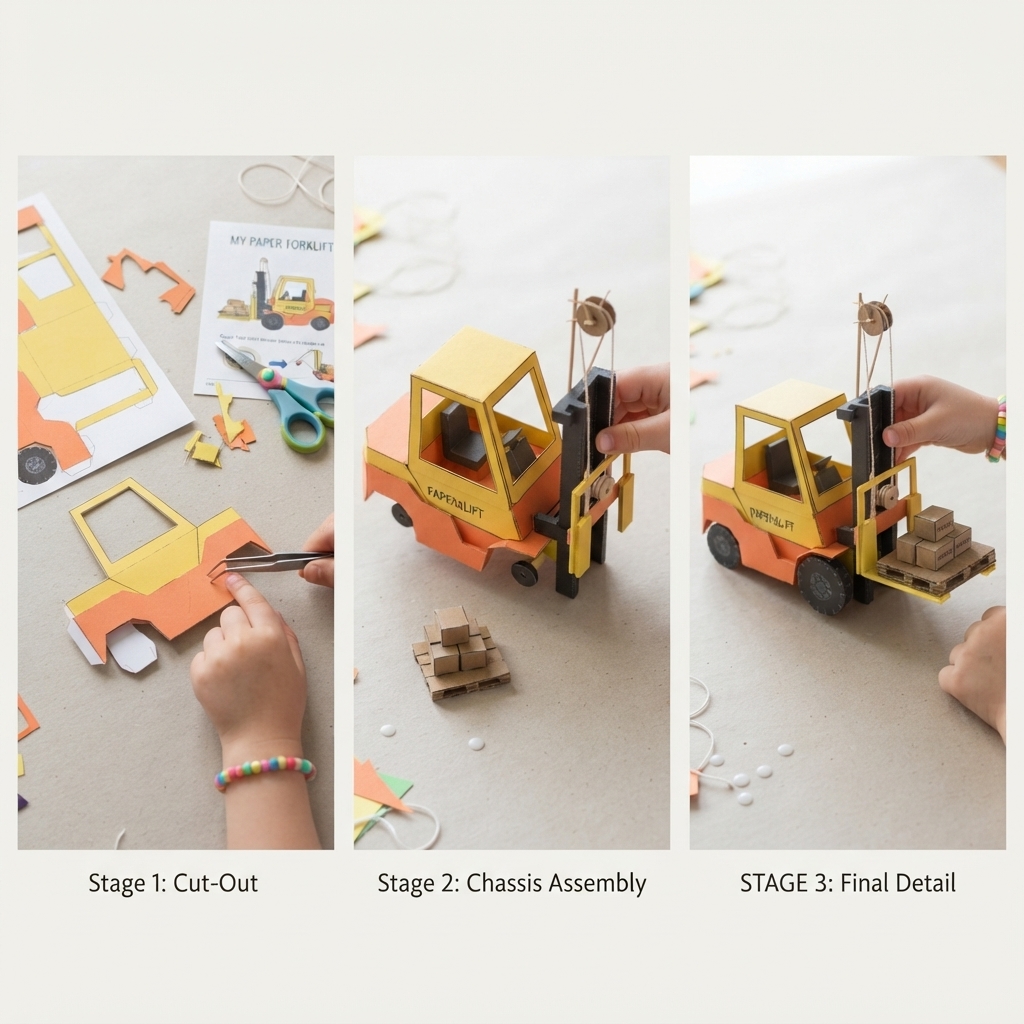
Step 1: Build the Forklift Body
Cut a sturdy rectangle from cardboard to create the base of the forklift.
Fold and glue additional pieces to build the driver’s area. Leave enough space at the front to attach the lifting forks.
Step 2: Make the Forks
Cut two long, narrow strips of cardboard.
Glue them side by side at the front of the forklift so they look like real lifting forks. If you want, reinforce them with an extra layer of cardboard to make them stronger.
Step 3: Add the Lift Frame
Cut two vertical strips of cardboard and glue them behind the forks to create the lifting frame, also called the mast.
Add a small crosspiece at the top to make the frame stronger and give your forklift a realistic appearance.
Step 4: Attach the Wheels
Cut four matching circles from thick cardboard.
Decorate them with black markers and draw wheel hubs. Attach them with paper straws or craft sticks as axles, or glue them directly to the body if you prefer a simple display model.
Step 5: Decorate Your Forklift
Now it’s time to make your vehicle look amazing!
Children can decorate their forklift with:
- Bright yellow or orange paint
- Black safety stripes
- Company logos
- Warning signs
- Windows
- Headlights
- Number stickers
- Stars
- Smiley faces
- Their own name
Every forklift becomes a colorful and unique construction vehicle.
Fun Pretend Play Ideas
Once your forklift is finished, children can use it to:
- Lift paper boxes
- Carry small building blocks
- Move toy supplies
- Load a paper dump truck
- Help a paper crane at a construction site
- Organize a pretend warehouse
- Build a cardboard city
- Deliver materials to paper buildings
Pretend play encourages creativity, storytelling, and teamwork.
Skills Children Develop
Making a paper forklift helps children improve many valuable skills, including:
- Creativity
- Fine motor skills
- Hand-eye coordination
- Measuring and planning
- Problem-solving
- Engineering awareness
- Patience
- Concentration
- Imaginative thinking
- Recycling awareness
Turn It into a STEM Challenge
Make the project even more exciting with simple engineering activities:
- Can your forklift carry three paper boxes?
- How can you make the forks stronger?
- Which wheel size rolls the best?
- Can you design a taller lifting frame?
- What changes make the forklift more stable?
These challenges encourage children to test ideas, solve problems, and think like young engineers.
Classroom Extension Ideas
Teachers can expand this activity by asking students to:
- Measure the height and length of their forklift.
- Count all the parts they used.
- Label the wheels, mast, forks, and driver’s seat.
- Write a short story about a busy day in a warehouse.
- Work together to build a paper warehouse filled with handmade vehicles.
This project combines art, science, engineering, math, and language learning in one enjoyable lesson.
Safety Tips
Keep crafting safe by following these simple rules:
- Always use child-safe scissors.
- Ask an adult for help when cutting thick cardboard.
- Work on a clean, flat surface.
- Allow glue and paint to dry completely before playing.
- Only lift lightweight paper or cardboard objects with the finished forklift.
Build a Complete Construction and Warehouse Fleet
After finishing your forklift, continue the fun by creating more paper vehicles, including:
- Dump trucks
- Bulldozers
- Excavators
- Cement mixer trucks
- Tower cranes
- Road rollers
- Handcarts
- Traffic signs
- Cardboard buildings
- Paper pallets and storage boxes
Together, these projects create an exciting miniature construction site and warehouse where children can enjoy endless imaginative adventures.
Conclusion
A paper forklift project is a fun, creative, and educational craft that transforms simple recycled materials into an exciting working vehicle. As children cut, fold, glue, and decorate their forklift, they develop creativity, fine motor skills, engineering awareness, and confidence. Best of all, the finished forklift provides hours of imaginative play, inspiring young builders to explore, invent, and create their own busy construction and warehouse world.
