
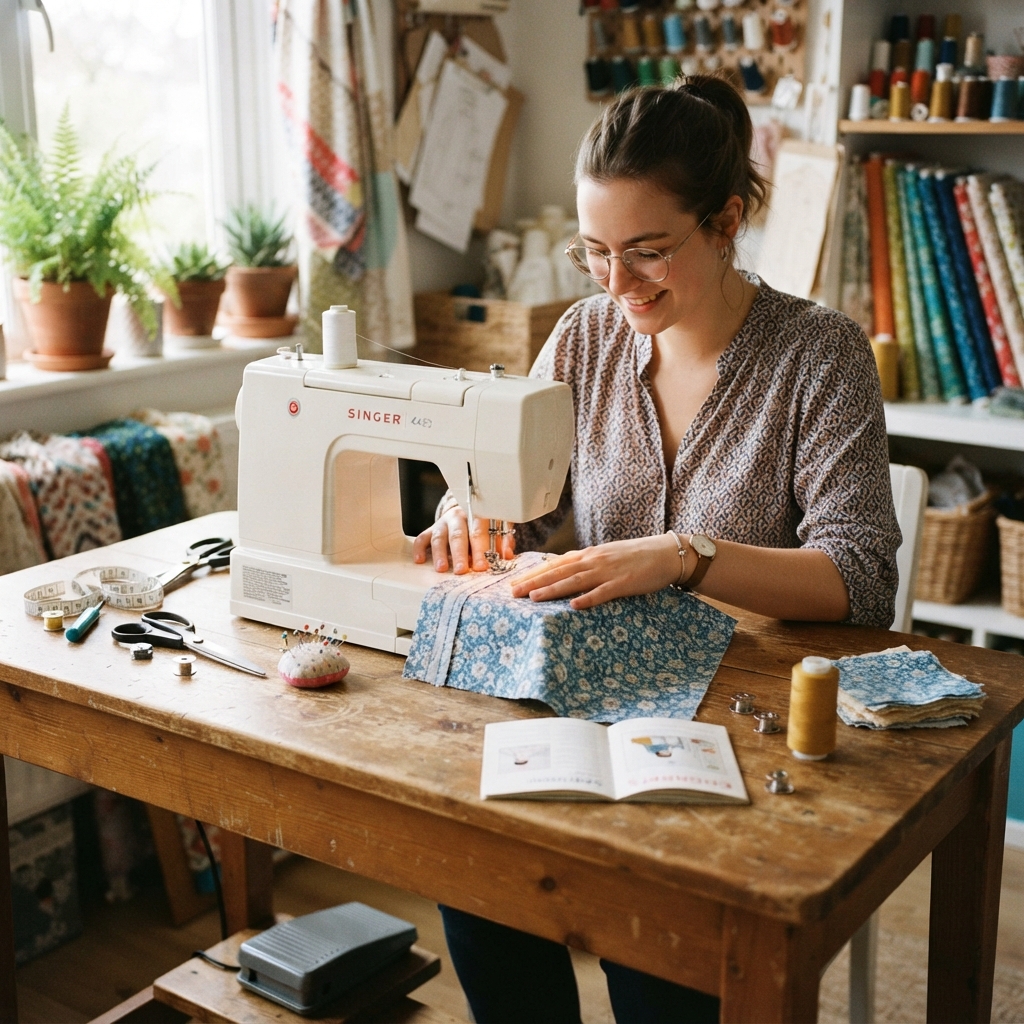
Learning to sew can be a rewarding and creative skill for beginners. You do not need an expensive sewing machine or a large collection of tools to get started. With a needle, thread, a small piece of fabric, and a little patience, you can learn several basic stitches by hand.
Hand sewing is a great way to understand how fabric and thread work together. It also gives you the confidence to make simple repairs, decorate fabric, and create small handmade projects.
This step-by-step guide will introduce you to the basic tools, show you how to prepare your fabric and thread, and teach you several easy stitches.
Why Learn Hand Sewing?
Hand sewing is useful for many everyday tasks. You can repair a loose button, fix a small tear, shorten fabric, or create simple decorations.
It is also a relaxing craft that can help improve concentration and hand coordination. Beginners can practice at their own pace without worrying about complicated equipment.
Once you understand the basic stitches, you can move on to projects such as fabric bags, cushions, bookmarks, pouches, and simple clothing repairs.
Basic Sewing Supplies for Beginners
You only need a few supplies to begin.
Needle
Choose a general-purpose hand-sewing needle with a sharp point and an eye large enough for your thread.
Thread
Cotton sewing thread is a good choice for basic practice. Embroidery floss can also be useful for decorative stitches.
Fabric
Start with a medium-weight cotton fabric. Avoid very stretchy, slippery, or thick fabric until you become more comfortable.
Scissors
Use sharp fabric scissors to make clean cuts. Keep them specifically for fabric when possible.
Pins
Pins can hold two pieces of fabric together while you sew.
Thimble
A thimble can protect your finger when pushing the needle through thicker fabric. It is optional for simple projects.
Embroidery Hoop
An embroidery hoop is useful for decorative stitching because it keeps the fabric flat and stable.
Step 1: Prepare Your Fabric
Start with a small piece of clean, medium-weight fabric.
Cut the fabric into a manageable square, approximately 15–20 centimeters wide. You can use an old cotton fabric scrap for practice.
If the fabric has a front and back side, decide which side you want to be visible.
For decorative embroidery, place the fabric inside an embroidery hoop and gently tighten it.
Step 2: Choose and Cut Your Thread
Cut a piece of thread approximately 40–50 centimeters long.
Avoid using an extremely long piece because it can become tangled while you sew.
Thread the needle and make a small knot at the end of the thread.
If you are practicing decorative embroidery, you can use two or three strands of embroidery floss. For regular sewing, a single strand of sewing thread is often sufficient.
Step 3: Learn the Running Stitch
The running stitch is one of the easiest stitches to learn.
Bring the needle up through the back of the fabric. Make a small stitch by pushing the needle down through the fabric.
Bring the needle back up a short distance away and repeat.
Continue making evenly spaced stitches along a straight line.
Try to keep the stitches approximately the same length. However, they do not have to be perfect.
What Is the Running Stitch Used For?
Running stitch can be used for:
- Simple seams
- Decorative lines
- Fabric crafts
- Quilting
- Basic repairs
- Practice exercises
It is an excellent first stitch for beginners.
Step 4: Learn the Backstitch
Once you are comfortable with running stitch, try the backstitch.
Start by bringing the needle up through the fabric. Make one stitch forward.
Bring the needle up again a short distance ahead, then take it back down into the end of the previous stitch.
Repeat this process along the line.
Backstitch creates a strong, continuous line and is useful for sewing seams and outlining embroidery designs.
Step 5: Learn the Whip Stitch
The whip stitch is another simple stitch that beginners can practice.
Place two fabric edges together. Bring the needle up near one edge and pass the thread diagonally over the fabric edge.
Insert the needle again and repeat.
The stitches will wrap around the edge of the fabric.
Whip stitch can be useful for joining fabric pieces and finishing raw edges, depending on the project.
Step 6: Practice the Blanket Stitch
The blanket stitch is both practical and decorative.
Start at the edge of the fabric. Bring the needle up near the edge, then pass the thread underneath the needle before pulling it tight.
Repeat the stitch at regular intervals along the edge.
Blanket stitch is especially popular for felt crafts because it creates an attractive finished edge.
Step 7: Learn the Back Knot and Finishing
Knowing how to start and finish your stitches is just as important as learning the stitches themselves.
When you reach the end of your sewing line, make a small loop on the back of the fabric.
Pass the needle through the loop and gently pull the thread to create a knot.
Repeat if necessary and trim the extra thread close to the fabric.
Avoid cutting the thread too close before the knot is secure.
Step 8: Practice Straight Lines
Before starting a project, practice sewing straight lines.
Draw several lines on your fabric with a washable fabric marker.
Make one line using running stitch, another using backstitch, and another using whip stitch.
Focus on keeping the stitches evenly spaced.
This simple exercise will help you develop better control of the needle and thread.
Step 9: Practice Curves and Corners
After practicing straight lines, try sewing curved lines.
Draw a simple circle, wave, or leaf shape on the fabric.
Use small stitches around the curves. Smaller stitches usually make curves easier to follow.
You can also practice corners by sewing a simple square or rectangle.
Do not worry if the first attempts look uneven. Regular practice will improve your technique.
Common Beginner Mistakes
It is normal to make mistakes when learning to sew.
Using Too Much Thread
Long thread can become tangled easily. Use shorter lengths until you become more experienced.
Pulling Too Tightly
Pulling the thread too hard can make the fabric wrinkle. Pull it gently until the stitch lies flat.
Making Stitches Too Large
Large stitches may not hold fabric securely. Start with small, even stitches.
Skipping Practice
Trying to make a complicated project immediately can be frustrating. Practice basic stitches first.
Choosing Difficult Fabric
Stretchy or slippery fabric can be challenging for beginners. Start with stable cotton fabric.
Your First Simple Sewing Project
After practicing your first stitches, try making a small fabric bookmark.
Cut two narrow rectangles of cotton fabric. Place them together and sew around three sides using a running stitch or backstitch.
Leave one end open, turn the fabric right side out, and carefully close the remaining opening.
You can decorate the bookmark with colorful embroidery, buttons, or simple shapes.
This small project allows you to practice several basic sewing skills while creating something useful.
How to Improve Your Sewing Skills
The best way to improve is to practice regularly.
Spend a few minutes sewing simple lines whenever you have time. Try different thread colors and fabric types as your confidence grows.
Once you master the basic stitches, you can learn techniques such as:
- Chain stitch
- Stem stitch
- Satin stitch
- French knots
- Appliqué
- Simple hemming
- Button sewing
- Basic fabric repairs
Each new technique will give you more possibilities for creative projects.
Safety Tips for Beginners
Needles and scissors should always be handled carefully.
Keep needles in a small container or pincushion when they are not being used. Store scissors safely and cut fabric on a stable surface.
Children should have adult supervision when using needles, pins, or scissors.
Final Thoughts
Learning to sew does not have to be difficult. By starting with a needle, thread, and a small piece of fabric, you can gradually develop useful hand-sewing skills.
Begin with the running stitch, then practice the backstitch, whip stitch, and blanket stitch. Work slowly, keep your thread tension gentle, and do not worry about small imperfections.
Your first stitches may not look perfect, but every stitch is part of the learning process. With regular practice, you will soon have the confidence to create simple handmade projects and explore more advanced sewing techniques.
