
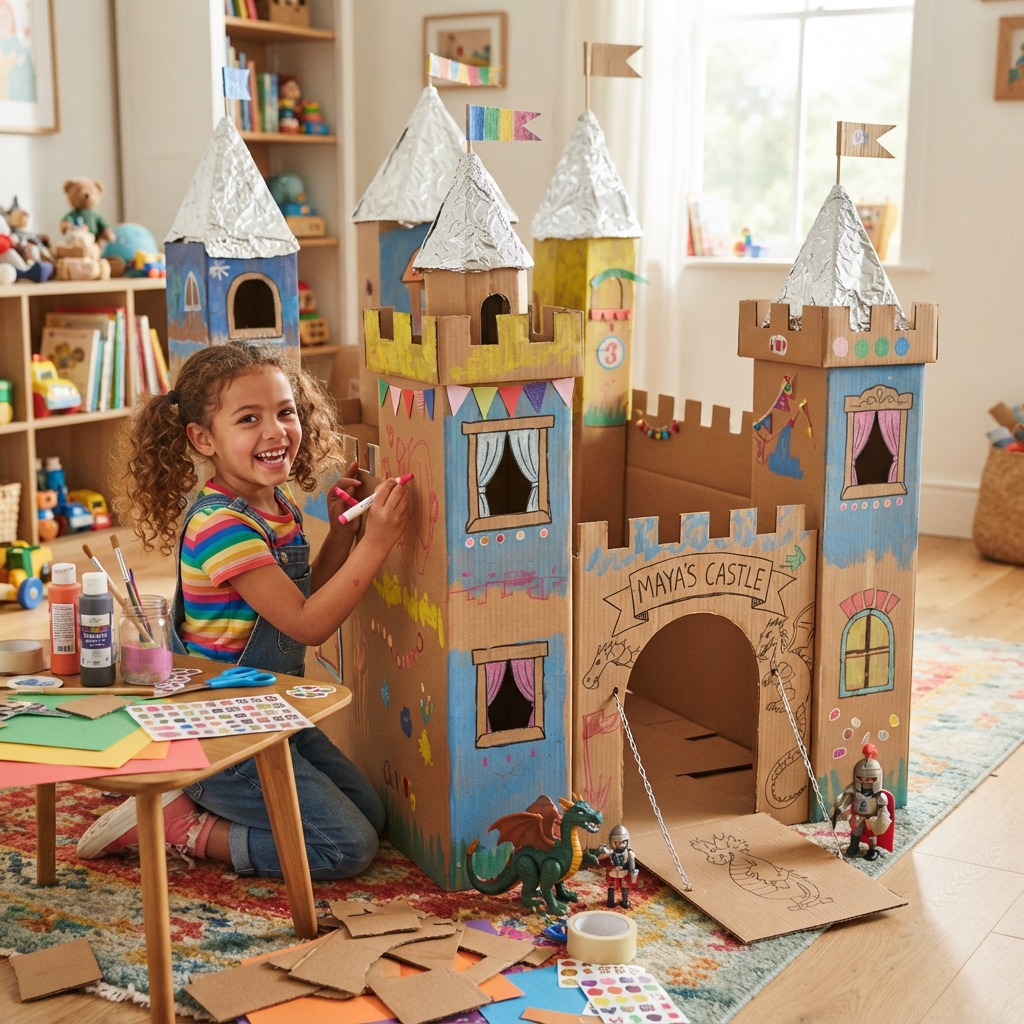
A cardboard castle is an exciting craft project that allows children to build their own magical kingdom using recycled materials. With cardboard boxes, colorful paper, paint, glue, and a little imagination, kids can create tall towers, strong castle walls, secret doors, and royal rooms fit for kings, queens, knights, and dragons. This hands-on activity combines creativity, storytelling, and problem-solving while teaching children the value of recycling and imaginative play.
Whether built at home, in the classroom, or during a weekend craft session, a cardboard castle offers endless opportunities for learning and adventure.
Why Make a Cardboard Castle?
Castles have fascinated children for generations. They are places of mystery, bravery, and exciting adventures. Building a cardboard castle lets children become architects, artists, and storytellers all at once.
This project helps children:
- Develop creativity through designing unique castles.
- Improve fine motor skills by cutting, folding, and gluing.
- Practice planning and construction techniques.
- Encourage imaginative storytelling and role-playing.
- Learn about castles, history, and medieval life.
- Discover the importance of recycling everyday materials.
Materials You’ll Need
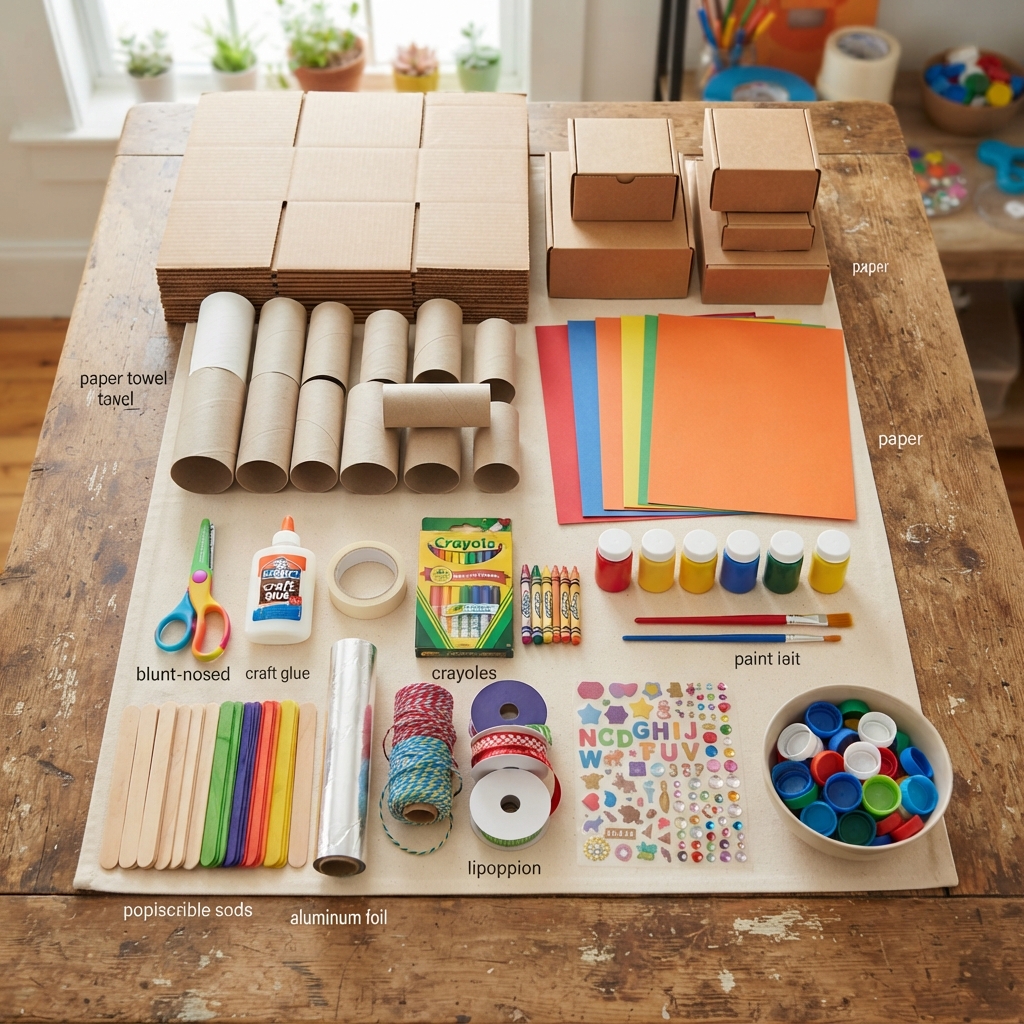
Collect these simple craft supplies before you begin:
- Large cardboard boxes
- Small cardboard boxes
- Cardboard tubes
- Colored construction paper
- Child-safe scissors
- Craft glue or tape
- Markers and crayons
- Paint and paintbrushes (optional)
- Popsicle sticks
- Aluminum foil (optional)
- String or ribbon
- Stickers and decorative gems
- Recycled bottle caps
Most of these materials are easy to find at home or in the recycling bin.
Step 1: Build the Castle Base
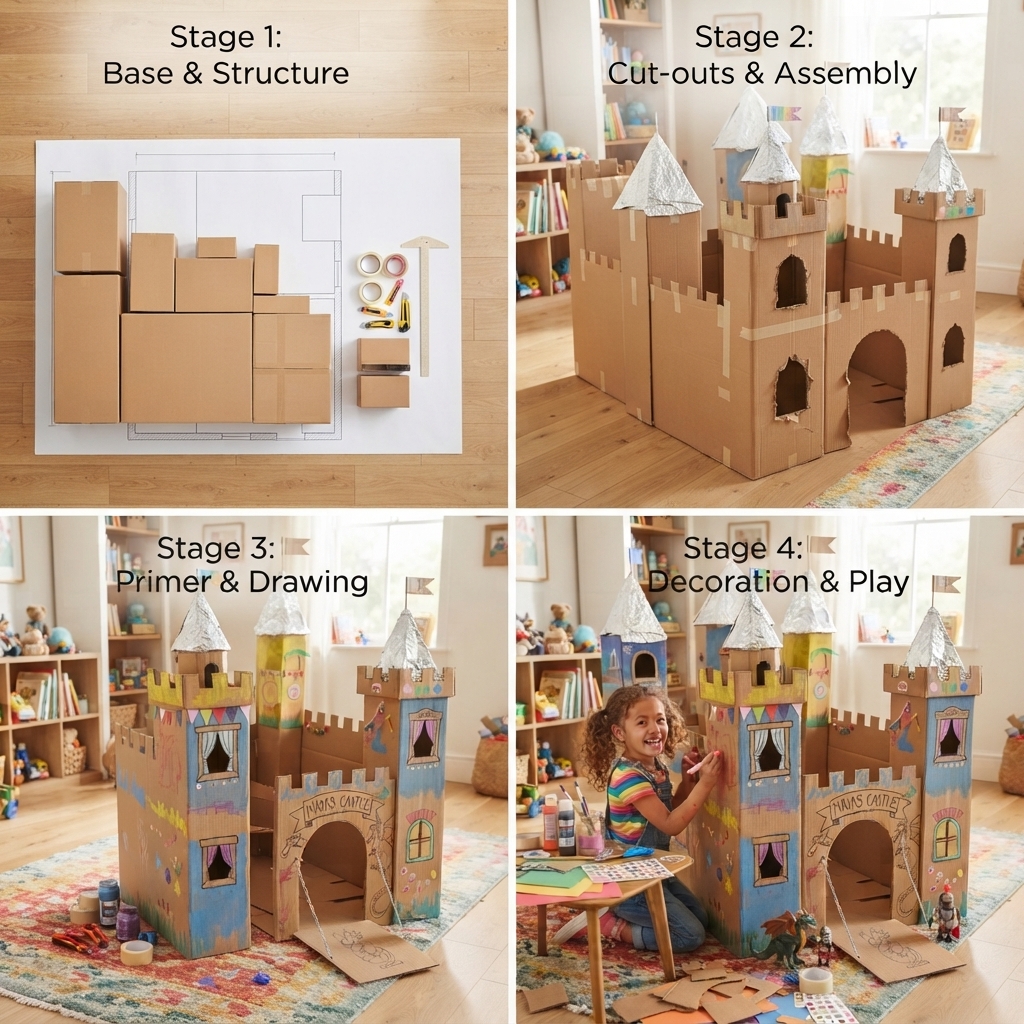
Start with a large cardboard box as the main structure.
Cut out the front entrance, windows, and doorways. Glue the castle onto a sturdy cardboard base to keep it stable while children play.
Step 2: Create Tall Towers
Use cardboard tubes or small boxes to build towers.
Place one tower at each corner of the castle to give it a grand appearance.
Decorate the towers with:
- Small windows
- Stone patterns
- Flags
- Balconies
- Watchtowers
These towers become perfect lookout points for brave knights.
Step 3: Add Castle Walls
Cut long strips of cardboard to make surrounding walls.
Create the classic castle design by cutting square shapes along the top to form battlements.
Children can draw stone blocks using gray markers or paint.
Step 4: Build the Main Gate
Every castle needs a strong entrance.
Create a large gate using cardboard and decorate it with:
- Wooden-style patterns
- Castle emblem
- Drawbridge
- Hinged doors
- Welcome sign
If desired, attach string to make the drawbridge move up and down.
Step 5: Design Royal Rooms
Inside the castle, create several exciting rooms.
These might include:
- Throne room
- Royal bedroom
- Dining hall
- Library
- Treasure room
- Knight training room
Children can decorate each room with miniature cardboard furniture.
Step 6: Make Castle Characters
Create friendly cardboard characters such as:
- King
- Queen
- Prince
- Princess
- Knights
- Wizards
- Dragons
- Horses
Decorate each character with colorful clothing and smiling faces.
Step 7: Decorate the Castle Grounds
Build a beautiful landscape around the castle.
Add:
- Gardens
- Trees
- Flowers
- Stone paths
- Pond
- Wooden bridge
- Market stalls
- Stable
These details make the kingdom feel lively and welcoming.
Step 8: Add Fun Decorations
Decorate your castle with creative details.
Ideas include:
- Colorful flags
- Royal banners
- Shields
- Torches
- Treasure chests
- Crowns
- Lanterns
- Secret passage signs
Every decoration adds personality to the castle.
Step 9: Create Magical Adventures
Once the castle is complete, children can enjoy imaginative role-playing.
They can pretend to:
- Protect the kingdom.
- Rescue a dragon’s friend.
- Host a royal celebration.
- Search for hidden treasure.
- Train brave knights.
- Welcome visitors from nearby kingdoms.
- Organize a grand feast.
- Explore secret tunnels.
These adventures encourage storytelling, creativity, and teamwork.
Learning Benefits
A cardboard castle provides many educational opportunities.
Children practice:
- Fine motor coordination
- Creative thinking
- Planning and organization
- Problem-solving
- Communication
- Storytelling
- Artistic expression
- Social interaction
The project also introduces simple ideas about history, architecture, and teamwork.
Eco-Friendly Crafting
One of the greatest lessons of this activity is learning to reuse materials.
Old cardboard boxes, paper tubes, bottle caps, and paper scraps become towers, walls, furniture, and decorations instead of being thrown away.
This teaches children that recycling can be both creative and environmentally friendly.
Tips for Parents and Teachers
Make the activity even more exciting by:
- Reading a fairy tale or castle story before crafting.
- Encouraging children to invent a name for their kingdom.
- Letting each child design a unique castle room.
- Discussing how castles protected people long ago.
- Displaying the finished castle in a classroom or playroom.
- Inviting children to tell stories about the characters who live in their castle.
Celebrate every child’s imagination and creativity throughout the project.
Conclusion
A cardboard castle is a magical craft project that combines creativity, learning, and imaginative play. Children enjoy designing towering walls, building royal rooms, creating colorful characters, and inventing exciting adventures. Along the way, they strengthen artistic skills, problem-solving abilities, communication, and teamwork while learning about recycling and simple architectural design. Best of all, an ordinary cardboard box can become a magnificent castle where every tower holds a new adventure, every room tells a story, and every child becomes the ruler of a kingdom built with imagination.
