
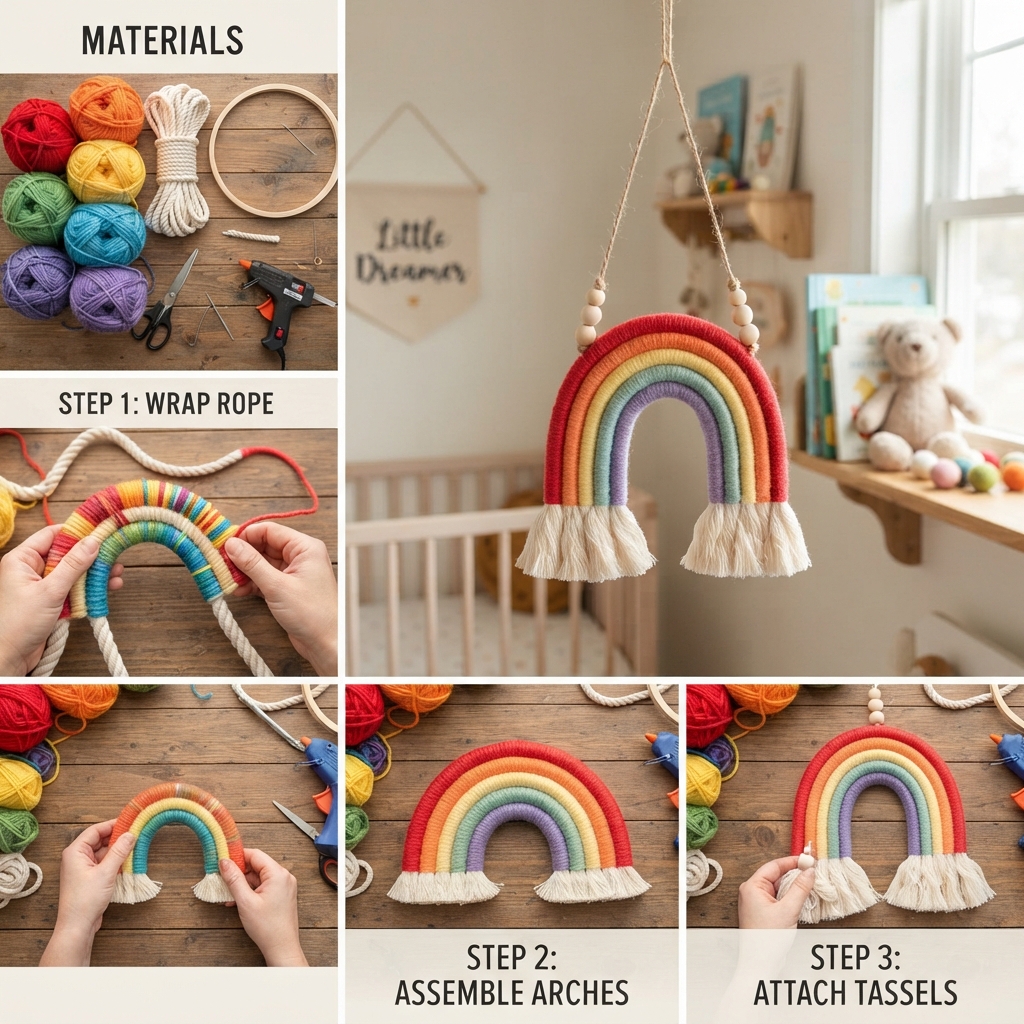
A hanging rainbow is a cheerful and colorful decoration that can instantly make a child’s room feel brighter and more playful. It is also an easy craft project that children can help create using simple and affordable materials. With colorful paper, yarn, cardboard, paint, or felt, families can make a beautiful rainbow that can be displayed above a bed, near a window, on a wall, or in a reading corner.
Making a hanging rainbow is more than just a decorating project. It gives children an opportunity to practice cutting, coloring, gluing, measuring, and arranging materials. It also allows them to make creative decisions and choose colors that match their personalities and room décor.
The best part is that there is no single correct way to make a hanging rainbow. A rainbow can be large or small, simple or detailed, bright or pastel. Children can add clouds, stars, hearts, raindrops, butterflies, or other decorations to create a unique hanging piece.
Why Make a Hanging Rainbow?
Rainbow decorations are popular because they bring cheerful colors into a room. A handmade rainbow can also have special meaning for children. It can represent happiness, hope, friendship, and imagination.
A homemade decoration is often more personal than something purchased from a store. Children can participate in every stage of the project, from choosing the colors to deciding where the finished rainbow should hang.
This craft is also inexpensive. Many of the required materials may already be available at home, making it an excellent weekend or school-holiday activity.
Materials You Will Need
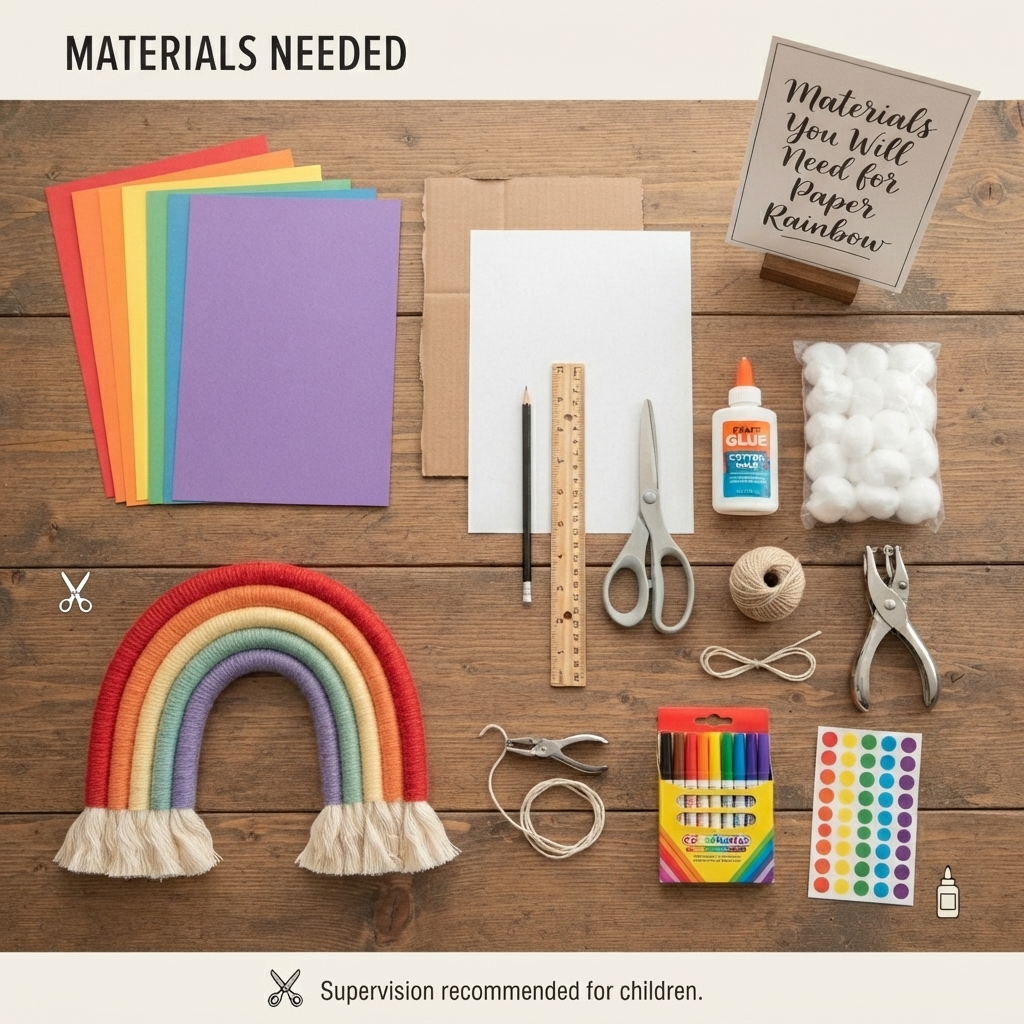
The materials can be changed depending on the design you choose. For a simple paper rainbow, you may need:
- Colored construction paper
- Cardboard
- Pencil
- Ruler
- Child-safe scissors
- Glue
- White paper
- Cotton balls
- Yarn or string
- Hole punch
- Markers or crayons
- Optional stickers and decorations
For a softer rainbow, felt or fabric can be used instead of paper. Yarn can also be used to create colorful strands hanging below the rainbow.
Young children should be supervised when using scissors, glue, or small decorative pieces.
Step 1: Choose the Rainbow Colors
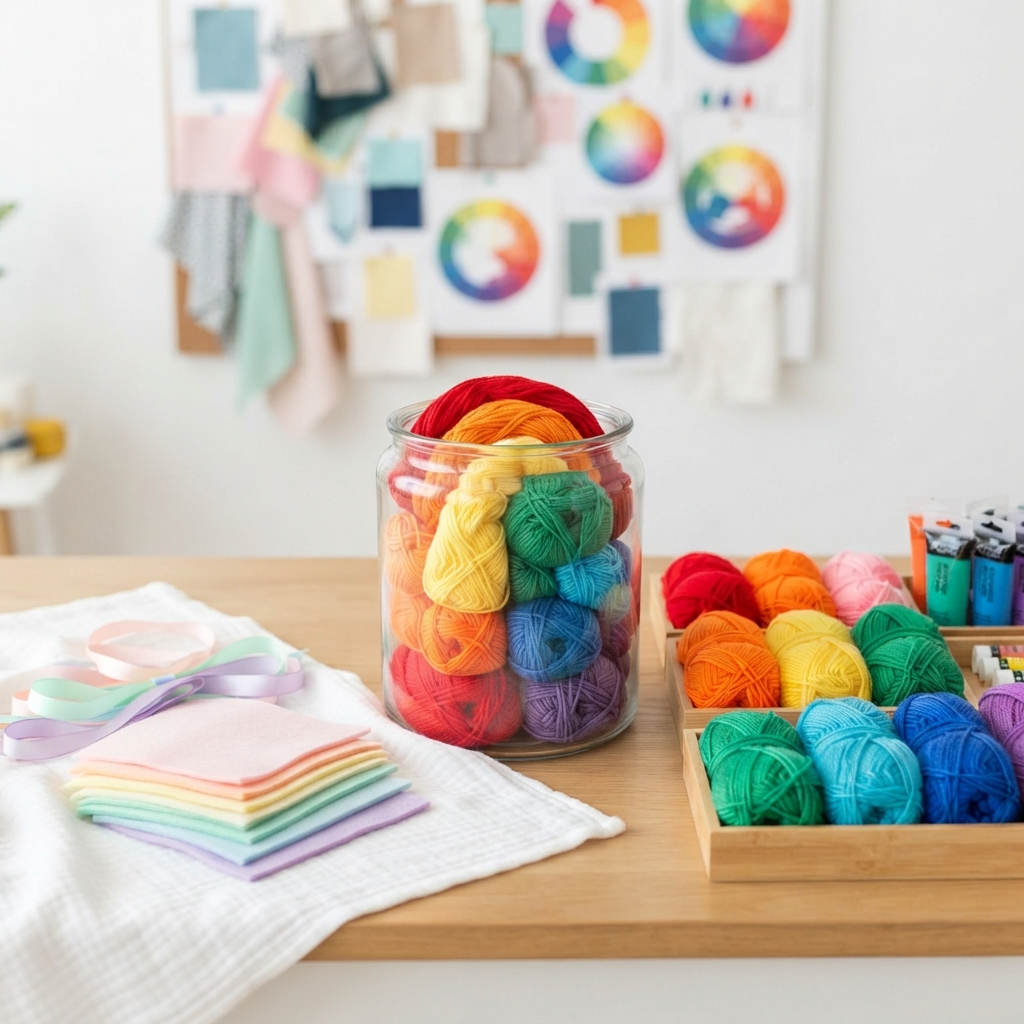
Start by choosing the colors.
A traditional rainbow usually includes red, orange, yellow, green, blue, and violet. However, children do not have to follow traditional rainbow colors.
Pastel pink, peach, yellow, mint green, light blue, and lavender can create a soft decoration for a child’s room.
For a brighter look, use strong colors such as red, orange, yellow, green, turquoise, blue, and purple.
Children can choose colors that match their bedding, curtains, rugs, or other room decorations.
Step 2: Decide on the Size

Before cutting anything, decide how large the rainbow should be.
A small rainbow may be perfect for a bookshelf or small wall. A larger rainbow can become a central decoration above a bed or reading area.
Use a ruler to estimate the width. You do not need exact measurements, but planning the size first helps prevent the finished decoration from becoming too large for the available space.
Remember that hanging decorations need enough room around them so that they do not become tangled with furniture or other objects.
Step 3: Prepare the Cardboard Base
A piece of lightweight cardboard can be used as the base.
Draw a large curved rainbow shape on the cardboard. You can create a simple arch or use a plate or bowl to help draw smooth curves.
Cut out the rainbow shape carefully.
If the cardboard has printed designs, cover it with plain paper before adding the colored pieces.
Using cardboard makes the rainbow stronger and helps it keep its shape.
Step 4: Add the Colored Arches
Cut several curved strips from colored paper.
Each strip should be slightly smaller than the previous one so that the colors can fit together like a rainbow.
Start with the largest arch and place the next smaller arch underneath it. Continue until all the colors are arranged.
Children can glue the pieces onto the cardboard once they are happy with the arrangement.
Try to leave a small space between some of the colors if you want the cardboard base to be visible.
Step 5: Make Fluffy Clouds
A rainbow looks especially cute when it has clouds on both sides.
Cotton balls can be used to make soft, fluffy clouds.
Glue several cotton balls together to create each cloud. Make two or three cloud shapes and attach them to the ends of the rainbow.
If cotton balls are not available, clouds can be cut from white paper, felt, or cardboard.
Children can also decorate the clouds with tiny stars, hearts, or colorful dots.
Step 6: Add Hanging Strands
To turn the rainbow into a hanging decoration, add strings to the bottom.
Cut several pieces of yarn in different lengths.
Tie or glue the yarn to the bottom of the rainbow. The strands can hang at different heights to create movement.
You can attach paper stars, clouds, hearts, raindrops, flowers, or small circles to the ends of the yarn.
The strands will move gently when air passes through the room, making the decoration more interesting.
Step 7: Make Paper Raindrops
Paper raindrops are an easy addition.
Draw several raindrop shapes on blue paper and cut them out.
Attach each raindrop to a piece of yarn.
Use different shades of blue for variety.
Hang the raindrops underneath the rainbow at different heights. This creates the appearance of rain falling beneath the colorful arch.
Children can also add small silver or white stars between the raindrops.
Step 8: Create a Yarn Rainbow
Another beautiful version uses yarn instead of paper.
Choose several colors of thick yarn and cut multiple pieces of equal length.
Arrange the yarn colors in rainbow order.
Tie the strands together at the top and attach clouds to the ends.
This creates a soft, three-dimensional rainbow that looks especially attractive in a child’s bedroom.
A yarn rainbow can also be made using several layers of yarn. Each color can have a different length to create a curved shape.
Step 9: Add Decorative Details
Once the basic rainbow is finished, children can personalize it.
Some fun decorations include:
- Paper stars
- Felt hearts
- Small butterflies
- Clouds
- Flowers
- Glitter shapes
- Pom-poms
- Paper birds
- Smiley faces
- Colorful ribbons
Children can also write their names or positive words on small paper shapes.
Words such as “Happy,” “Dream,” “Smile,” and “Love” can make the decoration feel more personal.
Step 10: Add a Hanging Loop
A strong loop is needed at the top of the rainbow.
Cut a piece of yarn or string and attach both ends securely to the back of the cardboard.
The loop should be strong enough to support the decoration.
For safety, the hanging rainbow should be attached securely and placed where a child cannot easily pull it down or become tangled in the strings.
Different Rainbow Designs
There are many ways to change the design.
A traditional rainbow can use bright colors, while a pastel rainbow can create a softer look.
A rainbow with clouds is perfect for a dreamy bedroom theme. A rainbow with stars can fit a space-themed room.
Another idea is to create a rainbow garden. Add flowers, butterflies, bees, and green leaves around the rainbow.
Children who love animals might add birds or cute paper animals.
The craft can therefore be adapted to almost any room theme.
A Rainbow Mobile
The hanging rainbow can also become a simple mobile.
Instead of hanging it directly on the wall, attach it to a lightweight circular frame.
Hang several rainbows, clouds, stars, and raindrops from the frame using yarn.
The pieces should hang at different heights.
When air moves through the room, the decorations can gently turn and move.
For safety, mobiles should be securely installed and positioned well out of a young child’s reach, especially above a crib.
Educational Opportunities
Making a hanging rainbow can also become a learning activity.
Parents and teachers can use the project to teach children about colors, patterns, shapes, and symmetry.
Children can practice identifying colors and arranging them in a particular order. They can also count the number of arches, clouds, stars, or raindrops.
The project can introduce simple measuring concepts because children need to compare the lengths of paper strips and yarn.
For older children, the activity can be connected to a science lesson about how rainbows form when light passes through water droplets.
Using Recycled Materials
A hanging rainbow does not have to be made entirely from new materials.
Old cardboard boxes can become the base. Used magazines can provide colorful paper. Leftover yarn can be used for hanging strands.
Paper packaging, cereal boxes, and scraps from previous craft projects can also be reused.
Using recycled materials teaches children that ordinary objects can have a second life.
It also makes the project inexpensive and encourages environmentally friendly creative habits.
Tips for Making the Craft Easier
If working with younger children, prepare some of the difficult pieces in advance.
Adults can cut the cardboard base and colored arches before the activity begins. Children can then focus on arranging, gluing, and decorating.
Use washable glue and washable markers whenever possible.
Large pieces are usually easier for young children to handle than tiny shapes.
If the child becomes frustrated, simplify the design. A simple rainbow can be just as beautiful as a highly decorated one.
The main purpose of the project is to have fun and encourage creativity.
Safety Considerations
Safety should always be considered when creating decorations for children’s rooms.
Use child-safe scissors and supervise cutting activities. Avoid sharp materials and make sure all decorations are securely attached.
Small beads, buttons, and similar objects can be choking hazards for young children. They should only be used with appropriate supervision.
Hanging strings should be kept out of the reach of young children because loose cords can present a strangulation hazard.
Always use an appropriate hanging method and make sure the decoration is securely attached to the wall or ceiling.
Conclusion
Making a hanging rainbow for a child’s room is a simple craft that combines creativity, learning, and decorating. With cardboard, colorful paper, yarn, cotton balls, and a little imagination, children can create a cheerful decoration that makes their room feel more personal.
The project can be adapted in countless ways. A rainbow can be decorated with clouds, stars, hearts, flowers, butterflies, or raindrops. Children can choose traditional rainbow colors or create their own pastel and fantasy designs.
Most importantly, making the decoration gives children the opportunity to participate in decorating their own space. They can make choices, practice useful skills, and feel proud when they see their finished creation hanging in the room.
Whether you choose a simple paper rainbow, a soft yarn rainbow, or a colorful rainbow mobile, this project is an enjoyable way to bring creativity and cheerful colors into a child’s world. 🌈
