
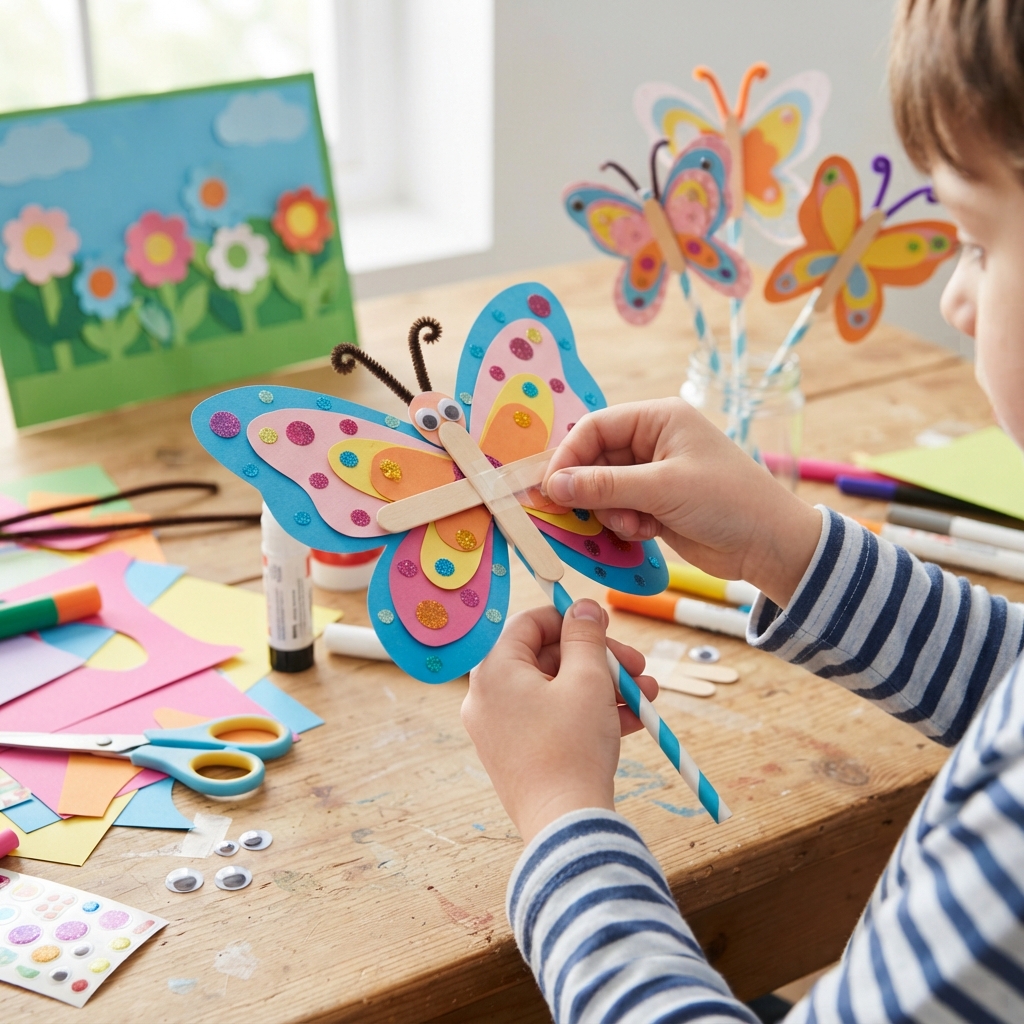
Making animated paper butterflies is a fun and creative craft project for children. It combines simple paper crafting with movement, allowing children to create beautiful butterflies that appear to flap their wings. This activity can be done at home, in classrooms, at children’s parties, or during art and science lessons.
Butterflies are fascinating creatures because they change from caterpillars into colorful flying insects. Making a paper butterfly gives children an opportunity to learn about nature while also developing their imagination and creative skills. With a few basic materials such as colored paper, scissors, glue, markers, and wooden sticks, children can make butterflies that move their wings and look as if they are flying.
The best thing about this craft is that it does not require expensive materials. Many of the supplies can already be found around the house or in a classroom. Children can choose their favorite colors and decorate their butterflies with patterns, dots, flowers, stars, or other designs.
What Are Animated Paper Butterflies?
An animated paper butterfly is a handmade butterfly that has movable parts. Instead of being a flat decoration, it can flap its wings, move up and down, or appear to fly when children pull a string, move a stick, or use another simple mechanism.
There are many ways to make a moving butterfly. One of the easiest methods is to attach the butterfly to a paper straw, wooden stick, or craft stick and gently move it. Another method uses a piece of string or elastic to create a wing-flapping effect.
These simple mechanisms introduce children to the basic idea of movement. They can see how pulling, pushing, or moving one part of a craft can make another part move.
Materials Needed
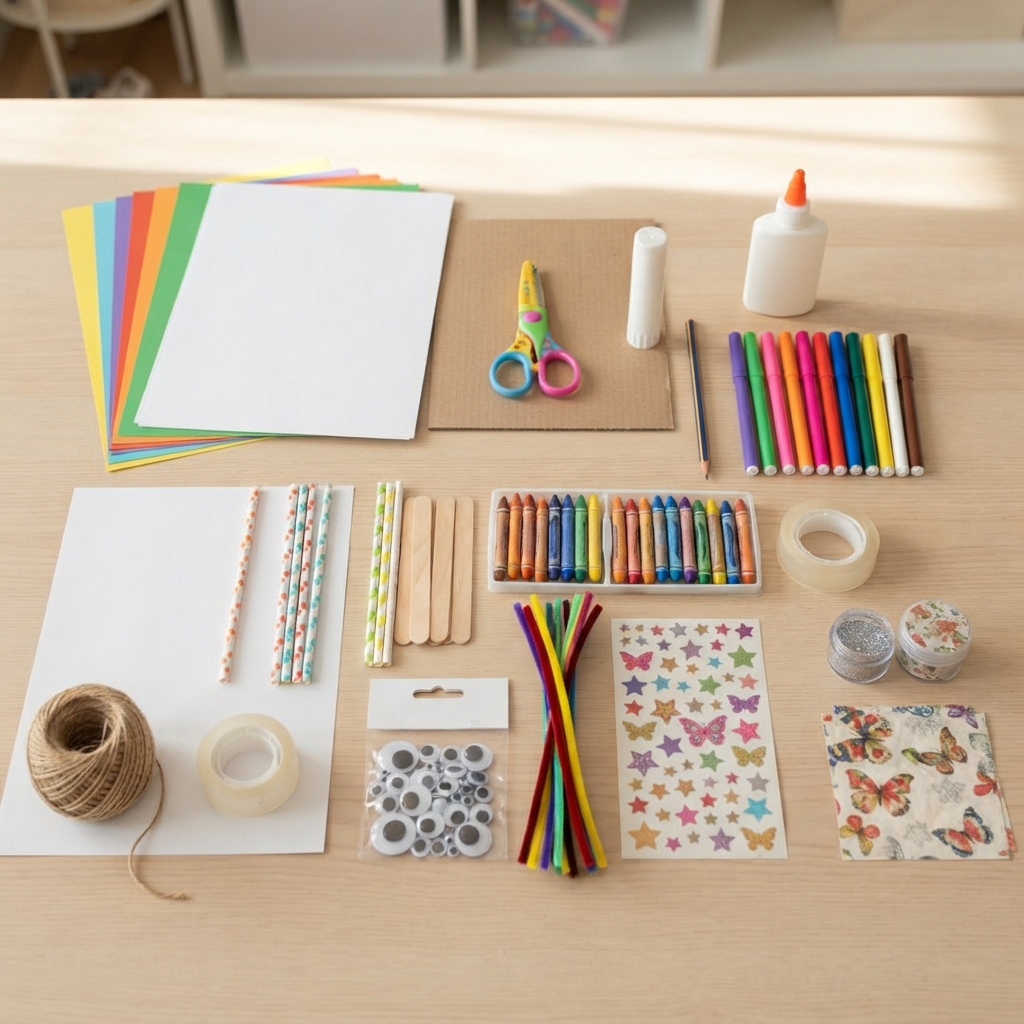
Before starting the project, gather all the materials in one place. The exact materials can be changed depending on the type of animated butterfly you want to make.
You may need:
- Colored construction paper
- White paper
- Cardboard
- Child-safe scissors
- Glue
- Pencil
- Colored markers or crayons
- Wooden craft sticks
- Paper straws
- String or thread
- Tape
- Googly eyes
- Pipe cleaners
- Stickers
- Optional glitter or decorative paper
For younger children, an adult should help with cutting and supervise the use of small decorative materials.
Step 1: Choose Your Butterfly Colors
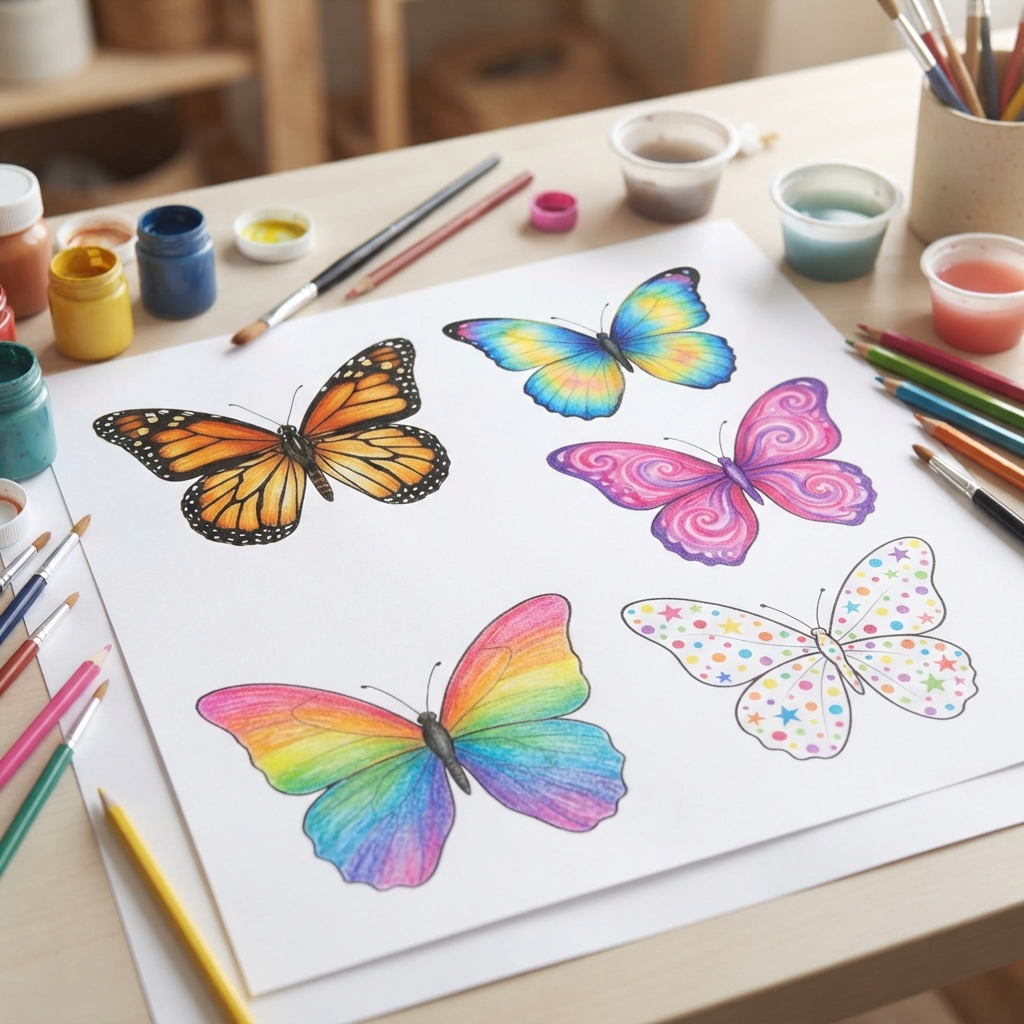
Start by choosing the colors for your butterfly.
Children can use one color for the wings or combine several colors. Bright combinations such as blue and yellow, pink and purple, orange and red, or green and turquoise can create beautiful results.
You can also make a realistic butterfly by looking at pictures of real butterflies and copying their patterns.
However, children should not feel limited to realistic designs. A rainbow butterfly, a polka-dot butterfly, or a butterfly covered in stars can be just as exciting.
Step 2: Draw the Butterfly Wings
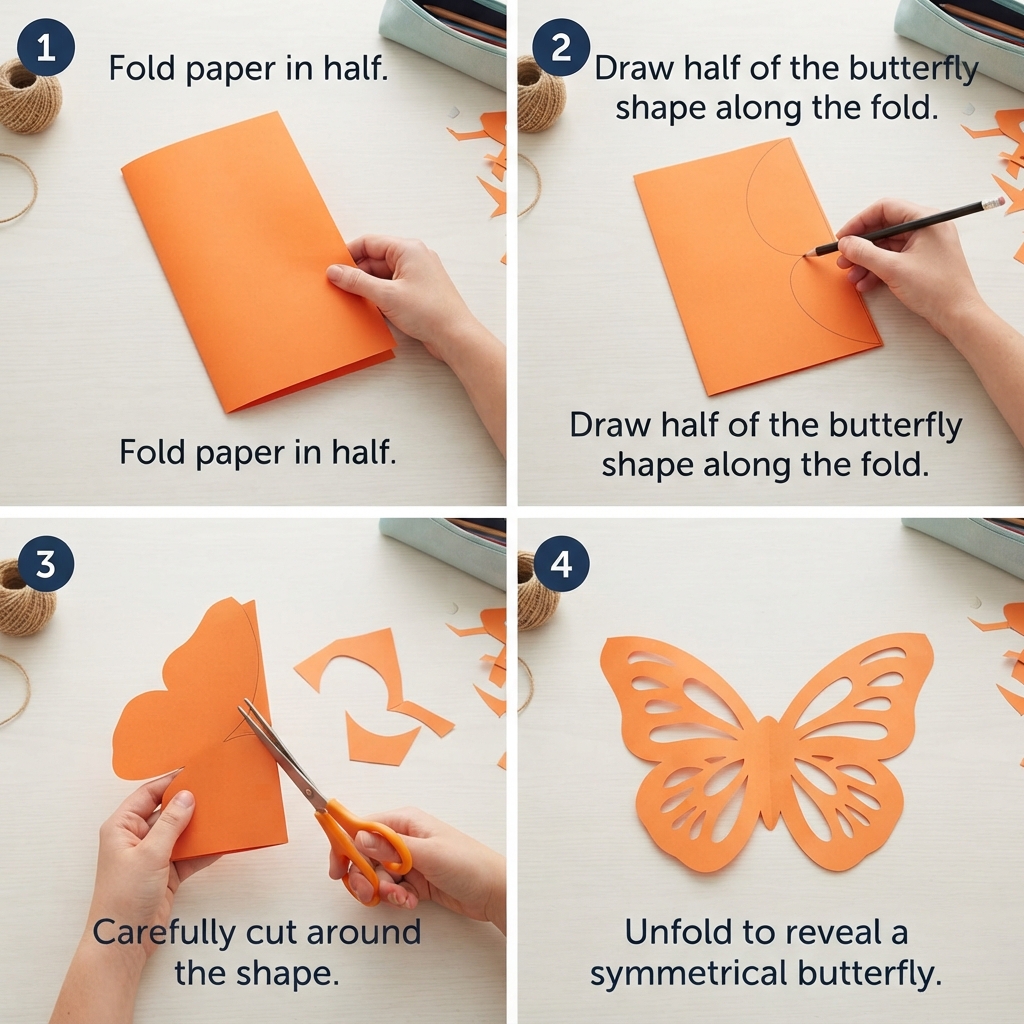
Fold a piece of colored paper in half.
Draw half of a butterfly shape along the folded edge. The body should be close to the fold, while the curved wing should extend outward.
Carefully cut around the shape.
When the paper is unfolded, you should have a symmetrical butterfly with two wings.
This is a simple way to create matching wings because both sides are cut at the same time.
Step 3: Create the Butterfly Body
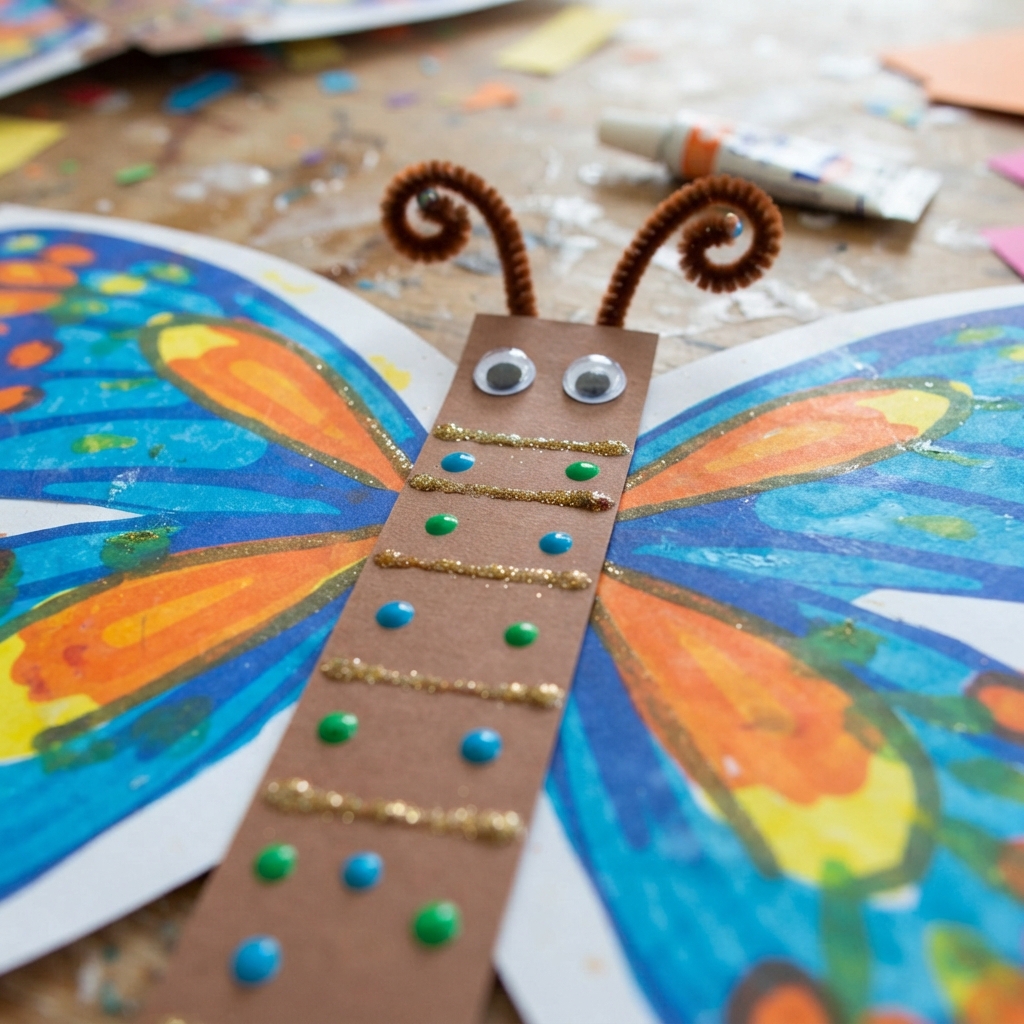
The butterfly needs a body in the middle.
You can cut a long, narrow piece of black or brown paper and glue it down the center of the wings.
Another option is to use a small piece of cardboard covered with colored paper.
The body can be decorated with stripes, dots, or small pieces of paper.
Children can also add two small googly eyes to the top of the body.
Step 4: Add the Antennae
Cut a small piece of pipe cleaner or paper to make the butterfly’s antennae.
Bend it gently in the middle and attach it to the top of the butterfly’s body.
If pipe cleaners are not available, thin strips of black paper can be used.
The antennae are a small detail, but they make the butterfly look much more recognizable.
Step 5: Decorate the Wings
Now comes one of the most creative parts of the project.
Children can decorate the wings using markers, crayons, stickers, colored paper, or small shapes.
Try creating matching patterns on both wings. For example, you can add three circles to each side, a large heart in the middle, or several colorful dots.
You can also use different shades of the same color to create a beautiful layered effect.
Avoid adding too much heavy decoration because the butterfly needs to remain light enough to move easily.
Step 6: Make the Wings Movable
To make the butterfly animated, the wings need to move.
One simple method is to attach the butterfly to a craft stick.
Glue or tape the body of the butterfly to the top of the stick. Leave the wings free so that they can move.
When the child gently moves the stick from side to side, the wings can flutter.
Another method is to attach a small piece of string to the center of the butterfly. Pulling the string gently can make the wings move.
Step 7: Create a Flapping-Wing Mechanism
For a more interesting version, children can create a simple flapping mechanism.
Make two small folds near the butterfly’s body, one on each wing. These folds allow the wings to move backward and forward.
Attach a small strip of paper or thread to the wings. When the strip is moved, the wings can rise and fall.
This version may require more adult assistance, especially when cutting or attaching the moving parts.
Children can experiment with the mechanism until the wings move smoothly.
Step 8: Make a Butterfly on a Straw
Another easy idea is to create a butterfly attached to a paper straw.
Tape the butterfly’s body to the top of the straw.
Hold the straw and gently move it up and down. The butterfly can appear to fly through the air.
You can create several butterflies with different colors and attach them to separate straws.
Children can then make their own butterfly garden by placing the butterflies around paper flowers and leaves.
Step 9: Add a Paper Flower Garden
A butterfly craft becomes even more interesting when it has a place to live.
Use green paper to create leaves and stems. Cut colorful flowers from paper and arrange them on a large sheet of blue or green cardboard.
Place the animated butterflies among the flowers.
Children can move the butterflies from flower to flower, pretending that they are searching for nectar.
This creates an excellent opportunity to discuss how real butterflies interact with flowers and help with pollination.
Step 10: Create a Flying Butterfly
To make the butterfly appear to fly, attach a long piece of transparent or ordinary thread to its body.
Hang the thread from a suitable support point under adult supervision.
The butterfly can then move gently when air moves around it.
Several butterflies can be hung at different heights to create a colorful butterfly display.
This idea works particularly well for classrooms, bedrooms, libraries, and children’s craft exhibitions.
Learning About Real Butterflies
The craft can also be used as an educational activity.
Children can learn that butterflies begin their lives as eggs. The eggs hatch into caterpillars, which eat and grow. Eventually, the caterpillar forms a chrysalis. Inside the chrysalis, an amazing transformation takes place, and an adult butterfly emerges.
This process is called metamorphosis.
While making the paper butterfly, children can create four paper pictures representing the butterfly life cycle: egg, caterpillar, chrysalis, and adult butterfly.
These pictures can be placed beside the craft as a simple educational display.
Benefits of Making Animated Paper Butterflies
This craft offers many benefits for children.
First, it develops creativity. Children decide how their butterflies should look and which colors and patterns to use.
Second, cutting, folding, drawing, gluing, and attaching small pieces can help develop fine motor skills.
Third, the moving mechanism introduces children to basic concepts of cause and effect. They can observe what happens when they pull a string or move a stick.
The project also encourages patience. Some mechanisms may not work perfectly the first time, so children can experiment and make adjustments.
Finally, completing a handmade project can give children a strong sense of accomplishment.
Making Butterflies from Recycled Materials
Animated butterflies can also be made from recycled materials.
Old magazines can provide colorful paper for the wings. Cardboard from cereal boxes can be used for stronger butterfly bodies. Used paper straws, packaging materials, and leftover craft supplies can also become useful parts of the project.
Recycling adds an environmental lesson to the activity. Children can learn that many objects that appear to be waste can be transformed into something useful and beautiful.
Organizing a Butterfly Craft Party
Animated paper butterflies are perfect for group activities.
Give each child a selection of colored paper and decorations. Ask everyone to make a butterfly using the same basic instructions.
Once the butterflies are finished, display them together.
Children can compare their designs and talk about their favorite colors and patterns. They can also create a large group butterfly garden using a piece of cardboard or poster paper.
This activity encourages cooperation and sharing while allowing every child to express individual creativity.
Safety Tips
Safety is important during every children’s craft project.
Use child-safe scissors and supervise children while cutting. Adults should help younger children with difficult cuts.
Choose non-toxic glue and craft materials designed for children.
Small items such as beads, buttons, and googly eyes can be choking hazards for young children, so they should be used only with appropriate supervision.
If using wooden sticks, make sure they are smooth and free from sharp edges.
The workspace should also be kept clean and organized to prevent accidents.
Creative Ideas for Decorating Butterflies
There are many ways to make each butterfly unique.
Children can create:
- Rainbow butterflies
- Glitter butterflies
- Flower-patterned butterflies
- Polka-dot butterflies
- Heart-shaped butterflies
- Butterfly families
- Giant paper butterflies
- Mini butterflies
- Seasonal butterflies
- Fantasy butterflies
They can also give each butterfly a name and personality.
For example, one butterfly might be called Sunny because it is yellow, while another might be called Rainbow because it has many colors.
Conclusion
Making animated paper butterflies is a simple and enjoyable craft that combines art, creativity, movement, and learning. Children can transform ordinary paper into colorful butterflies that flap, flutter, or appear to fly.
The project requires only basic materials and can be adapted for different ages and skill levels. Younger children can decorate simple paper butterflies, while older children can experiment with strings, sticks, folds, and other moving mechanisms.
Beyond the finished craft, the activity helps children develop fine motor skills, patience, imagination, and problem-solving abilities. It can also introduce them to the fascinating life cycle of butterflies and the importance of flowers and pollinators.
Most importantly, animated paper butterflies give children the freedom to create something that is truly their own. With colorful paper, a little imagination, and a simple movement mechanism, an ordinary sheet of paper can become a beautiful butterfly ready to flutter through a child’s imaginary garden. 🦋
