
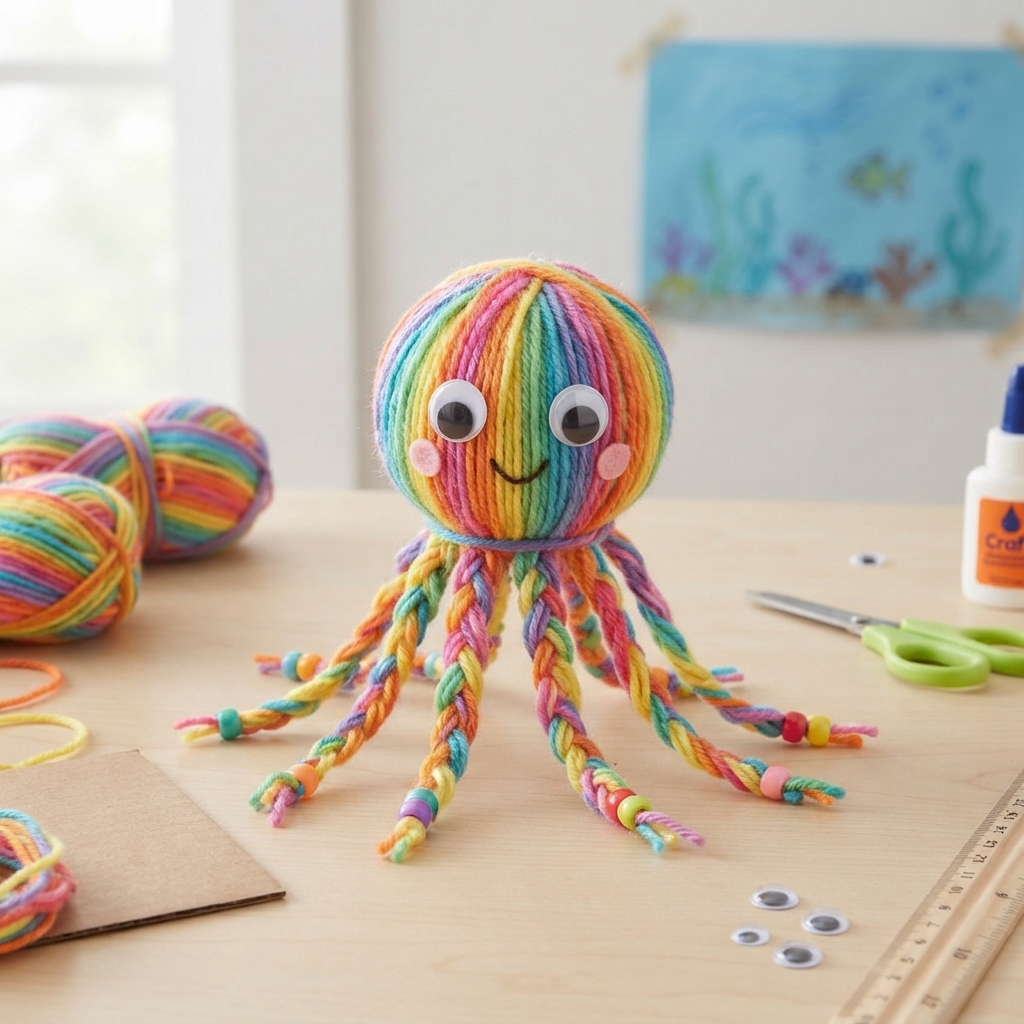
Making a small octopus out of yarn is a fun, colorful, and easy craft project for children. It is a wonderful activity for rainy afternoons, classroom craft sessions, birthday parties, or quiet time at home. With only a few simple materials, children can transform ordinary yarn into a cute little sea creature with eight soft arms.
Yarn octopuses are especially enjoyable because children can choose their favorite colors and decorate their creations in many different ways. A blue octopus can look like an ocean animal, while a pink, purple, yellow, or rainbow octopus can become a completely imaginary character. Children can also give their octopus a name and create stories about where it lives.
This craft is simple enough for young children with adult assistance and enjoyable for older children who want to experiment with colors and decorations. It also provides an opportunity to develop creativity, hand coordination, patience, and confidence.
Materials You Will Need
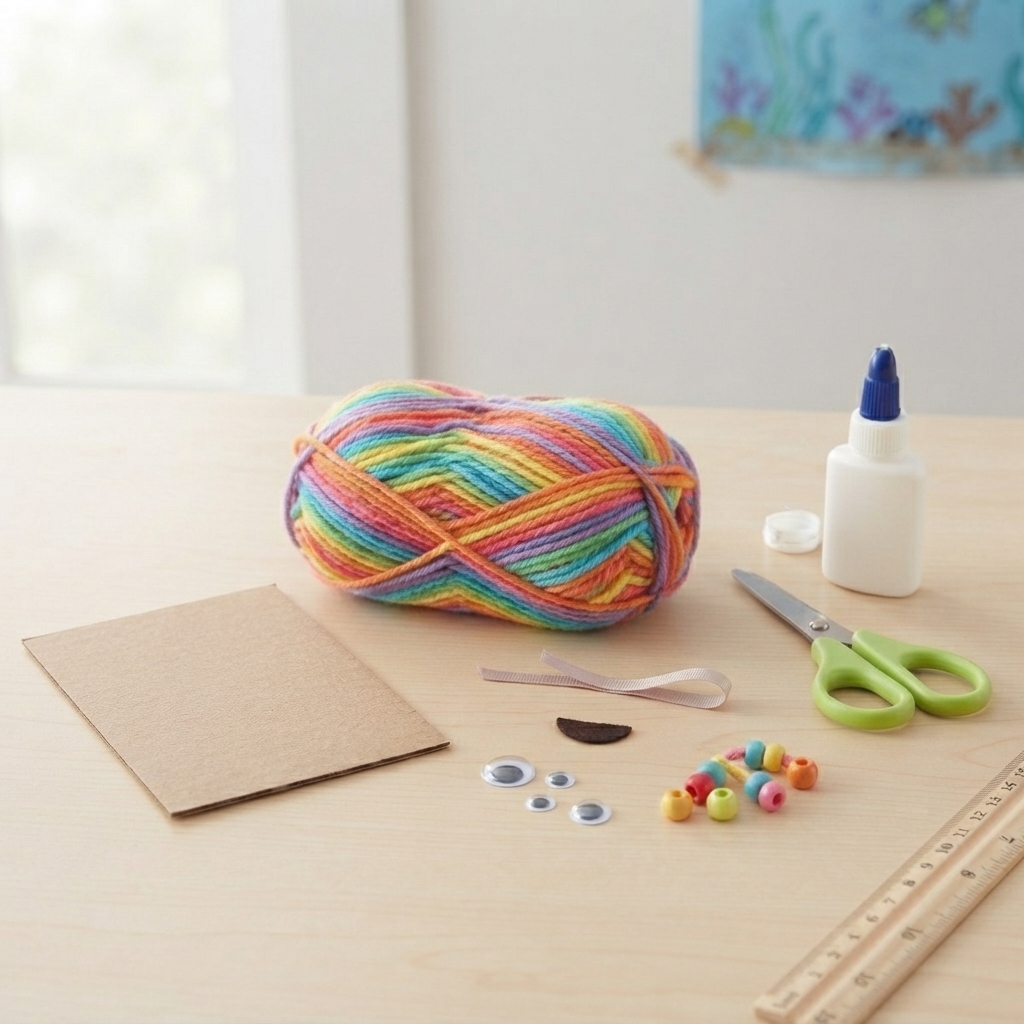
Before starting the project, collect all the materials in one place. You do not need expensive craft supplies.
You will need:
- Soft yarn in one or more colors
- A small piece of cardboard
- Child-safe scissors
- Googly eyes or paper eyes
- Glue suitable for crafts
- A small piece of yarn for tying
- Optional beads, ribbons, felt, or colored paper
- A ruler, if desired
For younger children, an adult should handle the scissors and supervise the use of glue and small decorative pieces.
The yarn should be soft enough to bend and tie easily. Medium or thick yarn is often a good choice because it makes the octopus easier to shape.
Step 1: Choose the Color
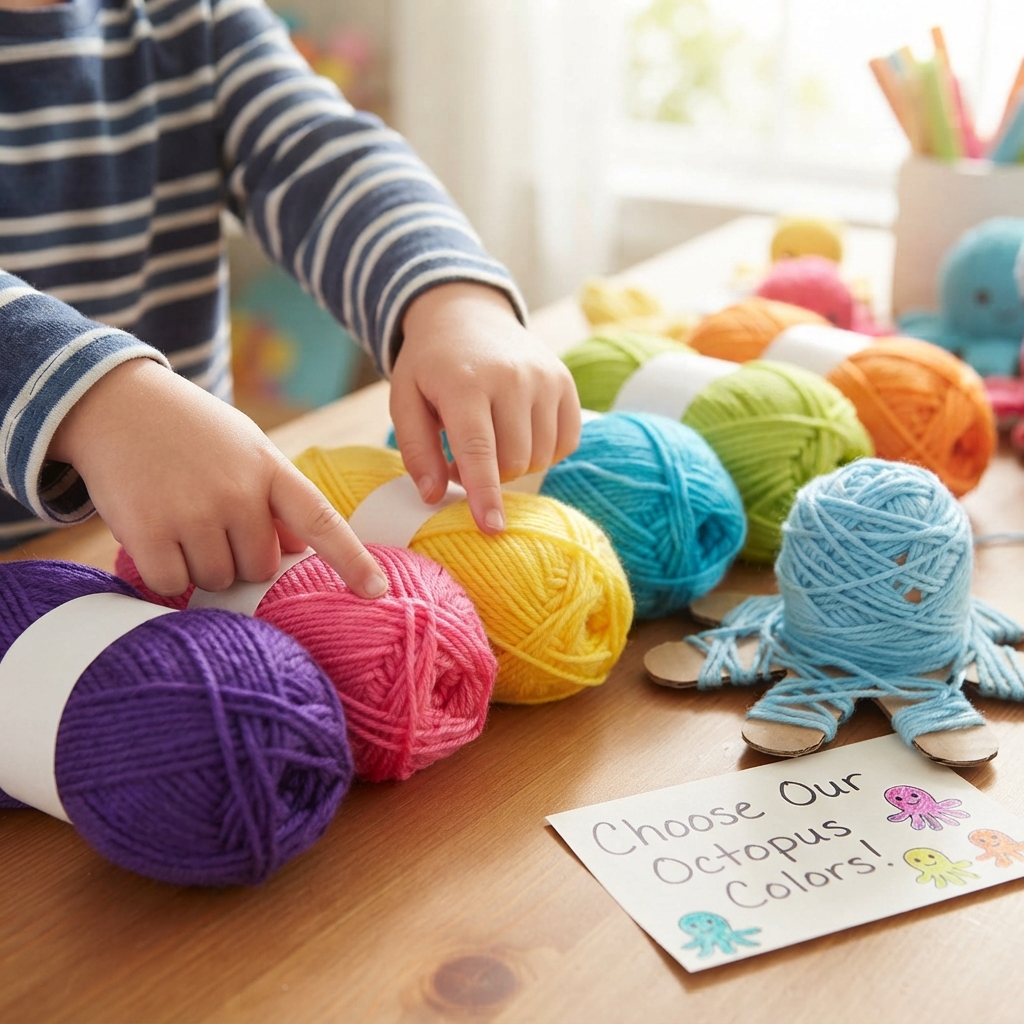
The first step is choosing the color of the octopus. Children can use one color or combine several colors.
For example, you can use purple yarn for the body and pink yarn for the arms. Another idea is to use several bright colors to create a rainbow octopus.
This is a good opportunity to encourage children to make their own choices. There is no single correct color for an octopus craft. Children can create realistic sea colors or invent a completely new character.
Step 2: Prepare the Cardboard
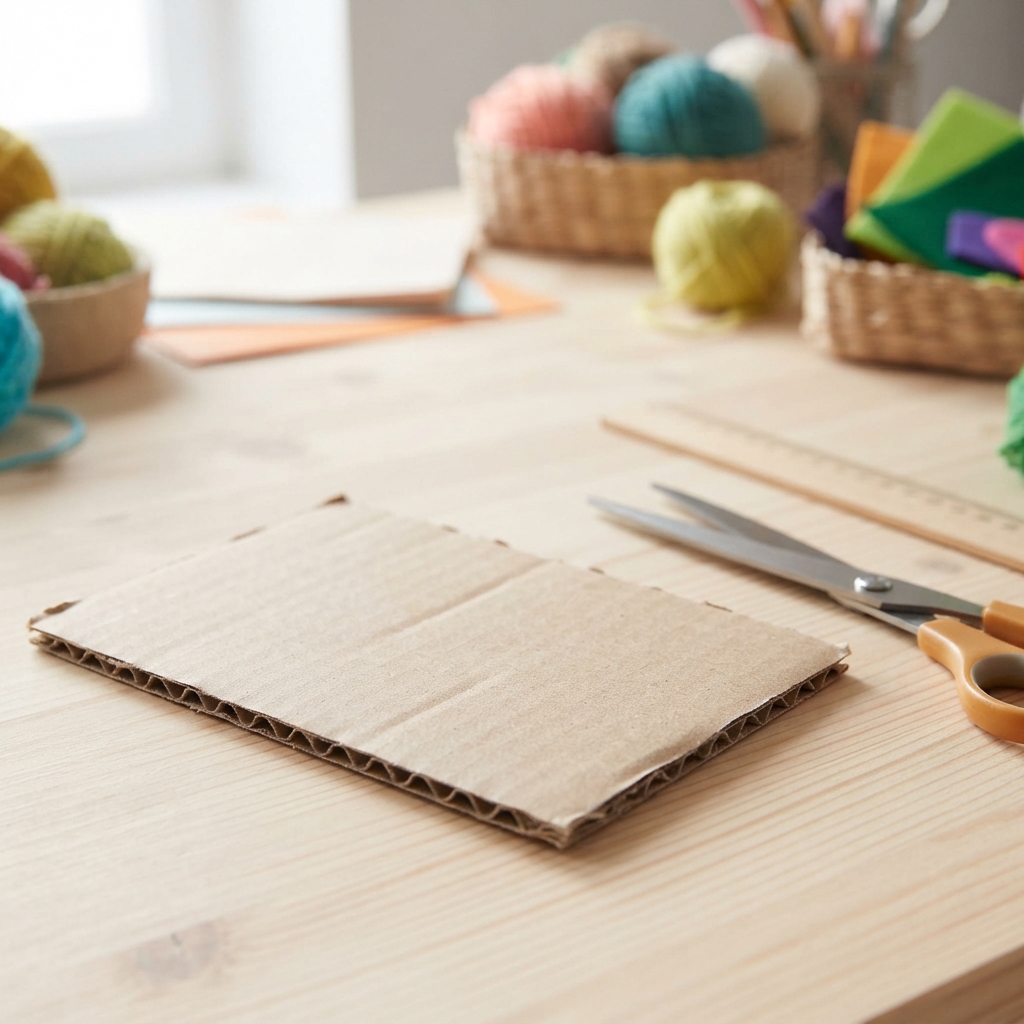
Cut a piece of cardboard into a rectangle approximately 10 to 15 centimeters long. The exact size does not have to be perfect.
The cardboard will be used as a simple tool for wrapping the yarn. The wider the cardboard, the more yarn you can wrap around it.
An adult can prepare the cardboard before the activity begins, especially when working with younger children.
Step 3: Wrap the Yarn
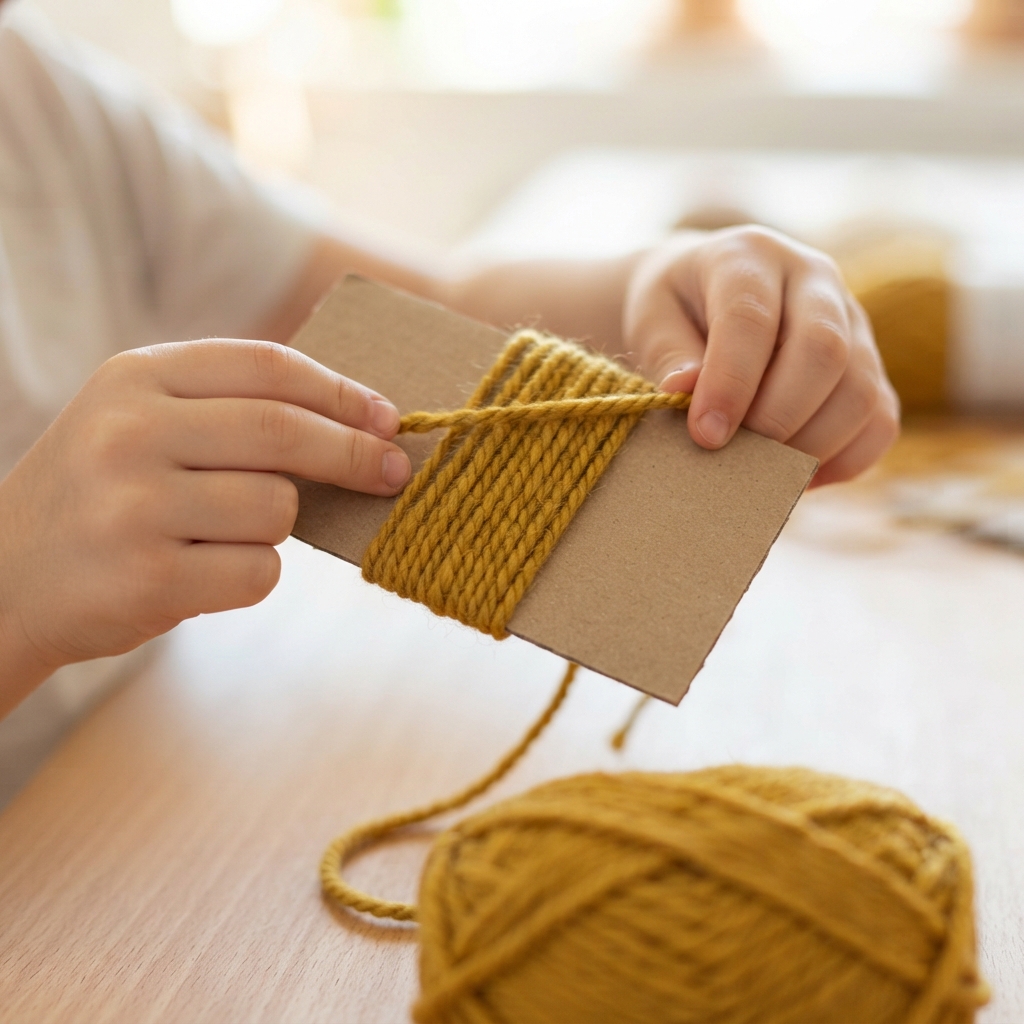
Hold the cardboard in one hand and begin wrapping the yarn around it.
Wrap the yarn around the cardboard several times from one end to the other. Try to keep the strands together without pulling the yarn too tightly.
The number of wraps determines how thick the octopus will be. Around 30 to 50 wraps can create a small, soft octopus, although children can experiment with more or fewer strands.
This step can be relaxing because children repeat the same simple movement. It also gives them practice controlling the yarn.
Step 4: Remove the Yarn Carefully
Once enough yarn has been wrapped, carefully slide the bundle off the cardboard.
Try to keep the loops together. Place the bundle on a table so it does not become tangled.
Cut another piece of yarn and use it to tie the top part of the bundle securely.
The knot should be tight enough to hold the yarn together. Younger children may need an adult to help with this step.
Step 5: Create the Octopus Head
Now it is time to shape the body.
The tied section will become the top of the octopus, while the loose yarn underneath will form the body and arms.
Gently arrange the strands so that they spread evenly around the lower part. This will make the finished octopus look fuller.
If the yarn is uneven, children can gently adjust the strands with their fingers.
Step 6: Make Eight Arms
An octopus has eight arms, which makes this part especially fun.
Separate the loose yarn into eight approximately equal sections. Each section will become one arm.
Twist or braid each section gently. Braiding the yarn can make the arms look neat and decorative.
If children are too young to braid, the yarn can simply be twisted into eight sections and tied at the ends.
Try to make the eight arms similar in size, but they do not need to be perfect. Small differences can give each octopus its own personality.
Step 7: Tie the Arms
Once the eight sections have been separated, tie the ends of the yarn to keep the arms together.
Small pieces of contrasting yarn can be used as decorative ties. For example, a purple octopus could have yellow ties around its arms.
Another option is to leave the yarn loose and gently curl the strands to make soft, wavy arms.
Children can experiment with different styles until they find a look they like.
Step 8: Add the Eyes
Now the octopus begins to look like a real character.
Glue two googly eyes onto the front of the yarn body. If googly eyes are not available, children can cut eyes from white and black paper.
They can also draw eyes on paper and attach them with glue.
The eyes can be large, small, round, funny, surprised, or sleepy. Different eye styles can completely change the personality of the octopus.
For younger children, an adult should supervise the use of glue and small decorative pieces.
Step 9: Add a Smile
A simple smile can make the octopus even more adorable.
Children can draw a mouth on a small piece of paper and glue it onto the body. Another option is to use a small piece of black yarn to create a smile.
Some children may prefer to give their octopus a surprised expression or a funny face.
This is a great part of the activity because children can use their imagination.
Step 10: Decorate the Octopus
The basic octopus is now finished, but children can add extra decorations.
Small pieces of ribbon can become colorful accessories. Felt shapes can be used to create cheeks, hats, or little spots.
Children can also make several octopuses and give each one a different appearance.
For example, one might be a pirate octopus, another might be a princess octopus, and another might be a superhero octopus.
The possibilities are almost unlimited.
Creating a Rainbow Yarn Octopus
A rainbow octopus is a particularly fun variation.
Instead of using one color of yarn, choose several colors. Wrap different colors around the cardboard or combine several strands before tying the bundle.
The result can be bright and cheerful.
Children can choose the colors according to the rainbow or simply use their favorite combination. This variation is also a good way to introduce children to color patterns and combinations.
Making a Family of Octopuses
One small octopus can quickly become a whole family.
Children can make a large octopus for the parent, medium ones for older children, and tiny ones for babies.
Each octopus can have a different color, face, and personality.
After making the family, children can create a small ocean scene using blue paper. They can add seaweed, fish, shells, bubbles, and other paper sea creatures.
This turns a simple craft into a larger creative project.
Turning the Octopus into a Story Character
Craft activities become even more exciting when children use their creations in imaginative play.
After making an octopus, ask children to give it a name. They can decide where it lives, what food it likes, and who its friends are.
For example, a child might create an octopus named Ollie who lives in a colorful coral reef.
Ollie could have a fish friend, a turtle neighbor, and a seahorse family nearby.
Children can then use their yarn octopus to act out stories. This encourages creativity, language development, and communication.
Educational Benefits of the Craft
Making a small octopus from yarn is more than a fun pastime. It can also support several important skills.
Wrapping yarn, separating strands, tying knots, and arranging decorations can help children practice fine motor skills. These movements require children to control their fingers and hands carefully.
Counting eight arms also introduces a simple mathematical idea. Children can count each arm and compare the sizes of different octopuses.
The project can also encourage problem-solving. Children may need to decide how much yarn to use, how to keep the strands together, or how to create the arms.
Most importantly, the craft encourages creative thinking.
Tips for Working with Young Children
When making this project with young children, keep the instructions simple.
Prepare the cardboard and yarn before beginning. Adults can also cut the yarn into appropriate lengths and help with knots.
Give children opportunities to complete the easier parts themselves, such as choosing colors, wrapping yarn, separating arms, and decorating the face.
Avoid focusing too much on perfection. A handmade octopus may have uneven arms or a funny face, and that is part of its charm.
The goal is to enjoy the process rather than create a perfect finished product.
Safety Tips
Safety should always be considered during children’s craft activities.
Use child-safe scissors whenever possible, and supervise younger children when scissors are being used. Glue should also be appropriate for children.
Small items such as beads, buttons, and googly eyes can be choking hazards for young children. These materials should be used only with suitable supervision and kept away from children who may put objects in their mouths.
Choose a clean, comfortable workspace and keep the craft materials organized.
Fun Ways to Display Yarn Octopuses
After finishing the craft, children can display their octopuses in many ways.
They can place them on a bedroom shelf, classroom display table, or craft board. Several octopuses can be arranged together to create an underwater scene.
Children can also attach a loop of yarn to the top and hang the octopus from a wall, door, or decorative branch.
Another idea is to create a small ocean-themed display using blue paper, paper fish, seaweed, bubbles, and shells.
Conclusion
Making a small octopus out of yarn is an easy, affordable, and creative activity for children. With some yarn, cardboard, glue, eyes, and a little imagination, children can create a cute sea creature with eight colorful arms.
The activity offers much more than a finished decoration. It gives children an opportunity to practice fine motor skills, explore colors, count, solve simple problems, and express their creativity.
The best part is that every yarn octopus can be different. Children can choose unusual colors, funny faces, unique decorations, and imaginative personalities. Once the octopuses are finished, they can become toys, decorations, story characters, or part of a larger underwater craft scene.
Whether the activity takes place at home, in a classroom, or at a children’s craft party, a small yarn octopus is a simple project that can provide plenty of creativity and fun. With a little yarn and a lot of imagination, children can create their own colorful underwater friends.
