
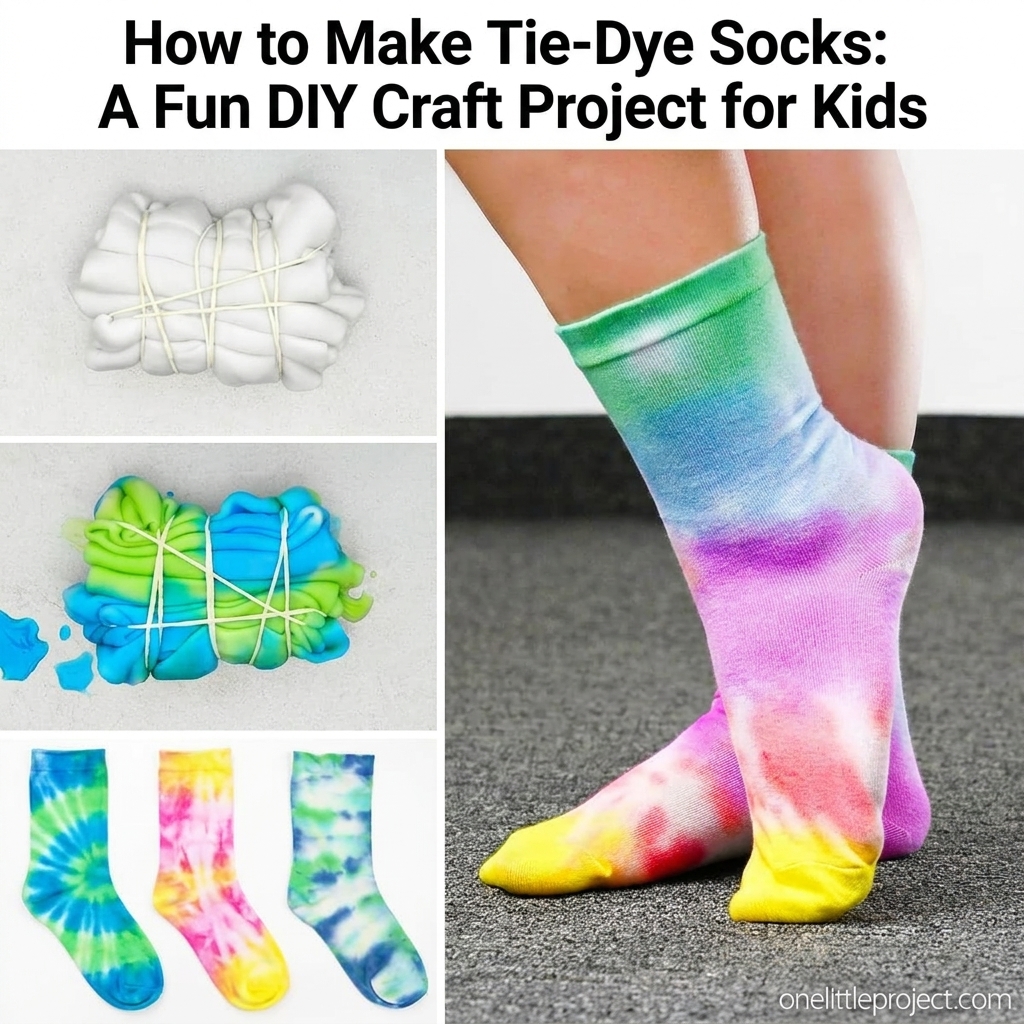
Making tie-dye socks is a colorful and exciting DIY project that children and families can enjoy together. With just a few simple materials, plain white socks can be transformed into vibrant, one-of-a-kind creations filled with swirls, stripes, dots, and rainbow patterns. Every pair is unique, making this craft both creative and rewarding.
This project is perfect for classrooms, summer camps, birthday parties, family craft days, or weekend activities at home. Children not only enjoy mixing bright colors but also experience the excitement of revealing the hidden tie-dye patterns after the dye has set.
Besides being fun, tie-dye projects help children develop creativity, fine motor skills, patience, and an appreciation for handmade art.
Why Kids Love Making Tie-Dye Socks
Tie-dye socks are exciting because every project turns out differently.
Children enjoy:
- Choosing their favorite colors.
- Creating unique patterns.
- Folding and twisting the fabric.
- Watching colors blend together.
- Revealing surprise designs.
- Wearing something they made themselves.
- Giving handmade gifts to family and friends.
- Learning a new artistic technique.
Each finished pair becomes a colorful work of art.
Materials You’ll Need
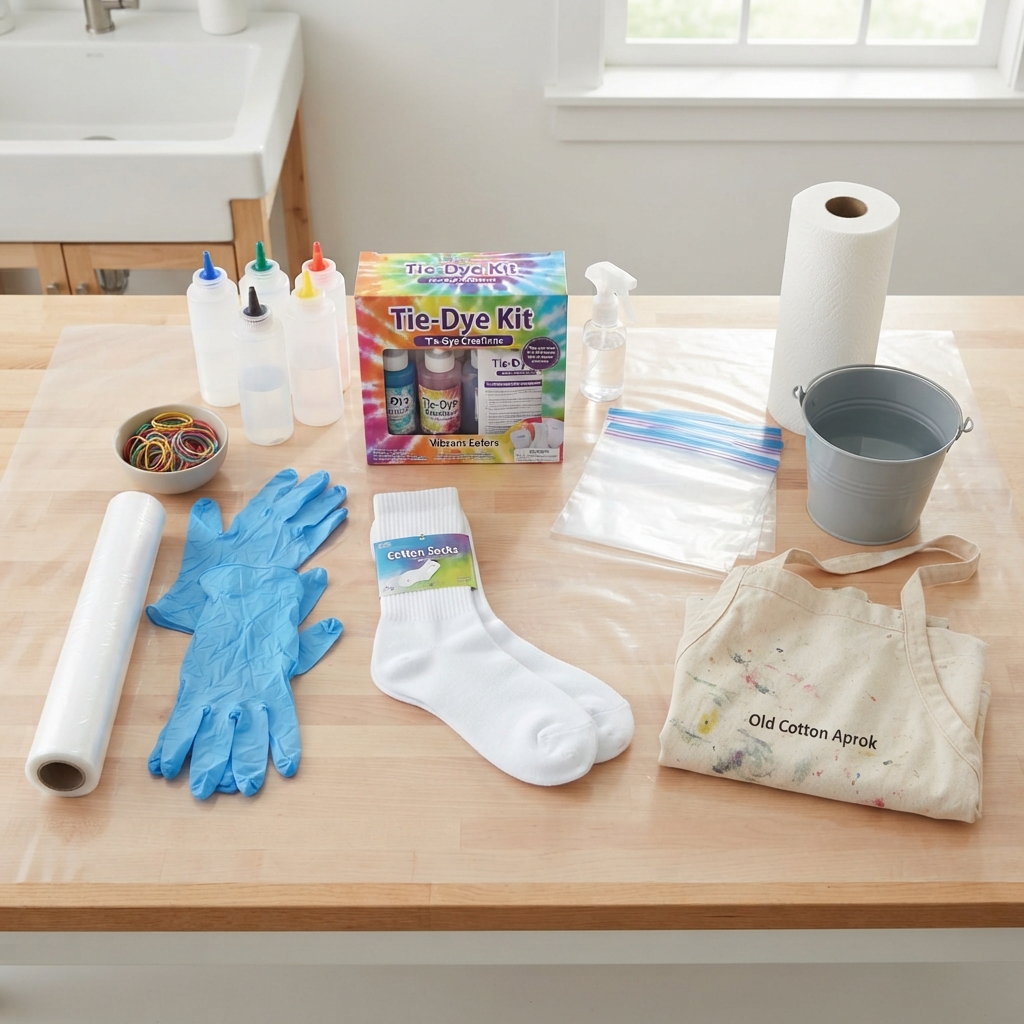
Gather these supplies before you begin:
- White cotton socks
- Fabric dye or tie-dye kit
- Rubber bands
- Disposable gloves
- Plastic table covering
- Plastic squeeze bottles
- Water spray bottle
- Zip-top plastic bags
- Paper towels
- Bucket or sink for rinsing
- Apron or old clothes
Choose 100% cotton socks for the brightest results.
Preparing Your Workspace
Protect your work surface with plastic or newspaper.
Wear old clothes because fabric dye may stain clothing.
Arrange all materials within easy reach before starting the activity.
A well-organized workspace makes crafting easier and more enjoyable.
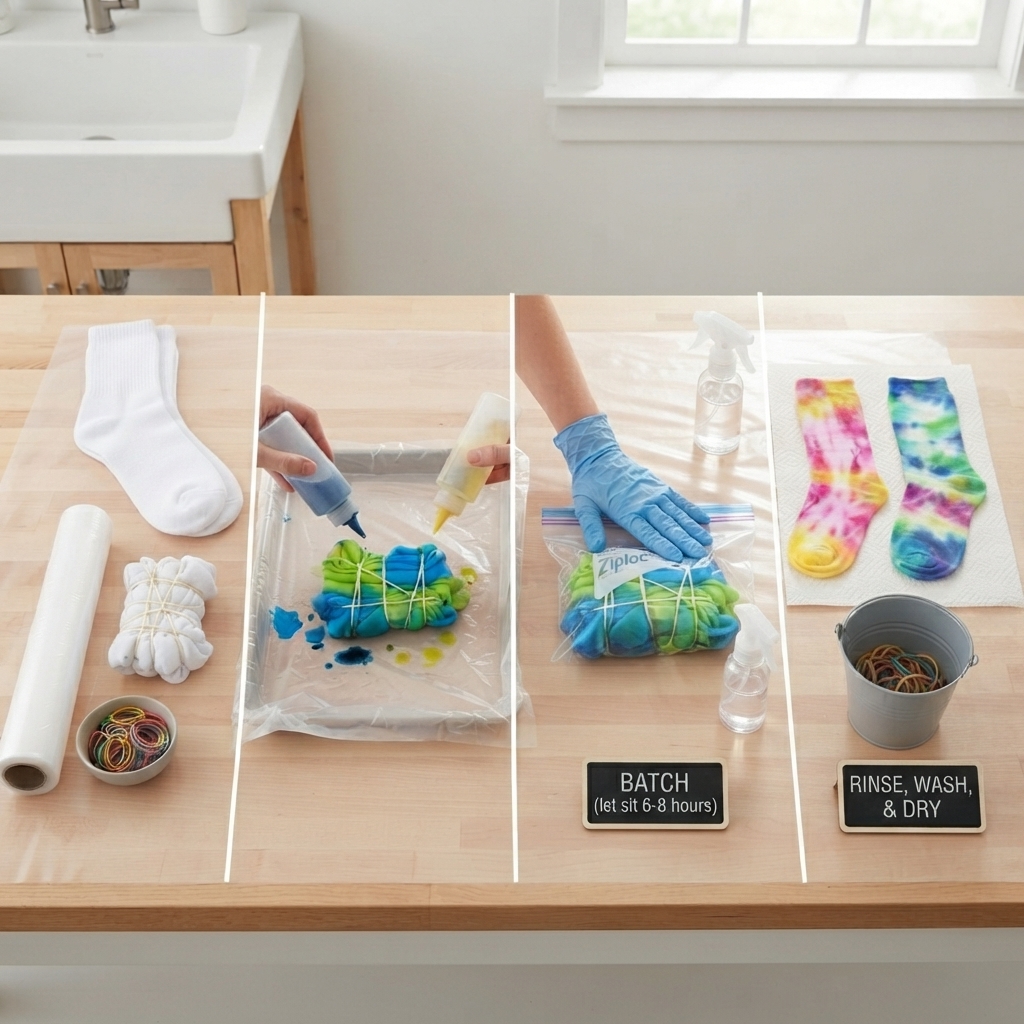
Step 1: Dampen the Socks
Lightly spray the socks with clean water.
The fabric should be damp but not dripping wet.
Moist fabric absorbs dye more evenly and creates brighter colors.
Step 2: Fold or Twist the Socks
There are many folding techniques that create different designs.
Spiral Pattern
Twist the sock from the center until it forms a flat spiral.
Secure it with several rubber bands.
Striped Pattern
Fold the sock back and forth like an accordion.
Wrap rubber bands around the folded sock.
Crumple Pattern
Scrunch the sock into a loose ball.
Secure it with rubber bands.
Bullseye Pattern
Pinch one section of the sock and wrap rubber bands around several sections to create circular rings.
Children can experiment with different techniques to create unique designs.
Step 3: Apply the Dye
Put on disposable gloves before handling the dye.
Use squeeze bottles to apply different colors to each section.
Popular color combinations include:
- Rainbow colors
- Blue and green
- Pink and purple
- Red, orange, and yellow
- Turquoise and white
- Neon colors
- Pastel shades
Turn the socks over and color both sides completely.
Step 4: Let the Dye Set
Place the dyed socks inside a sealed plastic bag.
Leave them undisturbed for several hours or overnight, following the dye manufacturer’s instructions.
This allows the dye to bond with the fabric.
Step 5: Reveal the Pattern
Carefully remove the rubber bands.
Unfold the socks slowly to reveal the colorful design.
This is often the most exciting moment because every pattern is different.
Step 6: Rinse and Wash
Rinse the socks with cool water until the water runs mostly clear.
Wash them separately the first time to prevent excess dye from transferring to other clothing.
Allow the socks to dry completely before wearing them.
Creative Design Ideas
Children can experiment with many fun styles, including:
- Rainbow swirls
- Ocean waves
- Sunset colors
- Galaxy patterns
- Flower-inspired designs
- Tropical colors
- Jungle greens
- Fire-inspired reds and oranges
- Candy colors
- Pastel rainbows
Every design reflects the child’s imagination.
Educational Benefits
This activity helps children develop:
- Fine motor skills
- Hand-eye coordination
- Creativity
- Color recognition
- Pattern awareness
- Patience
- Concentration
- Problem-solving skills
- Confidence
- Artistic expression
Craft projects encourage both learning and creativity.
Safety Tips
To keep the activity safe:
- Adult supervision is recommended.
- Wear disposable gloves.
- Protect clothing and furniture.
- Avoid getting dye in the eyes.
- Wash hands thoroughly after crafting.
- Follow the instructions provided with the fabric dye.
Safety helps everyone enjoy the project.
Ways to Use Finished Tie-Dye Socks
Children can:
- Wear them every day.
- Show them at school craft displays.
- Give them as handmade gifts.
- Use them for colorful summer outfits.
- Wear them during family events.
- Save them as keepsakes from a fun craft day.
Their handmade socks become something both useful and meaningful.
Perfect for Group Activities
This project works well for:
- Elementary schools
- Summer camps
- Birthday parties
- Community craft workshops
- Scout groups
- Family craft nights
- After-school programs
- Library activities
Children enjoy comparing their colorful designs and sharing creative ideas.
Tips for the Best Results
For beautiful tie-dye socks:
- Use cotton socks.
- Apply dye generously.
- Try different folding techniques.
- Combine bright, contrasting colors.
- Allow enough drying time.
- Encourage every child to create a unique design.
No two pairs will ever be exactly alike.
Conclusion
A tie-dye sock project is a simple, colorful, and creative activity that children of all ages will enjoy. Using a few basic supplies, kids can transform ordinary white socks into vibrant wearable art while learning about color, design, and creativity. Throughout the process, they improve fine motor skills, patience, and confidence as they create something entirely their own.
Whether at home, in the classroom, or during a summer camp or birthday celebration, this DIY craft provides hours of fun and leaves every child with a unique handmade keepsake they will be proud to wear.
